How to Enable G‑Sync or FreeSync – how to enable g-sync freesync

Article Overview & Key Takeaways
A clear, practical guide that walks you through turning on G‑Sync or FreeSync, adjusting settings, and avoiding the most common mistakes.
Gaming gear to check
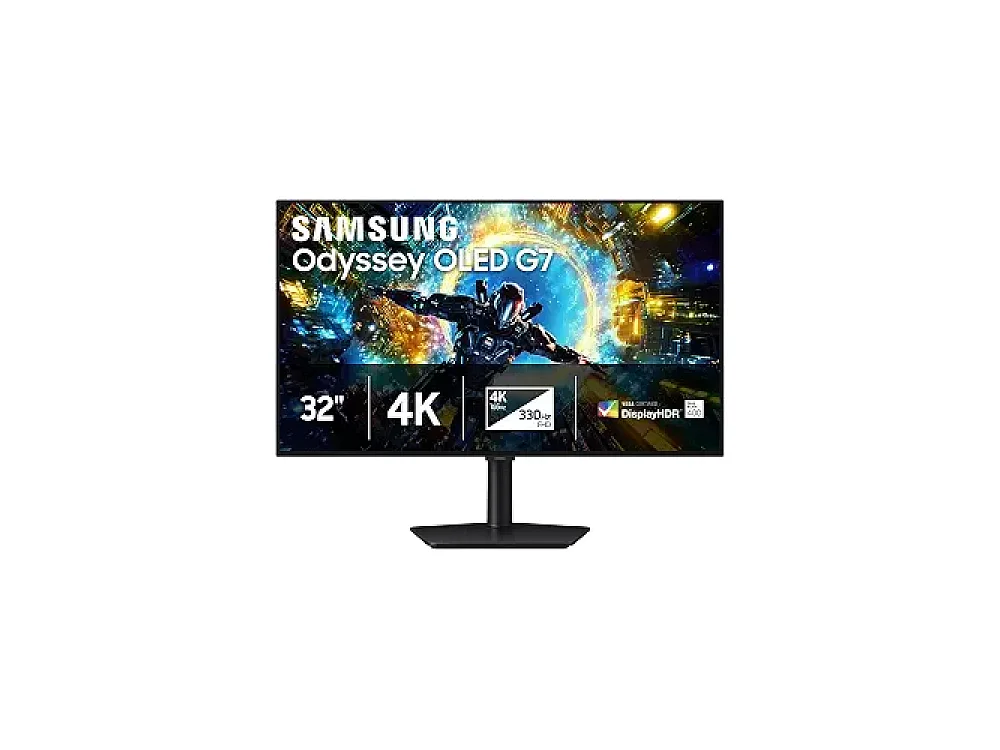 Samsung Odyssey OLED G73SH S32HG732S
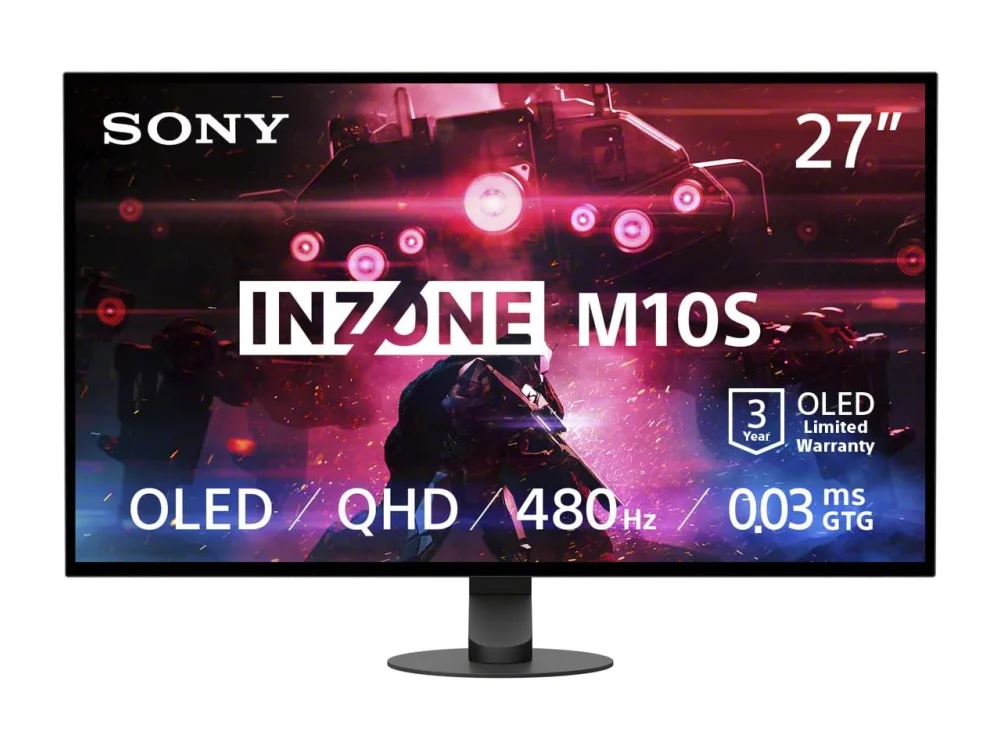 Sony INZONE M10S II
By the end of this guide you will have G‑Sync or FreeSync fully activated, your games will run buttery‑smooth, and the dreaded screen tearing will be a thing of the past. Whether you own a budget 24‑inch panel or a high‑end OLED, the steps are the same – just follow them carefully.
Before you dive in, take a look at our gaming monitors roundup to see which displays support variable refresh rate (VRR) natively. If you are still deciding, the AOC 24G2 offers a solid FreeSync experience at an affordable price, while the ASUS ROG Swift OLED PG27AQWP‑W delivers premium G‑Sync performance on a 27‑inch OLED panel.
What you need
- A monitor that supports either G‑Sync (NVIDIA) or FreeSync (AMD). Check the compatibility checker if you are unsure.
- A graphics card that matches the VRR technology (GeForce RTX series for G‑Sync, Radeon RX series for FreeSync). Use the PC requirements for games tool to confirm your GPU is up to date.
- Latest GPU driver from NVIDIA or AMD.
- DisplayPort cable (recommended) or HDMI 2.1 cable for higher refresh rates.
- Windows 10/11 (or a compatible Linux distribution).
Step 1: Verify hardware support
Open your monitor’s on‑screen display (OSD) and locate the VRR option. It may be labeled “FreeSync”, “G‑Sync Compatible”, or simply “Variable Refresh Rate”. Enable it. If your model is not listed, consult the manual – many mid‑range panels like the AOC Gaming Q27GAZD hide the setting under “Gaming” → “Adaptive Sync”.
Want to buy a gaming monitor? Here are 3 similar picks:
- ASUS ROG Swift OLED PG32UCDM Gen3: Best Overall / Premium
- ASUS ROG Swift OLED PG32UCDP: Best Dual-Mode OLED
- KOORUI GN02: Best Budget High Refresh
Open a product to see its full details, then use the Amazon button there.
Step 2: Install the latest graphics driver
Download the newest driver from the official website:
- NVIDIA: Use GeForce Experience or the manual installer.
- AMD: Use Radeon Software Adrenalin.
During installation, choose a “Custom” install and tick the box for “Clean Install” to avoid leftover settings that could interfere with VRR.
Step 3: Enable G‑Sync or FreeSync in the driver control panel
For NVIDIA (G‑Sync):
- Right‑click the desktop and open NVIDIA Control Panel.
- Navigate to Display > Set up G‑Sync.
- Check “Enable G‑Sync, G‑Sync Compatible”. Choose “Enable for full screen mode” (or “Enable for windowed and full screen mode” if you play in borderless window).
- Select your monitor from the list and click Apply.
For AMD (FreeSync):
- Open Radeon Software and click the Settings gear.
- Under Display, find the FreeSync toggle and turn it on.
- If the toggle is greyed out, make sure the monitor is connected via DisplayPort; HDMI may require a firmware update.
Step 4: Adjust Windows display settings
Right‑click the desktop → Display settings → Advanced display settings. Ensure the refresh rate matches the monitor’s native rate (e.g., 144 Hz). If you see “Variable refresh rate” listed, it means Windows has recognized the VRR capability.
Step 5: Test the configuration
Launch a game that supports variable refresh rates (most modern titles do). Open the in‑game FPS counter (usually Ctrl+Shift+R for NVIDIA, Alt+R for AMD). You should see the FPS fluctuate smoothly without tearing. For a quick benchmark, run FreeSync/G‑Sync test patterns – you’ll notice the horizontal lines stay locked even when the frame rate changes.
Step 6: Fine‑tune for optimal performance
- Turn off V‑Sync in games. With VRR active, V‑Sync becomes redundant and can add input lag.
- Enable “Fast Sync” (NVIDIA) or “Enhanced Sync” (AMD) if you still see occasional stutter. These options keep low latency while preventing tearing when the frame rate exceeds the monitor’s max refresh.
- Set a frame‑rate cap. Use the in‑game limiter or NVIDIA/AMD control panel to cap FPS a few frames below the monitor’s maximum (e.g., 138 FPS on a 144 Hz panel). This reduces the chance of the GPU pushing frames faster than the display can handle, which can re‑introduce tearing.
Step 7: Common mistakes and how to avoid them
Mistake 1: Using HDMI 1.4 on a high‑refresh monitor. HDMI 1.4 tops out at 120 Hz at 1080p. Switch to HDMI 2.1 or, better yet, DisplayPort.
Mistake 2: Leaving V‑Sync on. It conflicts with VRR and adds input lag. Disable it in the game’s graphics settings.
Mistake 3: Using a “G‑Sync Compatible” monitor with an outdated driver. NVIDIA’s compatibility list is updated regularly; an old driver may not recognise the monitor.
Mistake 4: Forgetting to enable the feature in the monitor’s OSD. Some panels ship with VRR turned off to save power.
Step 8: When G‑Sync or FreeSync won’t work
If you’ve followed every step and still see tearing, try these troubleshooting actions:
- Re‑plug the DisplayPort cable and ensure it’s firmly seated.
- Reset the monitor to factory defaults via the OSD.
- Run a clean driver install (use DDU in Safe Mode).
- Test the monitor on a different PC to rule out hardware failure.
If the problem persists, consider a monitor that is officially certified for the technology you need. The ASRock Phantom Gaming PGO27QSA is a great G‑Sync Compatible choice, while the ASUS ROG Swift OLED PG27UCDM offers native G‑Sync with HDR support.
Want to buy a gaming monitor? Here are 3 similar picks:
- LG UltraGear 45GX950A-B: Best Large Ultrawide
- MSI MPG 321URXW QD-OLED: Best 4K Gaming
- MSI MPG 341CQR QD-OLED X36: Best Ultrawide High Refresh
Open a product to see its full details, then use the Amazon button there.
FAQ
Can I use FreeSync on an NVIDIA card?
Yes. Since the RTX 20‑series, NVIDIA added support for “G‑Sync Compatible” monitors that run FreeSync over DisplayPort. Just enable G‑Sync in the NVIDIA Control Panel and the driver will treat the monitor as a G‑Sync device.
Do I need a high‑end GPU to benefit from VRR?
Not necessarily. Even a mid‑range card can gain smoother gameplay if the frame rate hovers around the monitor’s refresh rate. The key is that the GPU can output frames at a variable rate, which most modern cards can do.
Will enabling G‑Sync or FreeSync affect HDR?
On most monitors, HDR works independently of VRR. However, some older panels disable HDR when VRR is active. Check the monitor’s OSD for a combined “HDR+FreeSync” mode, or refer to the product page for details (e.g., the ASUS ROG Swift OLED PG27AQWP‑W supports both simultaneously).
Conclusion
Turning on G‑Sync or FreeSync is a straightforward process that can dramatically improve your gaming experience. By confirming hardware support, updating drivers, and tweaking a few settings, you’ll eliminate screen tearing and enjoy fluid, responsive gameplay. Keep the common pitfalls in mind, and you’ll be ready for any title that throws you into the action.
Keep reading
Gaming gear on Run On Console
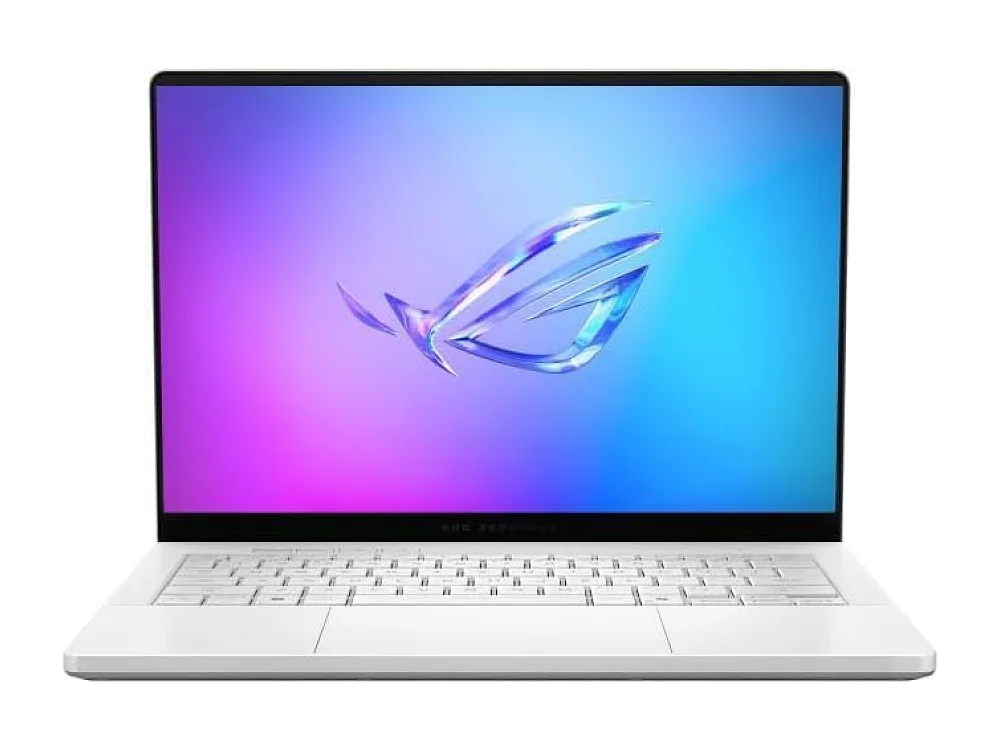 ASUS ROG Zephyrus G14 (2026) vs ASUS ROG Zephyrus G16 (2026)
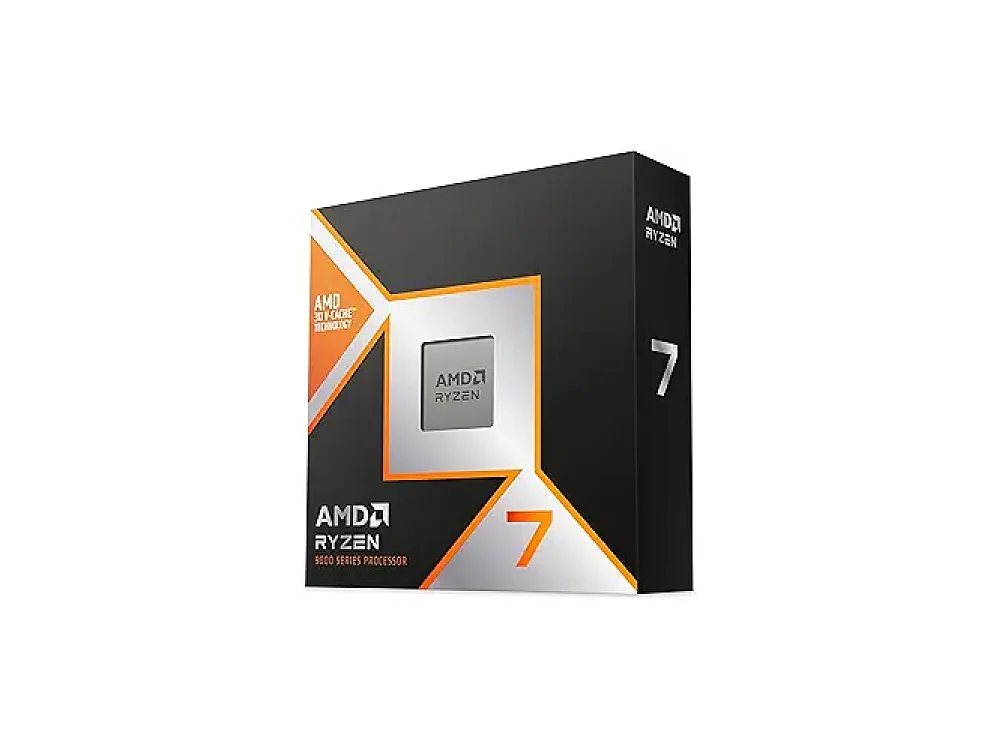 AMD Ryzen 7 9800X3D
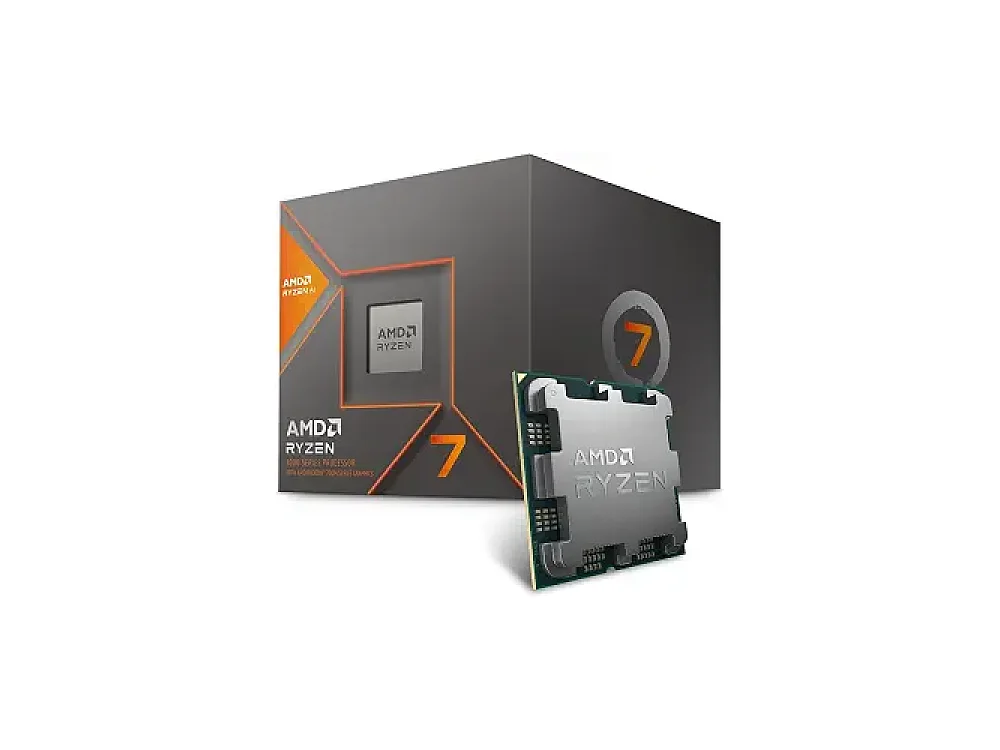 AMD Ryzen 7 8700G
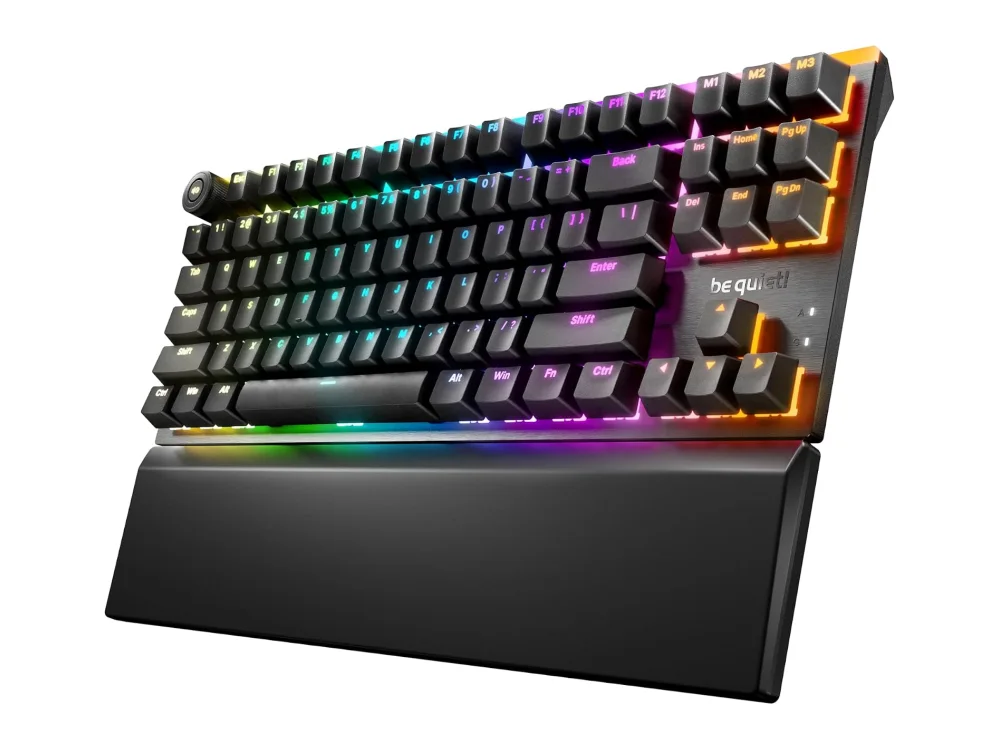 be quiet! Light Mount TKL
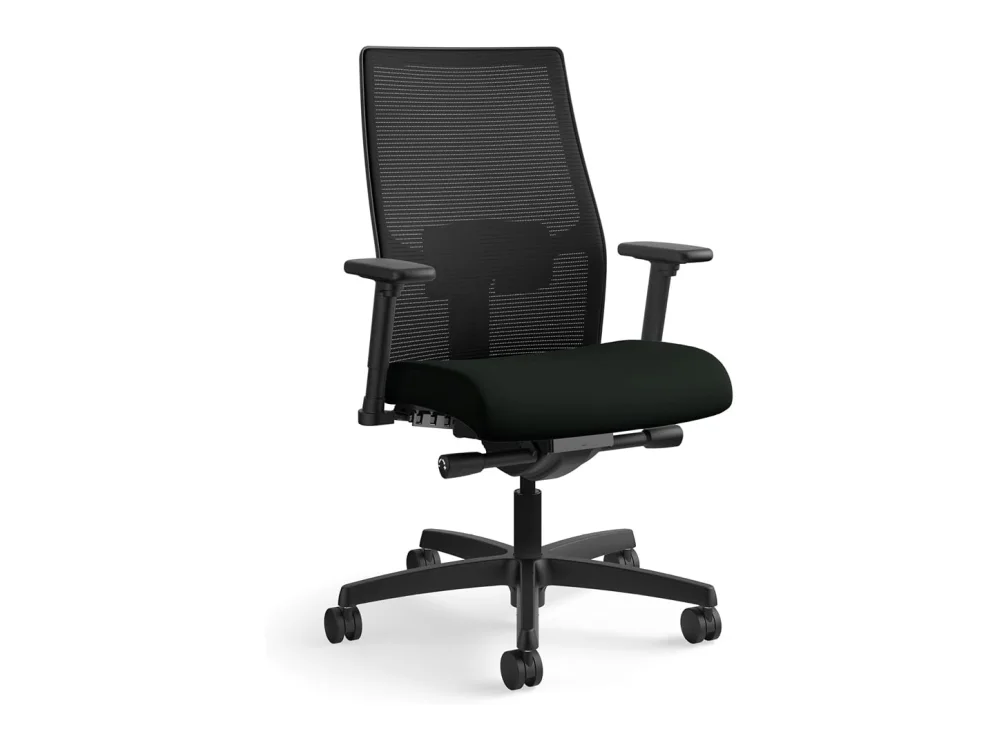 HON Ignition 2.0
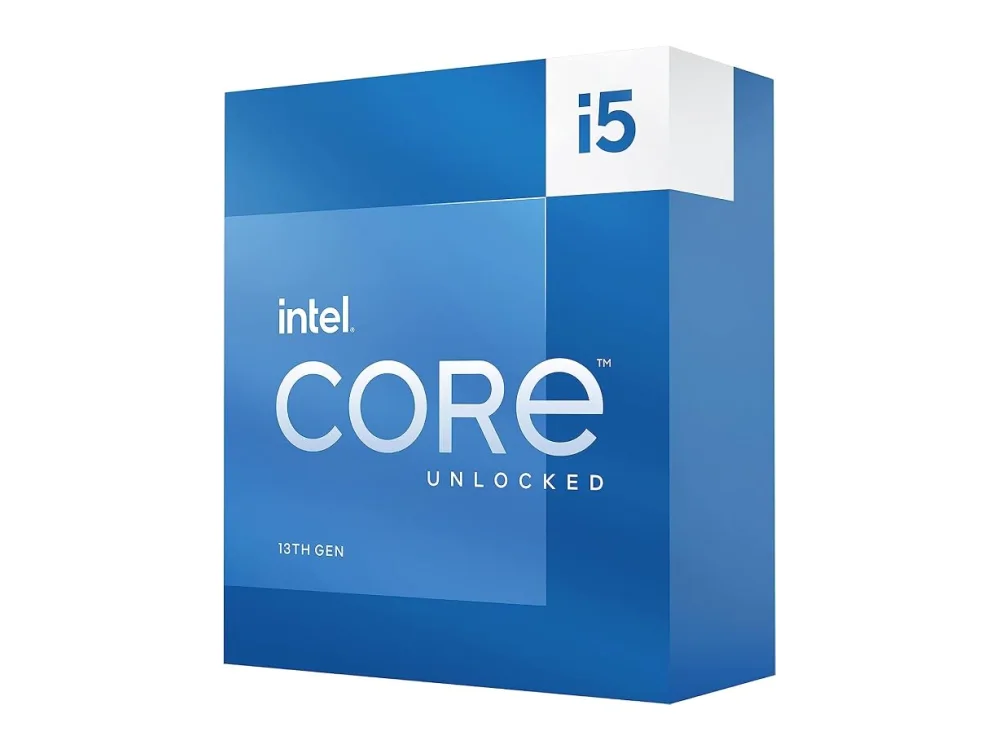 Intel Core i5-13600K
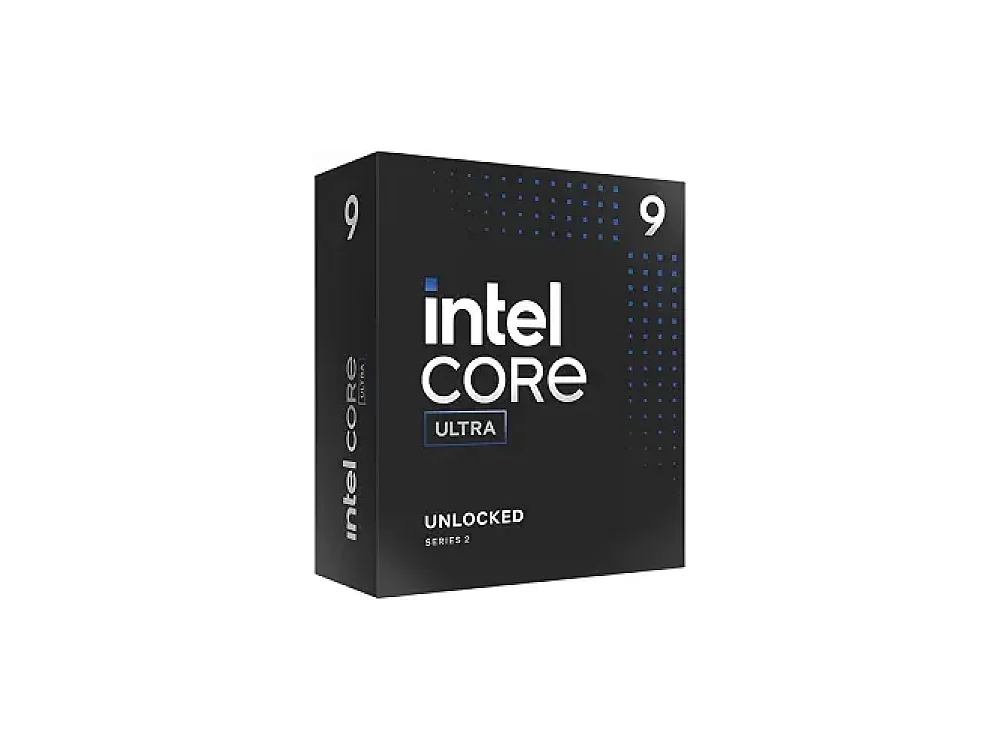 Intel Core Ultra 9 285K
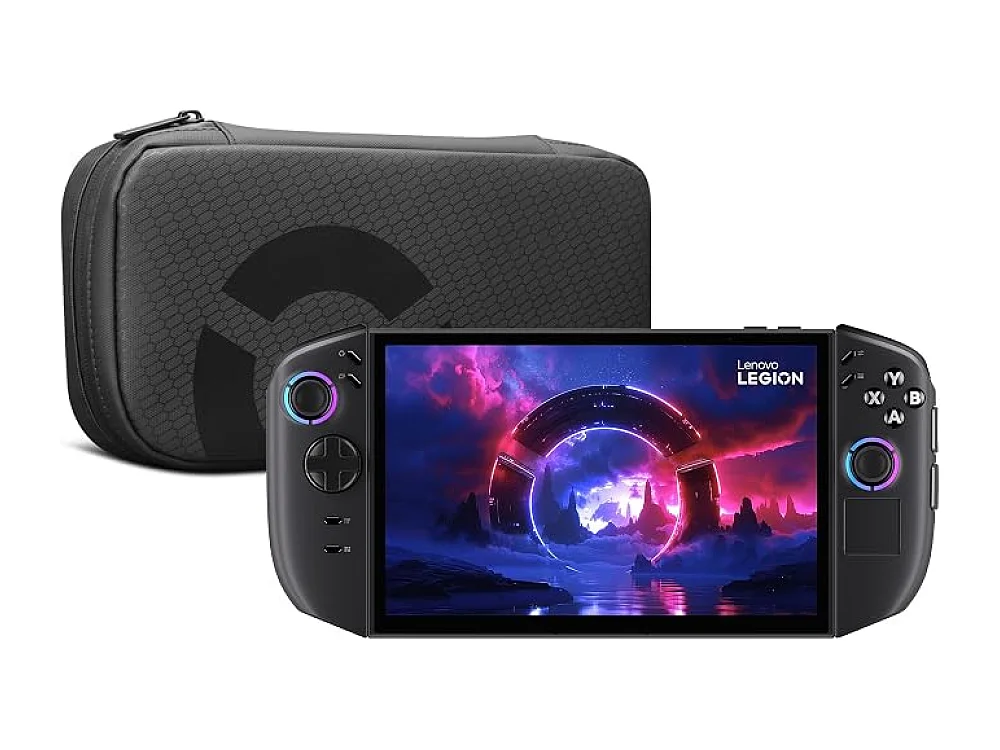 Lenovo Legion Go 2
Leave a comment
Questions, corrections or your own experience: it goes to our team at comments@runonconsole.com and you get a copy.