How to Install a CPU and Cooler Without Bending Pins

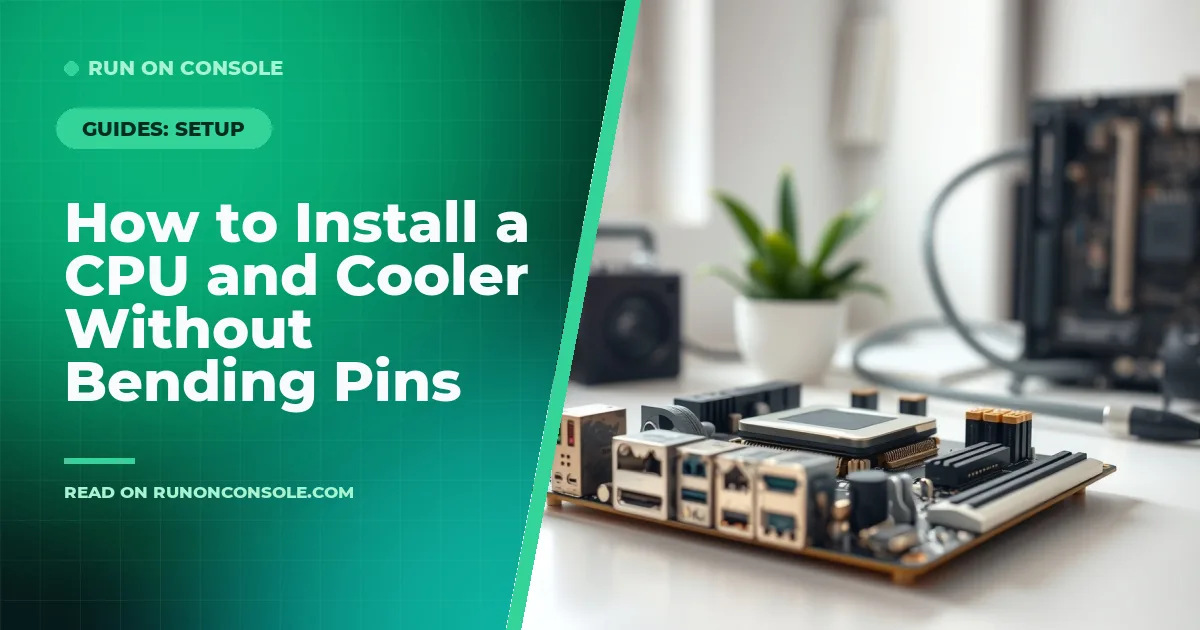
Article Overview & Key Takeaways
Step‑by‑step guide to install a CPU and cooler safely, keeping pins intact and applying thermal paste the right way.
Gaming gear to check
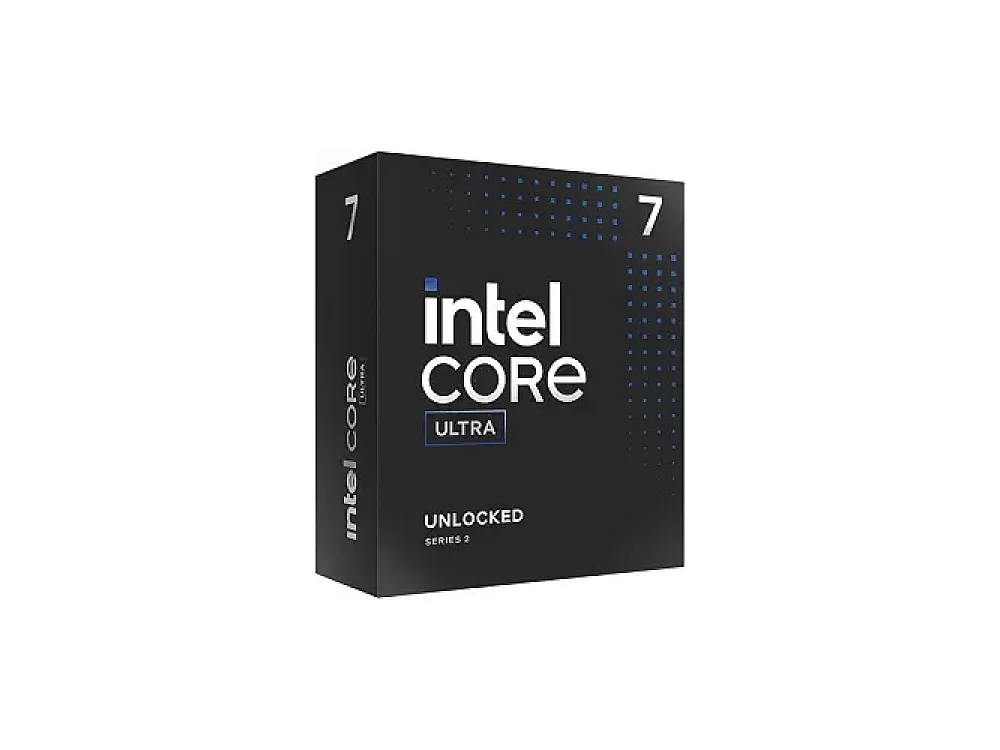 Intel Core Ultra 7 265K
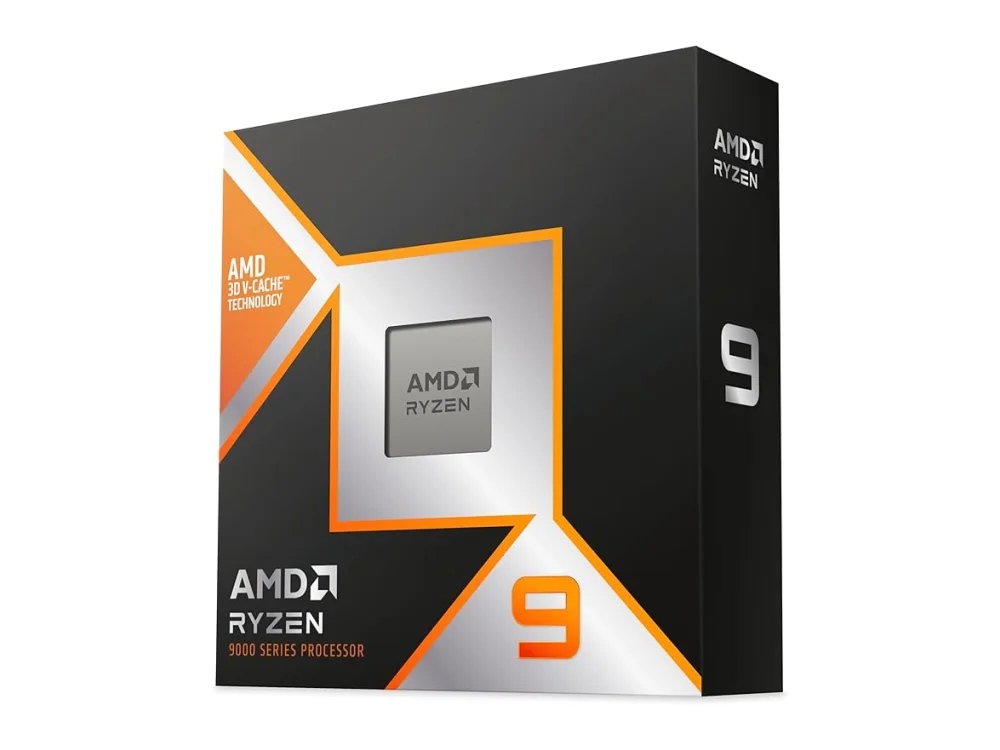 AMD Ryzen 9 9950X3D
By the end of this guide you will have a fully seated processor and a securely mounted cooler, with no damaged pins and perfect thermal paste coverage. You’ll avoid the common headaches that turn a simple upgrade into a costly repair.
Whether you’re swapping in an AMD Ryzen 5 5500F for a budget build or a high‑end AMD Ryzen 7 5700X3D for gaming, the fundamentals stay the same. For a deeper dive into Processors (CPU) options and how they affect performance, check the category page.
What you need
- Compatible motherboard with the correct socket (e.g., AM4, AM5)
- CPU (ensure it matches the socket)
- CPU cooler (air or AIO) with mounting hardware
- Thermal paste (if not pre‑applied on the cooler)
- Isopropyl alcohol (70%+), lint‑free cloth or coffee filter
- Small Phillips screwdriver
- Anti‑static wrist strap (optional but recommended)
Step 1: Prepare Your Workspace
Clear a large, static‑free surface and ground yourself with an anti‑static wrist strap or by touching the metal part of the case. Lay out all components so you can see them clearly. Double‑check that the motherboard’s socket matches the CPU you plan to install – mismatched sockets can permanently damage pins.
Step 2: Open the CPU Socket
Locate the socket lever on the motherboard. Gently pull the lever down (or to the side, depending on the design) to release the retention bar. For AM4 and AM5 sockets, a small metal arm lifts to expose the pins. Common mistake: forcing the lever can crack the socket housing. If you encounter resistance, pause and verify you’re using the correct motion.
Step 3: Align and Insert the CPU
Take the CPU out of its anti‑static bag, handling it by the edges only. Look for the alignment marker – a tiny triangle or notch on one corner of the CPU and a matching indicator on the socket. Align these markers and gently lower the processor onto the pins. The CPU should sit flat without any force. Tip: If the pins look bent, stop immediately and use a magnifying glass to assess the damage before proceeding.
Step 4: Secure the CPU
Once the CPU is seated, lower the retention bar and close the lever to lock it in place. You should hear a soft click indicating the pins are locked. Verify that the CPU is level by looking from the side; a tilted processor can cause uneven pressure on the pins.
Step 5: Apply Thermal Paste (if needed)
Many modern coolers come with a pre‑applied thermal pad, but if yours does not, you’ll need to apply paste manually. Squeeze a pea‑sized dot of thermal paste onto the center of the CPU. Do not spread it – the pressure from the cooler will evenly distribute it. Common mistake: using too much paste creates a “pancake” that can spill over the edges and cause short circuits.
Step 6: Install the CPU Cooler
Follow the cooler’s manual for mounting hardware. For a stock air cooler, you’ll typically attach a backplate to the motherboard, then secure the fan assembly over the CPU. For an AIO liquid cooler, ensure the radiator is mounted to the case first, then attach the water block to the CPU.
When positioning the cooler, line up the mounting holes with the standoffs on the backplate. Insert the screws or clips, tightening them in a diagonal pattern to apply even pressure. Tip: Use a torque‑controlled screwdriver if your cooler specifies a torque value (often around 6‑8 Nm).
Step 7: Connect Power and Fan Headers
Plug the cooler’s fan or pump power cable into the appropriate CPU_FAN or CPU_OPT header on the motherboard. Ensure the connector is fully seated; a loose connection can cause the fan to spin down after boot.
Step 8: Double‑Check Everything
Before closing the case, verify the following:
- The CPU is level and fully seated.
- No pins are bent or missing.
- Thermal paste is correctly applied.
- The cooler is firmly mounted with even pressure.
- All power cables are connected.
Give the cooler a gentle wiggle; there should be no movement. If you notice any wobble, re‑tighten the screws.
Step 9: Power On and Test
Re‑install the side panel, connect your monitor, keyboard, and power supply, then power on the system. Enter the BIOS/UEFI and check the CPU temperature on the main screen. Initial temperatures around 30‑40 °C at idle indicate proper installation. If temperatures are unusually high, re‑apply thermal paste and ensure the cooler’s contact surface is clean.
Step 10: Verify Compatibility (Optional)
If you’re unsure whether your new CPU works with your existing games, use the game compatibility checker to see if any titles need updates. For a broader view of system requirements across thousands of games, the PC requirements tool can be handy.
Step 11: Example Builds
Here are a few popular CPUs that pair well with the steps above:
- AMD Ryzen 5 5500F – solid budget option for 1080p gaming.
- AMD Ryzen 5 7600X3D – excellent for high‑frame‑rate titles.
- AMD Ryzen 5 8600G – integrated graphics for light gaming.
- AMD Ryzen 5 9600X – strong multi‑core performance.
Want to buy a gaming CPU? Here are 3 similar picks:
- AMD Ryzen 7 7800X3D: High-refresh-rate gaming rigs
- AMD Ryzen 7 8700G: Budget-friendly gaming PCs
- AMD Ryzen 7 9700X: Mid-range gaming builds
Open a product to see its full details, then use the Amazon button there.
FAQ
Can I install a CPU without a wrist strap?
Yes, but grounding yourself by touching the metal case before handling the CPU reduces static discharge risk.
What if I accidentally bend a pin?
Stop immediately. Use a magnifying glass to locate the bent pin and carefully straighten it with a fine‑point tweezers. If the pin is broken, the motherboard may need replacement.
Do I need thermal paste with an AIO cooler?
Most AIO blocks come with pre‑applied thermal pads. If yours does not, apply a pea‑sized amount of paste as described in Step 5.
Conclusion
Installing a CPU and cooler is a straightforward process when you follow each step carefully. By respecting pin alignment, applying the right amount of thermal paste, and securing the cooler evenly, you’ll enjoy stable performance and avoid costly re‑work. Happy building!"
Keep reading
Gaming gear on Run On Console
 Pulsar Xlite CrazyLight
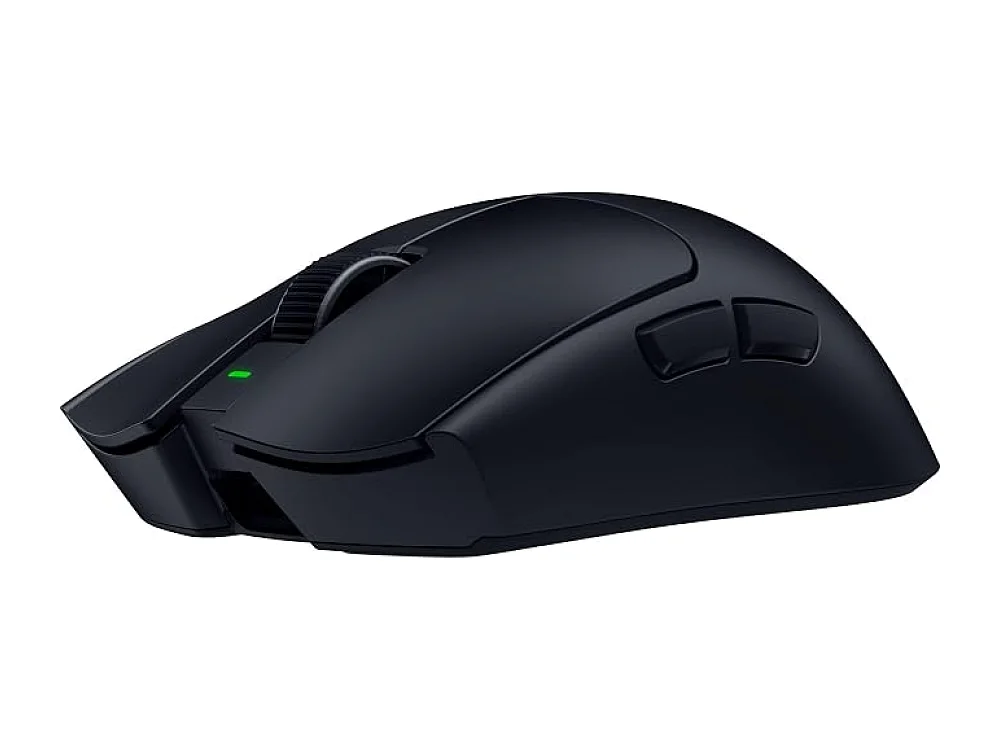 Razer Viper V4 Pro vs Razer Naga V3 Pro
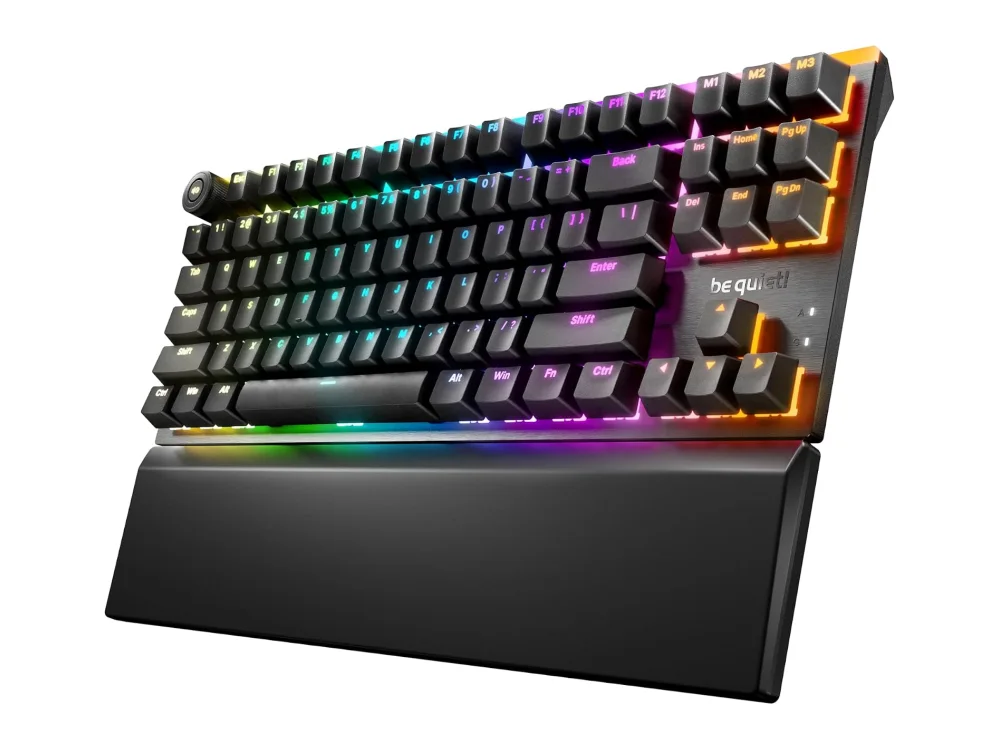 be quiet! Light Mount TKL
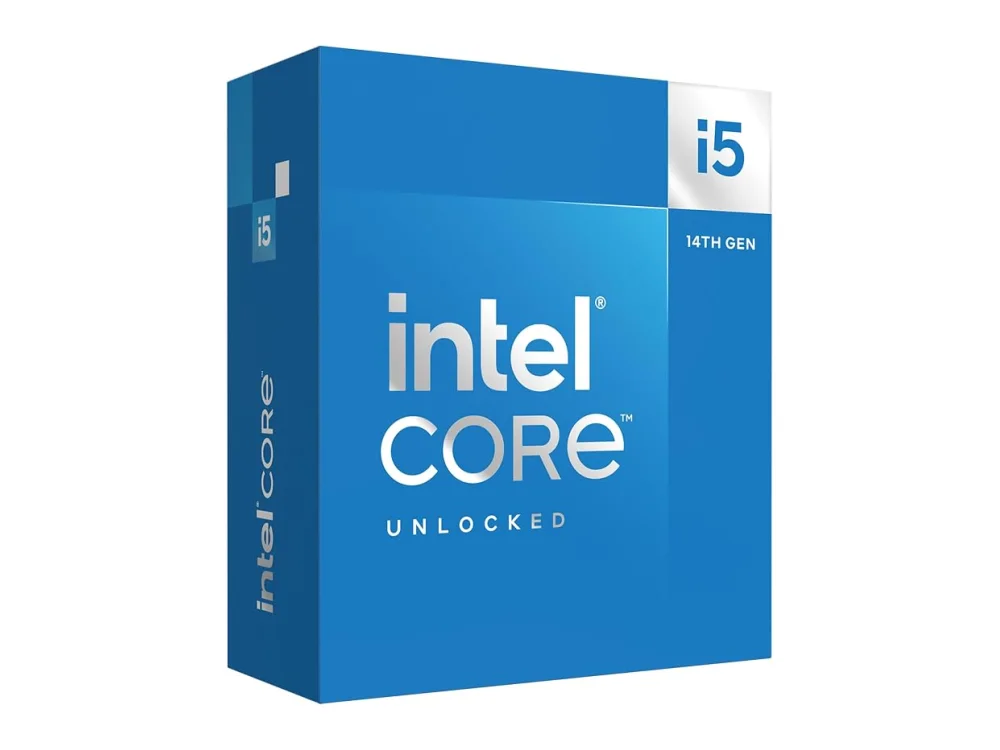 Intel Core i5-14600K
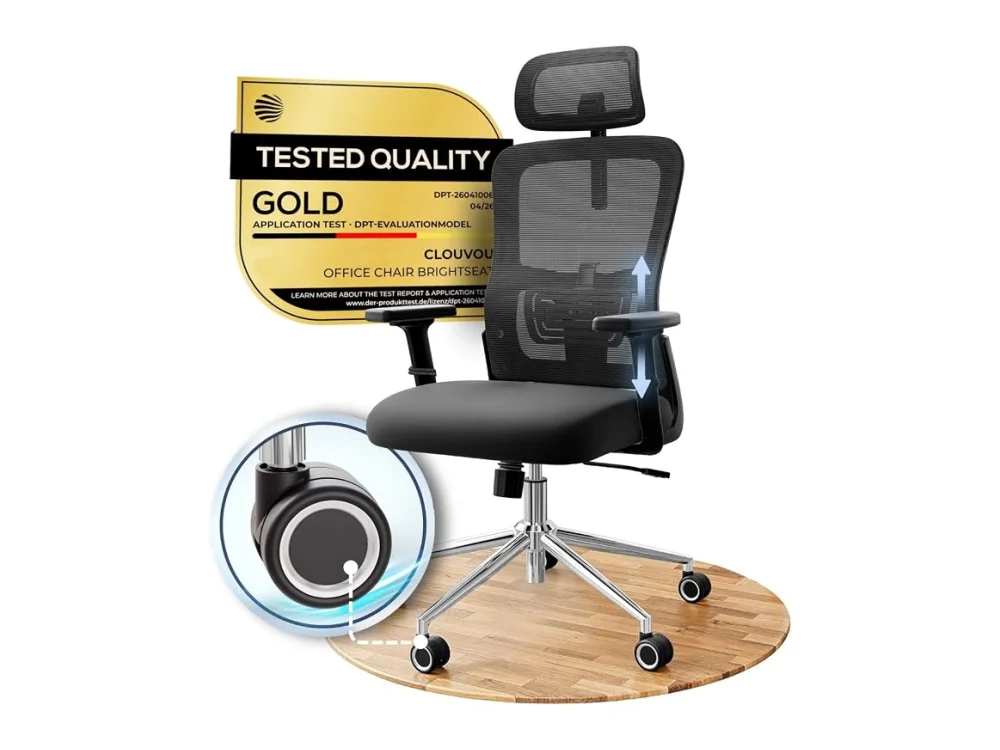 Autonomous ErgoChair Pro
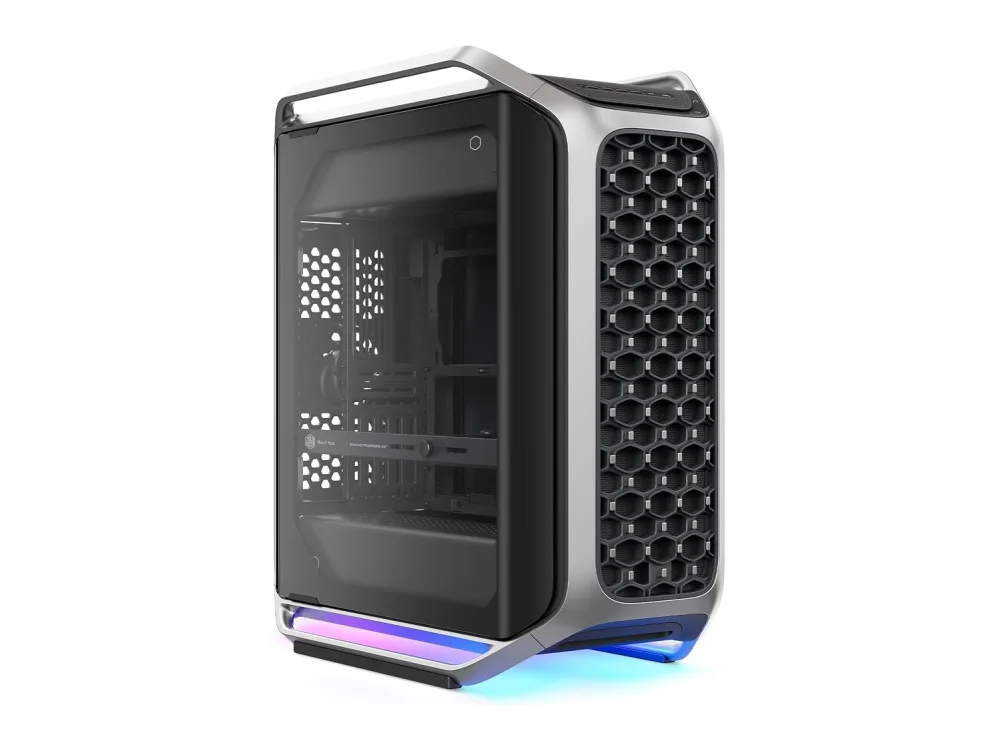 Cooler Master Cosmos Alpha
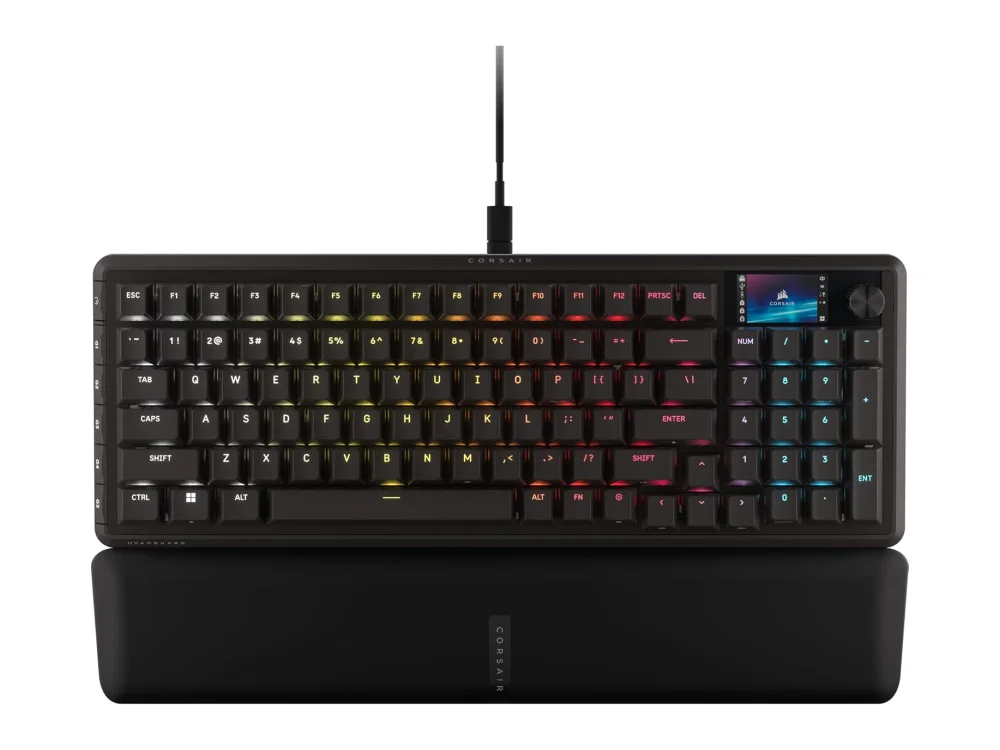 Corsair Vanguard Pro 96
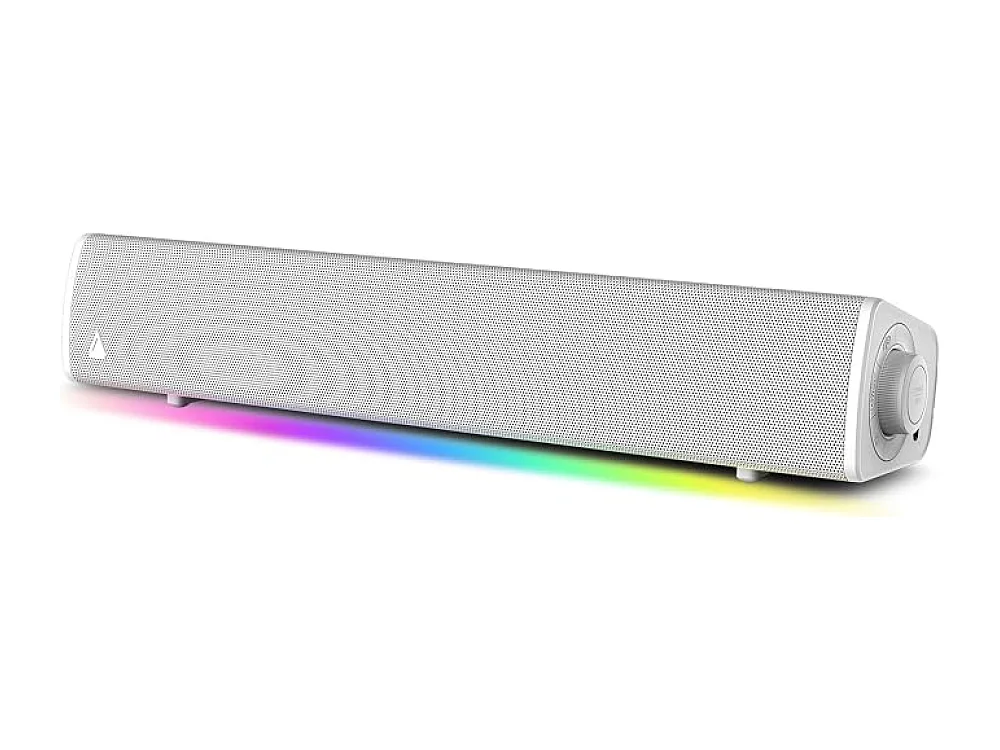 Creative Sound Blaster GS3
Leave a comment
Questions, corrections or your own experience: it goes to our team at comments@runonconsole.com and you get a copy.