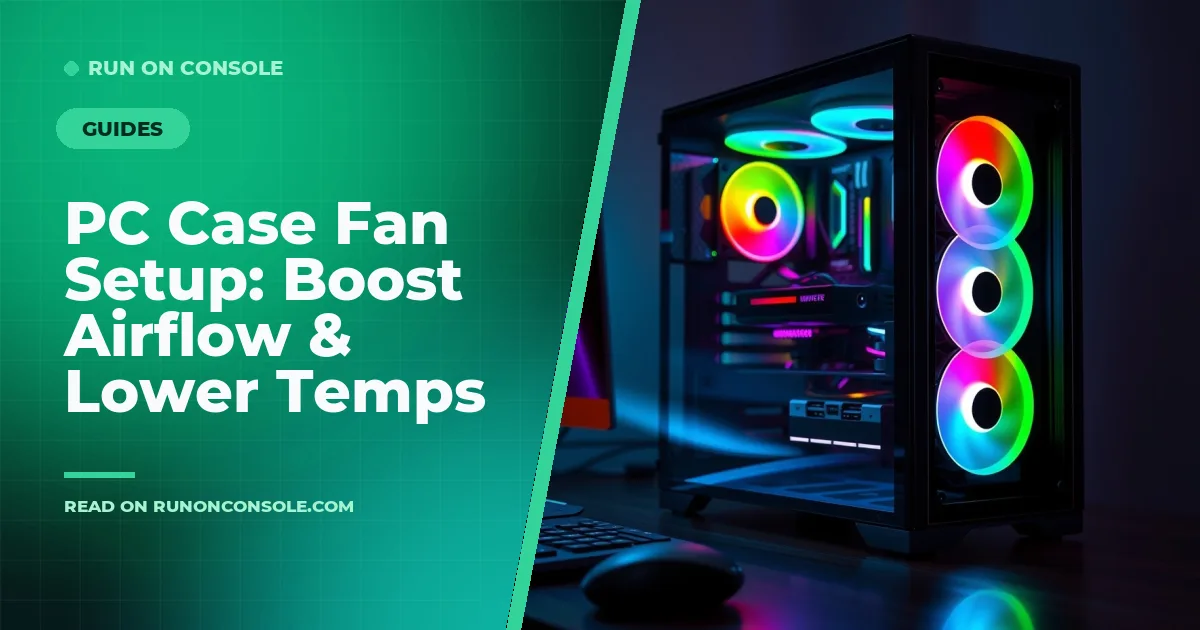
PC Case Fan Setup: Boost Airflow & Lower Temps

Article Overview & Key Takeaways
A practical guide that walks you through planning, installing, and tuning case fans so your PC stays cool and quiet.
Gaming gear to check
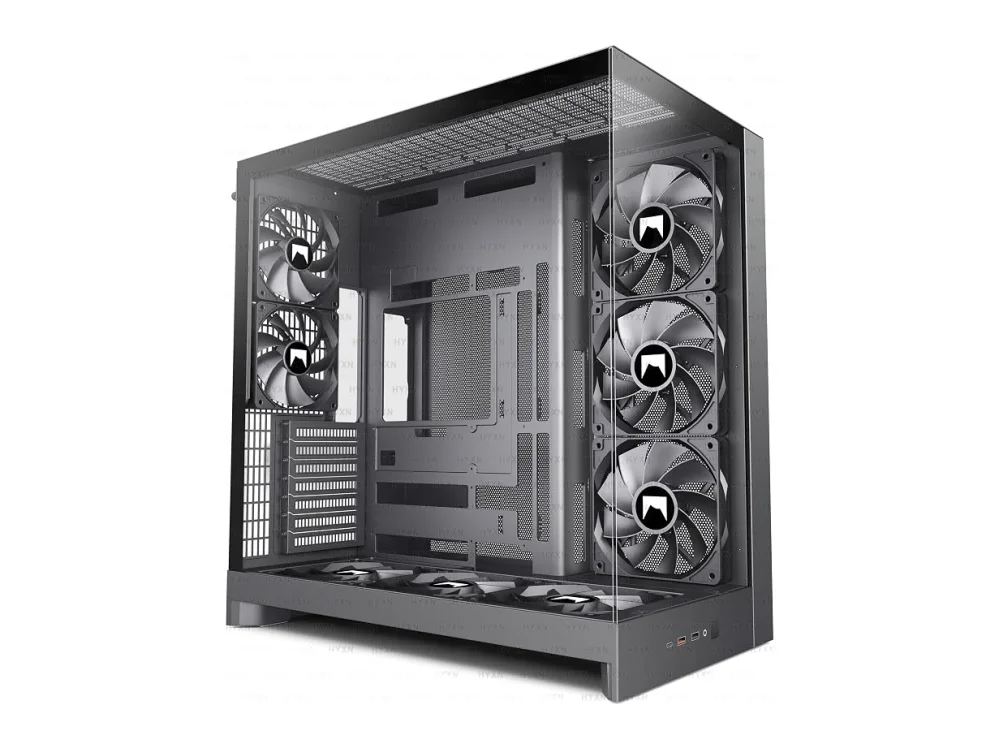 Montech TG3
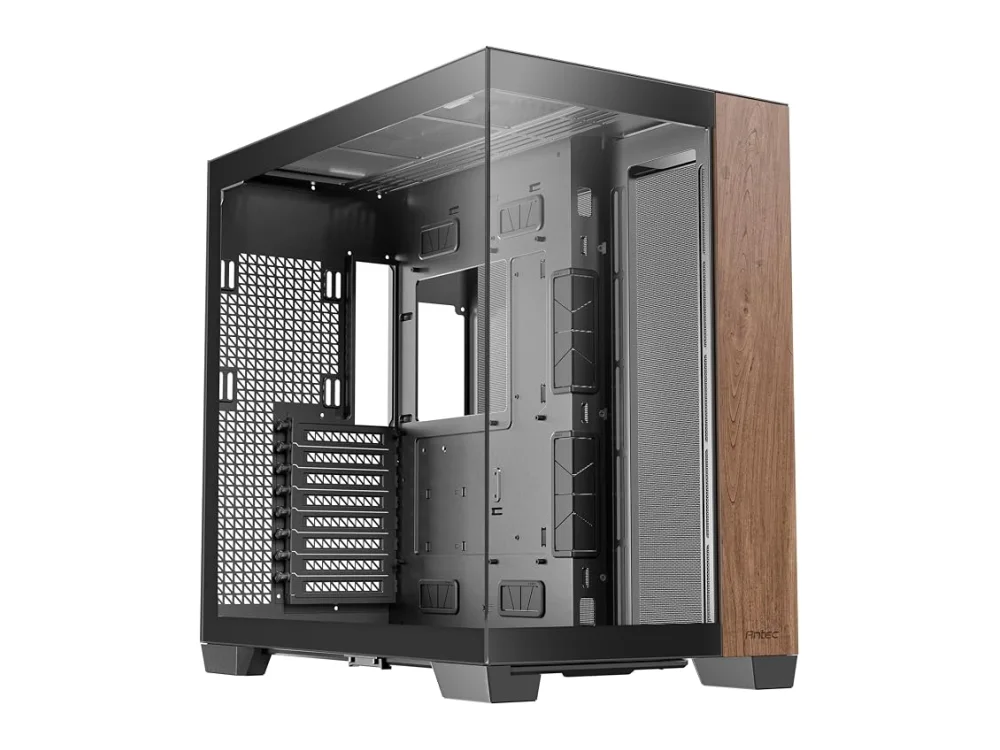 Phanteks G500A
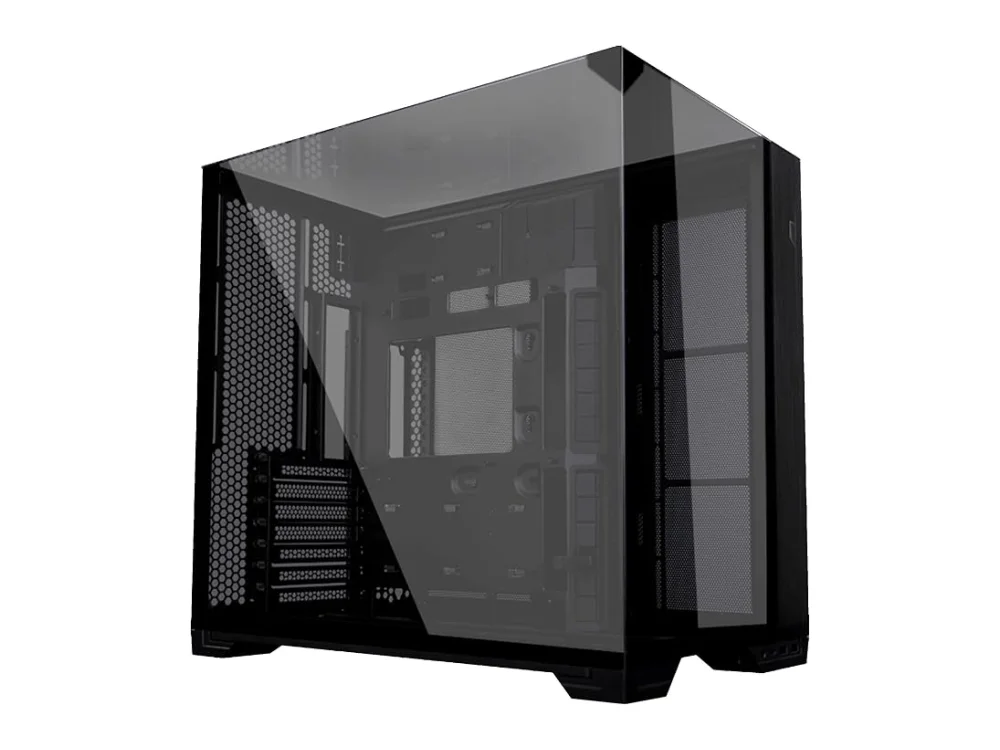 Lian Li O11 Vision Compact
In this guide you’ll learn how to set up case fans for better airflow and lower temperatures, giving your components the cooling they need while keeping noise down. By the end you’ll understand fan placement, wiring, and how to fine‑tune curves for a balanced system.
Before you start, take a look at our PC Cases section to see which chassis offer the best airflow options. Cases with mesh fronts or dedicated fan mounts make the process much easier.
What you need
- Case fans (size matching your case – 120 mm or 140 mm are common)
- Phillips screwdriver
- Fan screws (usually included with the fans)
- Fan controller or available motherboard fan headers
- Thermal monitoring software (e.g., HWMonitor, Core Temp)
- Optional: anti‑vibration mounts or rubber grommets
Step 1: Plan Your Airflow Path
The most efficient airflow follows a straight line: cool air enters from the front or bottom (intake) and hot air exits from the rear or top (exhaust). This creates a positive pressure environment that reduces dust buildup. Sketch a quick diagram of your case and mark where you’ll place intake and exhaust fans.
Tip: If your case has a solid front panel, consider adding a dedicated intake fan rather than relying on vents.
Common mistake: Mixing intake and exhaust fans on the same side, which creates turbulent airflow and reduces cooling efficiency.
Step 2: Choose the Right Fans
Fans come in two main categories: high static pressure (good for pushing air through dense filters or radiators) and high airflow (ideal for unrestricted openings). For front intakes with dust filters, static‑pressure fans work best. For rear and top exhausts, high‑airflow fans are usually sufficient.
Popular options include the be quiet! Pure Base 501 Airflow which ships with high‑static‑pressure fans, and the Corsair 3200D Airflow that features a mesh front for excellent intake.
Want to buy a PC case? Here are 3 similar picks:
- Corsair 3500X: Mid-range gaming builds
- Corsair Air 5400: Mid-range gaming builds
- Fractal Design North: Minimalist gaming builds
Open a product to see its full details, then use the Amazon button there.
Step 3: Position Fans Correctly
- Front intake: Install two 120 mm or 140 mm fans pulling air into the case. If your case supports a bottom intake, add another fan there for extra cool air.
- Rear exhaust: Place a single fan to expel hot air from the CPU area.
- Top exhaust: Heat rises, so a top-mounted fan helps pull warm air out of the case.
- Side or side‑panel intake: Some cases, like the be quiet! Shadow Base 800, have side panels that can accommodate an extra intake fan for GPU cooling.
When using a case like the Cooler Master Cosmos Alpha, you have the flexibility to mount fans on the front, side, and top, giving you many configuration options.
Want to buy a PC case? Here are 3 similar picks:
- Fractal Design North XL: Enthusiast builds with ample space
- Fractal Design Terra: Straightforward mid-tower builds
- Havn BF 360: Budget-friendly gaming builds
Open a product to see its full details, then use the Amazon button there.
Step 4: Mount the Fans Securely
Line up the fan’s screw holes with the case’s mounting points. Most fans use four #6‑32 screws. Tighten them evenly to avoid wobble. If your case includes rubber grommets, use them to dampen vibration and reduce noise.
Tip: Orient the fan’s arrows so they point in the intended direction – intake arrows face the interior, exhaust arrows face outward.
Common mistake: Forgetting to connect the fan’s power cable, which results in a silent but non‑functional fan.
Step 5: Wire Fans to Power and Control
Connect each fan to a motherboard header (usually labeled CPU_FAN, CHA_FAN, or PWR_FAN) or to a dedicated fan controller. If you have more fans than headers, a splitter cable works, but keep the total amperage within the header’s rating (typically 1 A).
For larger builds, the Cooler Master HAF 700 offers ample fan headers and a built‑in controller, simplifying cable management.
Want to buy a PC case? Here are 3 similar picks:
- HYTE Y70: Standard gaming builds
- HYTE Y70 Touch: Clean-look gaming builds
- Lian Li Lancool 216: Standard ATX gaming builds
Open a product to see its full details, then use the Amazon button there.
Step 6: Set Fan Curves in BIOS or Software
Enter your BIOS or use the motherboard’s utility (e.g., ASUS Fan Xpert, MSI Command Center) to create fan curves. A typical curve ramps fan speed from 30% at 30 °C to 100% at 70 °C. Adjust based on your noise tolerance and temperature goals.
After saving the settings, boot into Windows and monitor temperatures under idle and load using your preferred software.
Step 7: Test and Fine‑Tune
Run a stress test (e.g., Prime95 for CPU, FurMark for GPU) for 10‑15 minutes while watching temps. If any component exceeds safe limits, consider adding an extra intake or increasing fan speeds.
Use the Can I run it? tool to verify that your cooling setup meets the requirements of demanding games, and check the PC requirements of 2,400+ games for any specific thermal thresholds.
Tip: Positive pressure (more intake than exhaust) helps keep dust out, while negative pressure can draw dust through unfiltered gaps.
Common mistake: Setting all fans to 100% speed, which raises noise without a proportional temperature drop.
FAQ
How many fans should I install?
At a minimum, use one intake at the front and one exhaust at the rear. For optimal cooling, add a top exhaust and, if space allows, a bottom intake. The exact number depends on case size and component heat output.
Do I need a fan controller?
A controller is useful if you have many fans or want precise manual control. Otherwise, motherboard headers and software fan curves are sufficient for most builds.
Can I mix fan sizes in the same case?
Yes, as long as the case supports the mounting brackets. Mixing 120 mm and 140 mm fans is common; just ensure each fan’s airflow direction aligns with your overall plan.
Conclusion
Proper case fan setup is one of the simplest ways to improve system stability, extend component lifespan, and keep noise levels low. By planning airflow, choosing the right fans, mounting them securely, wiring correctly, and fine‑tuning curves, you’ll achieve a cooler, quieter PC that can handle demanding games and workloads.
Keep reading
Gaming gear on Run On Console
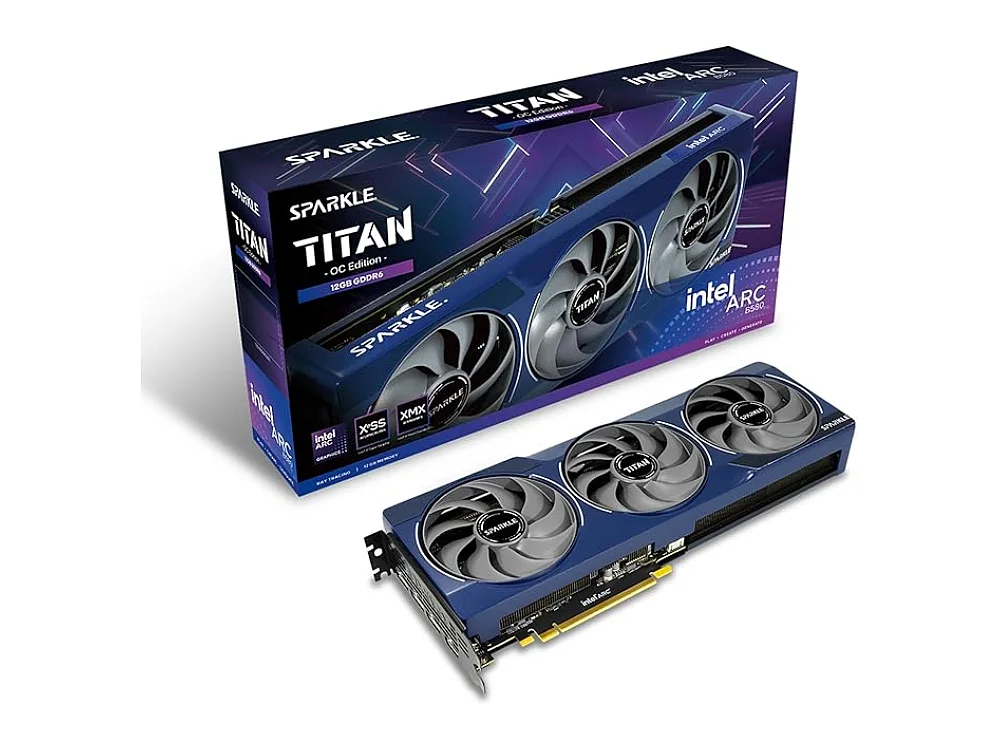 Intel Arc B580
 AMD Ryzen 7 8700G
 be quiet! Light Mount TKL
 AYANEO 3
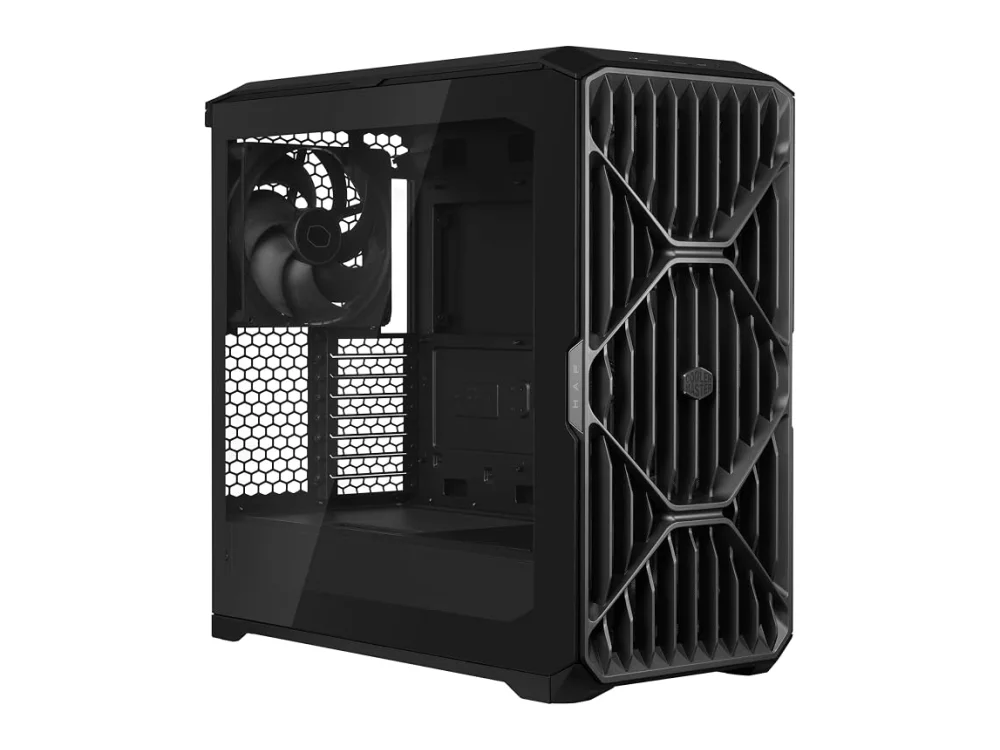 Cooler Master HAF 700
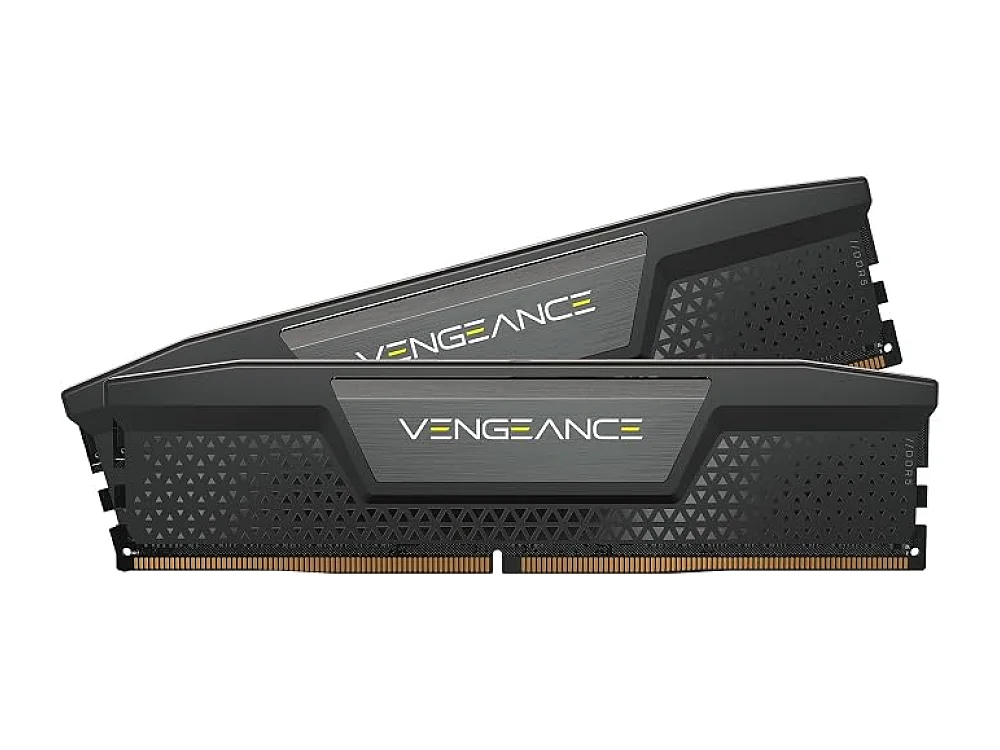 Corsair Vengeance DDR5-5200 192GB
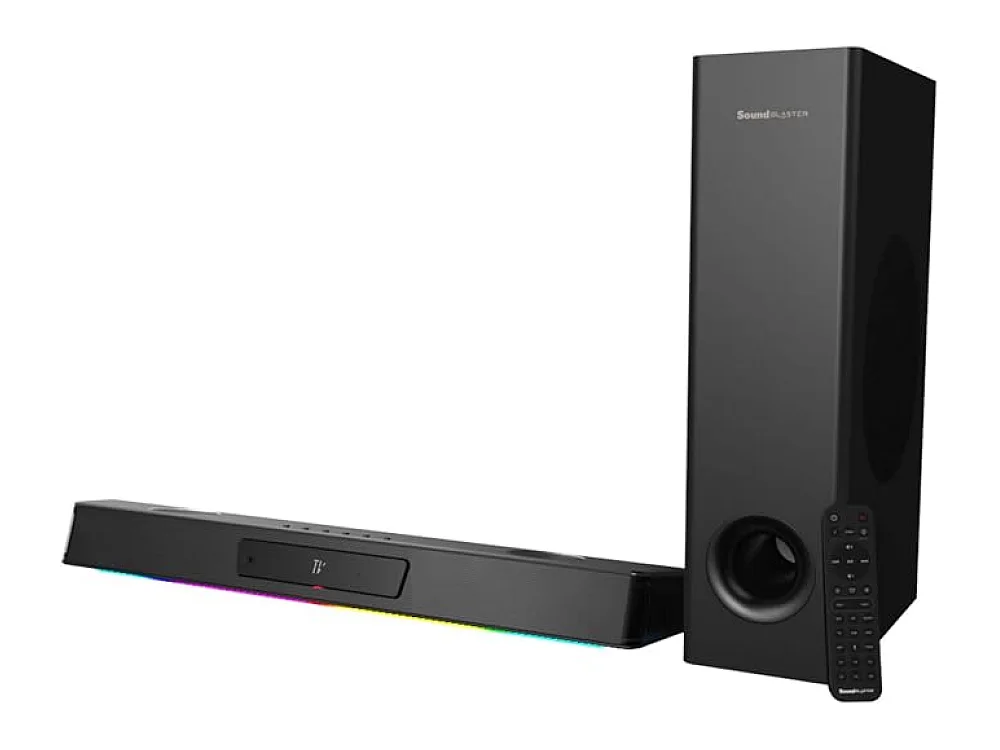 Creative Sound Blaster Katana V3
Leave a comment
Questions, corrections or your own experience: it goes to our team at comments@runonconsole.com and you get a copy.