PC Cable Management: Step‑by‑Step Guide for a Clean Gaming Build

Article Overview & Key Takeaways
A clear, step‑by‑step walkthrough to achieve professional‑grade pc cable management in any gaming build.
Gaming gear to check
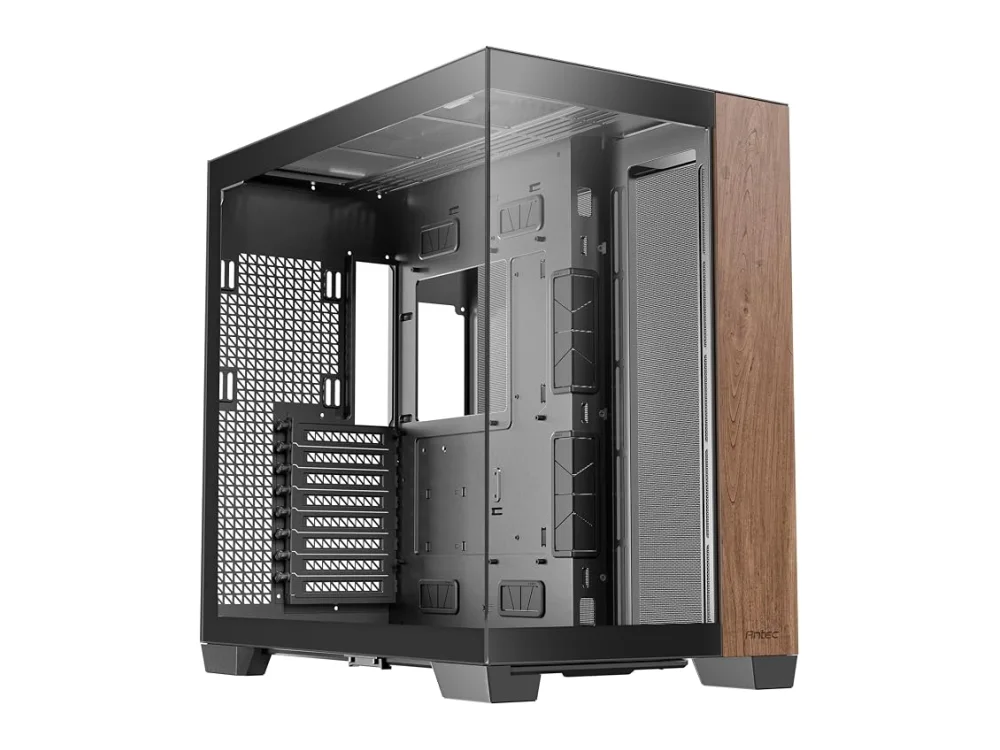 Phanteks G500A
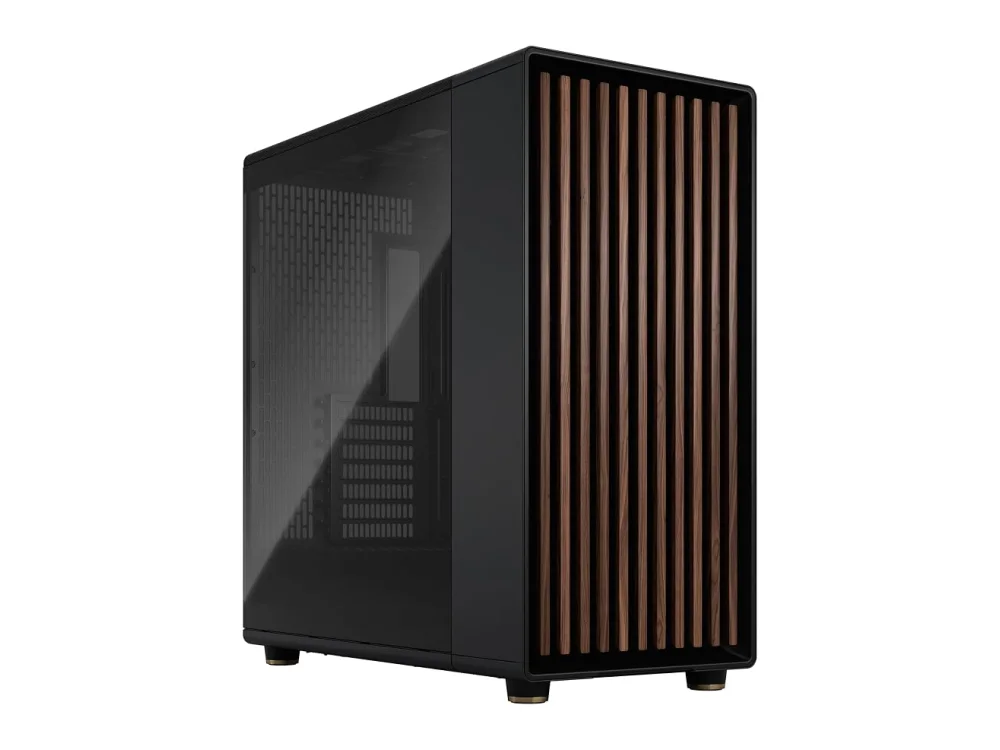 Fractal Design North XL
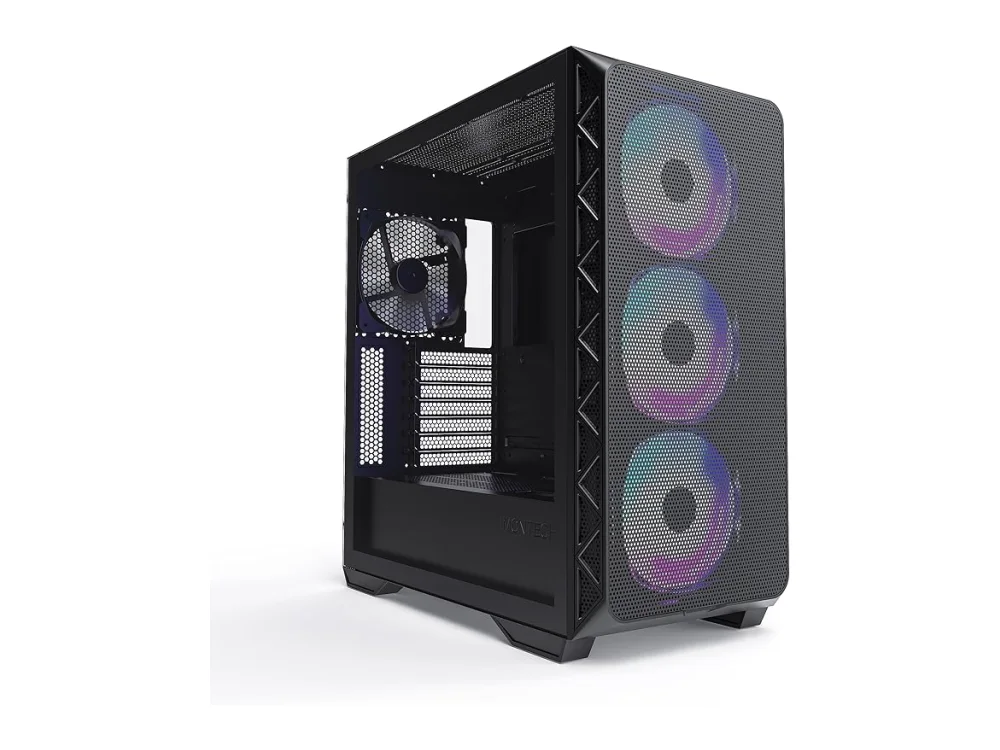 Montech Air 903 Max
By the end of this guide you’ll have a gaming PC that looks as good on the inside as it performs on the outside. Clean pc cable management improves airflow, makes future upgrades easier, and gives your rig a polished, showroom‑ready appearance.
We’ll cover everything from choosing the right PC Cases to securing every power and data cable with the right tools. Follow each step and you’ll avoid the tangled mess that most builders dread.
What you need
- Phillips screwdriver
- Zip ties (plastic) and reusable Velcro straps
- Cable combs (optional but handy for front‑panel cables)
- Scissors or tie cutters
- Anti‑static wrist strap (recommended for safety)
- Case with good cable routing features (see PC Cases for options)
Step 1: Choose a Case Built for Cable Management
A case with dedicated cable routing holes, tie‑down points, and removable drive cages makes the whole process smoother. Popular choices include the be quiet! Pure Base 501 Airflow, the be quiet! Shadow Base 800, the Cooler Master Cosmos Alpha, the Cooler Master HAF 700, and the Corsair 3200D Airflow. All of these models provide ample space behind the motherboard tray and multiple rubber‑grommeted openings for clean routing.
Before you buy, double‑check the case’s specifications on the Can I run it? page to ensure the interior dimensions fit your GPU, CPU cooler, and any custom water‑cooling loops you may plan.
Want to buy a PC case? Here are 3 similar picks:
- Corsair 3500X: Mid-range gaming builds
- Corsair Air 5400: Mid-range gaming builds
- Fractal Design North: Minimalist gaming builds
Open a product to see its full details, then use the Amazon button there.
Step 2: Plan Your Cable Paths Before Installing Anything
Lay out the motherboard, power supply, and drives on the case floor (or a clean work surface) without tightening any screws. Visualise where each cable will travel:
- Power cables – from the PSU to the motherboard’s 24‑pin, CPU 8‑pin, and GPU 6/8‑pin connectors.
- Data cables – SATA cables from drives to the motherboard, and any front‑panel USB/Audio cables.
- Cooling loops – if you’re using an AIO or custom loop, plan the tube route first.
Sketch a quick diagram or use a piece of paper to mark the optimal route. This planning stage prevents you from pulling cables through tight spaces later, which can damage them.
Step 3: Install the Power Supply and Route the Main Cables
Mount the PSU in the designated compartment (usually bottom‑rear). Most modern cases have a built‑in cable‑management shroud. Feed the 24‑pin ATX cable through the nearest grommet, then pull it up behind the motherboard tray. Use a zip tie to secure the cable to the tray’s side rails, leaving a small loop for slack.
Do the same for the CPU power cable and any PCI‑e power cables. If your case has a dedicated “cable routing channel,” push the cables into that channel so they stay out of the main airflow path.
Step 4: Install the Motherboard and Secure Front‑Panel Connectors
Place the I/O shield in the case opening, then lower the motherboard onto the standoffs. Before you screw it down, connect the front‑panel connectors (USB, audio, power button). Use the case’s built‑in cable‑clip guides to keep these short cables tucked away.
Tip: If the front‑panel cables are long, trim excess length with a wire cutter, but keep at least a few centimeters of slack for future motherboard swaps.
Step 5: Attach Storage Drives and Route SATA Cables
Mount SSDs and HDDs in the drive bays or on the dedicated brackets. When you connect SATA data cables, aim to keep them parallel to the case’s side panel. Many cases provide a “SATA cable holder” – slide the cable into the slot and secure it with a Velcro strap.
Common mistake: Using the same SATA cable for multiple drives without proper routing, which creates a spaghetti mess. Instead, dedicate a short cable to each drive and bundle them together with a zip tie.
Step 6: Install the GPU and Manage Its Power Cables
Insert the graphics card into the appropriate PCI‑e slot, then secure it to the case with the screw provided. The GPU’s power cables are often the thickest, so route them through the same cable‑management channel used for the PSU cables. If the channel is too narrow, use a cable comb to keep the cables flat and prevent kinking.
Pro tip: Use a short 90‑degree power connector (if your PSU includes one) to reduce the amount of cable that hangs over the GPU’s edge.
Step 7: Tidy Up with Zip Ties, Velcro Straps, and Cable Comb
Now that every component is in place, start bundling cables. Group cables by function (e.g., all power cables together, all data cables together). Use zip ties for permanent bundles and Velcro straps for cables you might want to adjust later.
When bundling, avoid over‑tightening – a zip tie should be snug but not crushing the wires. For front‑panel cables, a small cable comb keeps the bundle neat and improves airflow.
Step 8: Perform a Final Check and Test Airflow
Before you close the case, double‑check each connection. Verify that no cable is pinched by a fan blade or obstructing a radiator. Close the side panels and power on the system. Use a monitoring tool to watch temperatures; clean cable management should lower CPU and GPU temps by a few degrees compared to a messy build.
If you notice higher temperatures, revisit the routing – perhaps a cable is blocking the intake fan. Adjust as needed.
Step 9: Document Your Build for Future Upgrades
Take a few photos of the interior once you’re satisfied. Store them in a folder named after your PC build. When you upgrade components later, you’ll have a reference for where each cable should go, saving time and avoiding the dreaded “where does this wire belong?” dilemma.
FAQ
Can I use any zip tie size for cable management?
Yes, but smaller (3‑4 mm) zip ties work best for tight spaces, while larger (6‑8 mm) are suitable for bundling power cables. Avoid metal zip ties as they can damage wires.
Do I need to cut my cables to make them shorter?
Only if a cable is excessively long and creates slack. Cutting is irreversible, so it’s safer to use Velcro straps to manage excess length.
Will better cable management really affect my game performance?
Indirectly, yes. Cleaner airflow reduces component temperatures, which can prevent thermal throttling during long gaming sessions, leading to more consistent frame rates.
Conclusion
Effective pc cable management is a blend of planning, the right tools, and a bit of patience. By following the steps above, you’ll enjoy cooler temperatures, easier upgrades, and a build that looks as impressive as the games you play. Happy building!
Keep reading
Gaming gear on Run On Console
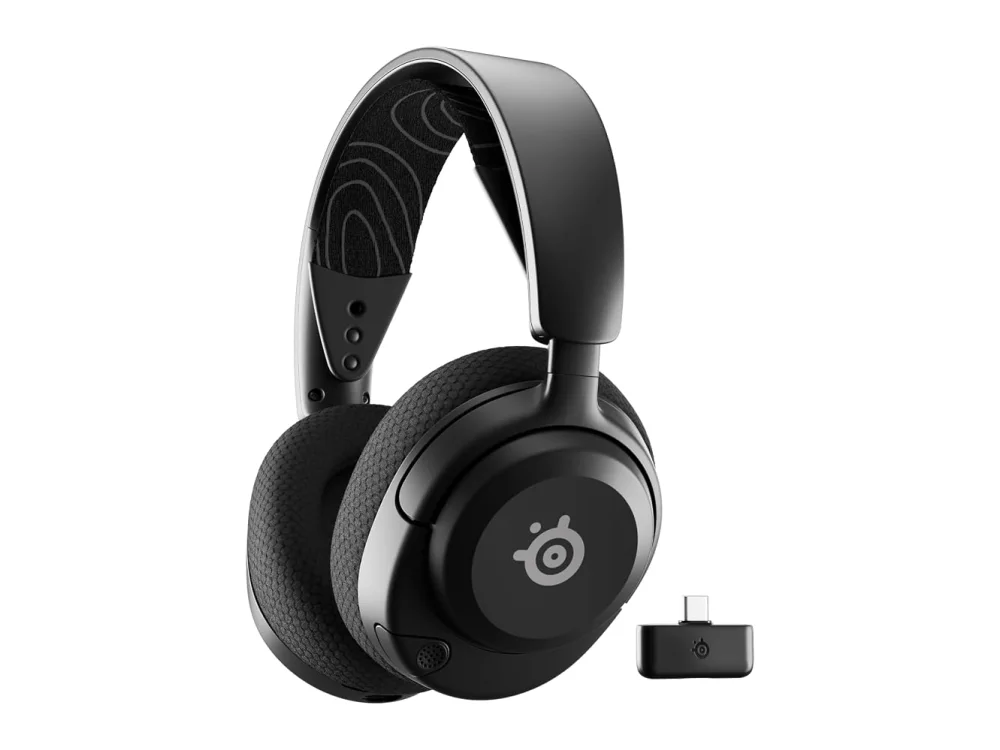 SteelSeries Arctis Nova 5 Wireless
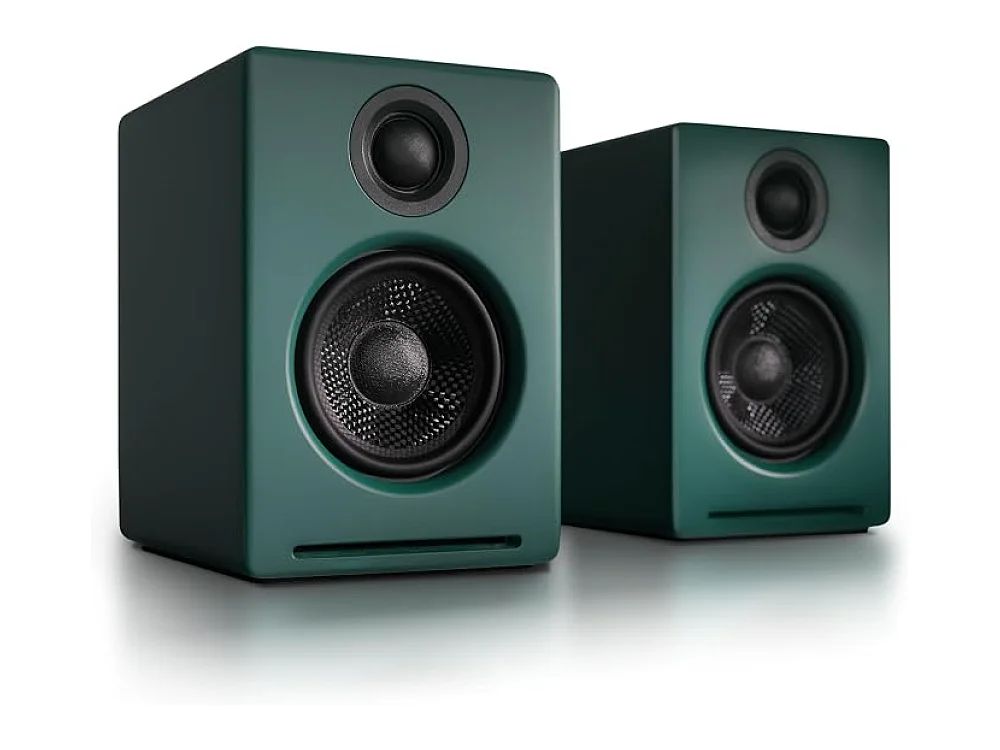 Audioengine A2+
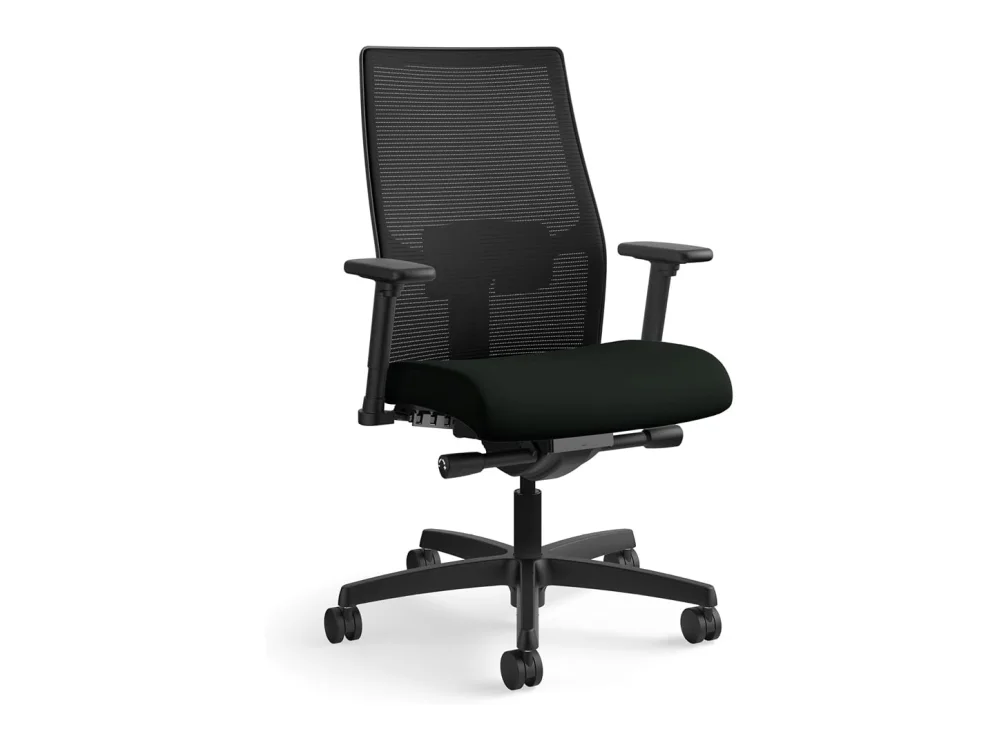 HON Ignition 2.0
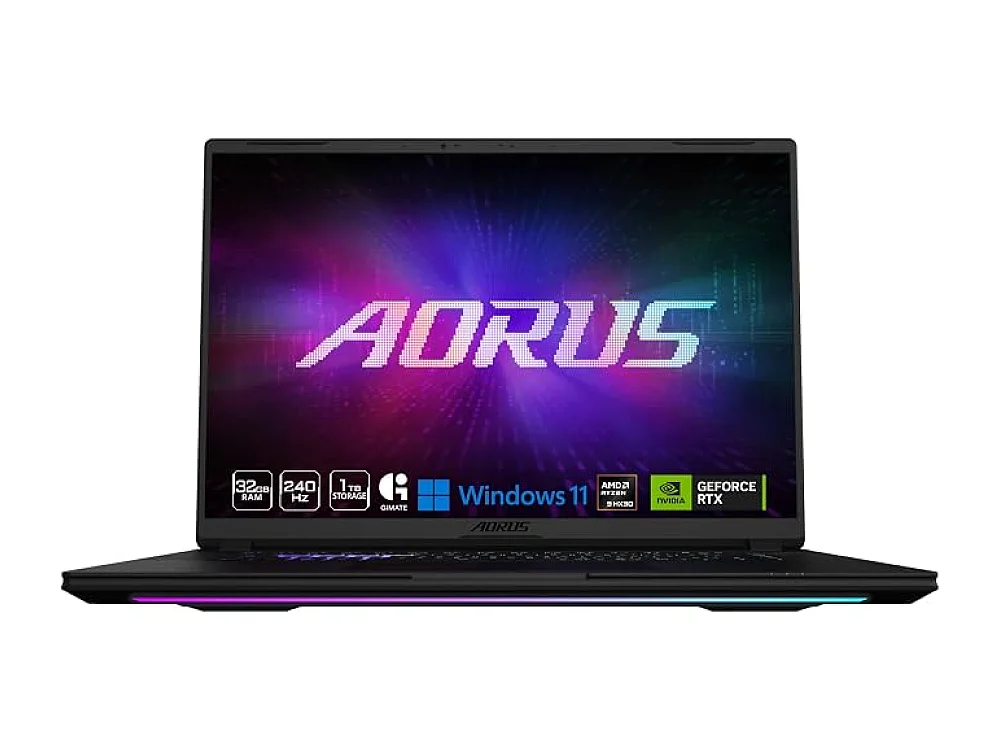 Gigabyte AORUS Master 16
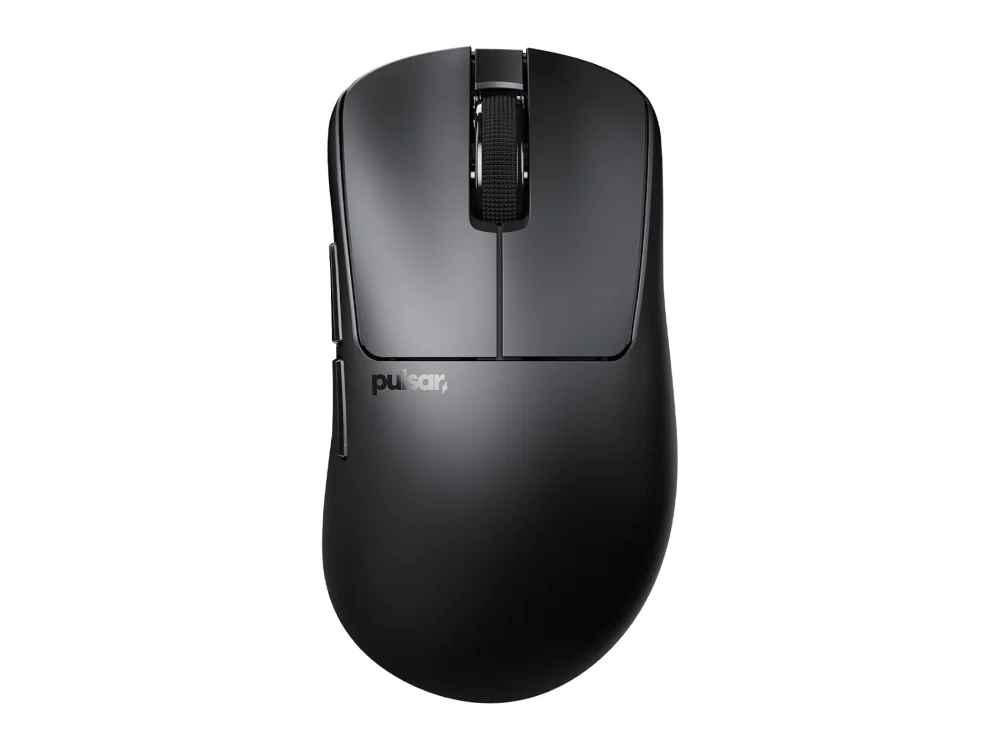 Pulsar Xlite CrazyLight
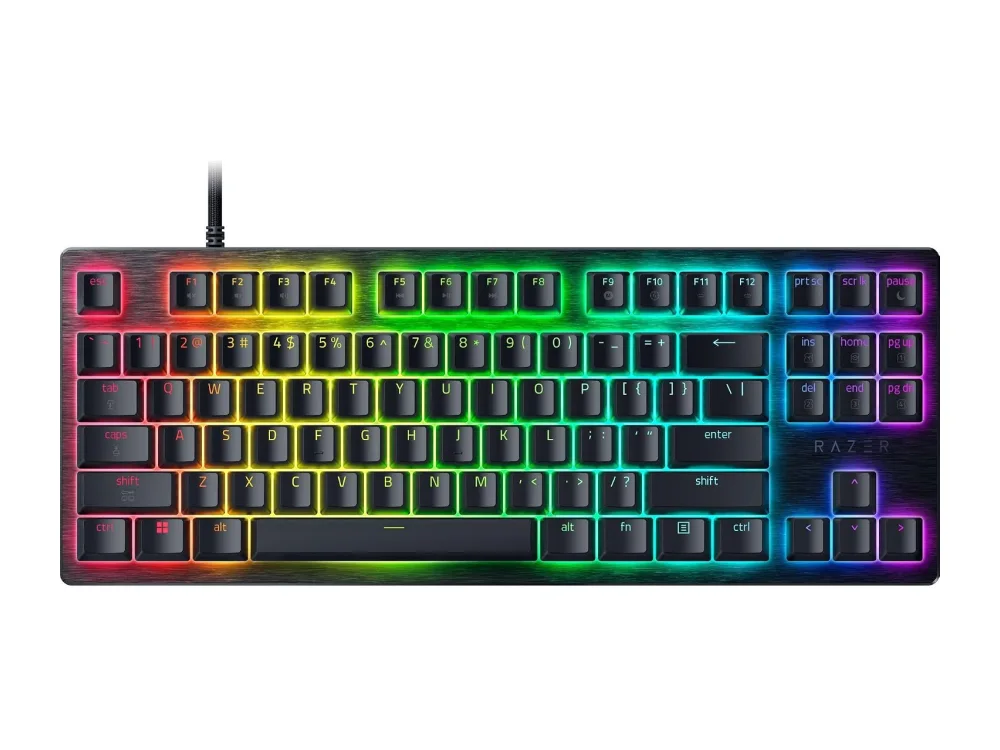 Razer Huntsman V3 HE
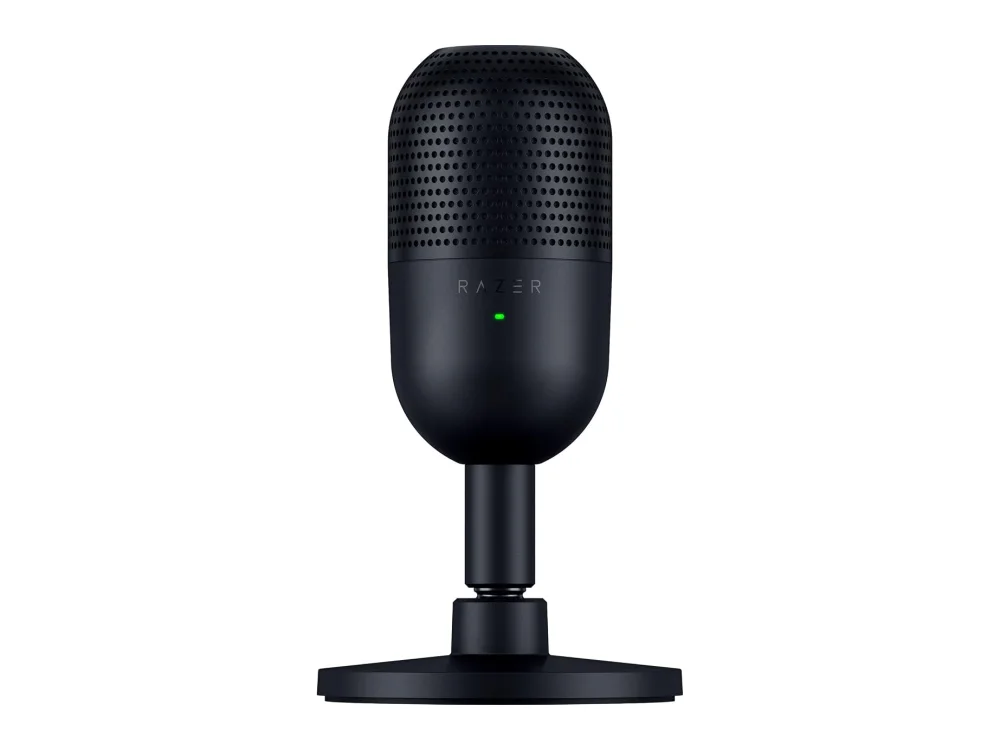 Razer Seiren V3 Mini
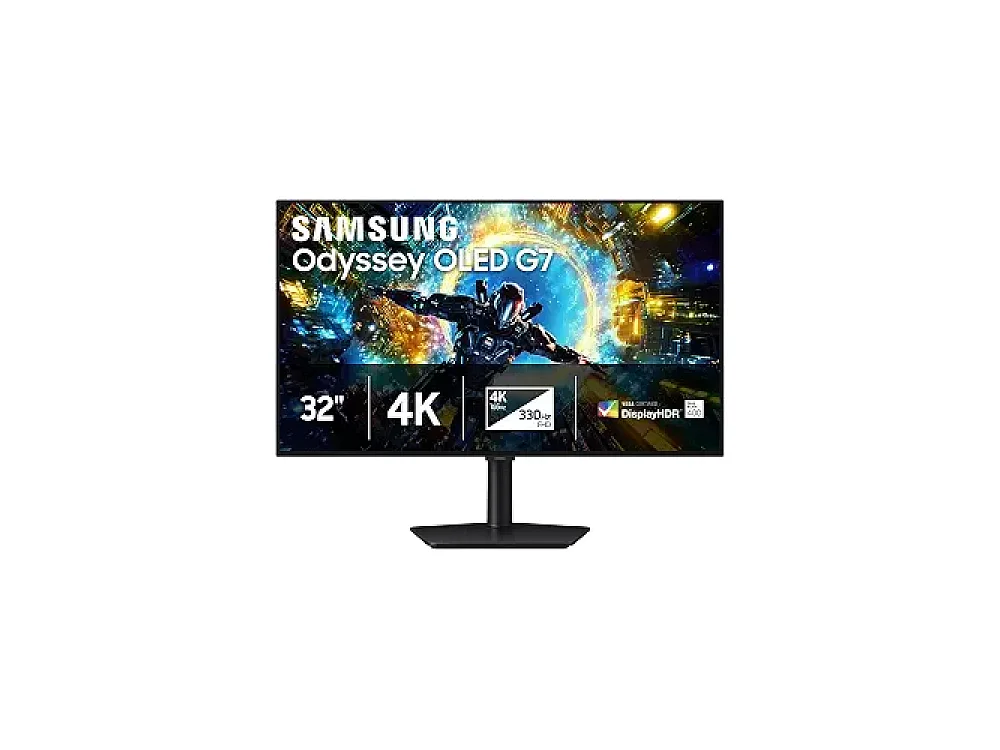 Samsung Odyssey OLED G73SH S32HG732S
Leave a comment
Questions, corrections or your own experience: it goes to our team at comments@runonconsole.com and you get a copy.