How to Clean a Gaming Mouse, Feet and Sensor

Article Overview & Key Takeaways
A step-by-step tutorial on how to clean a gaming mouse, covering the sensor, PTFE feet, and internal dust to restore factory performance.
Gaming gear to check
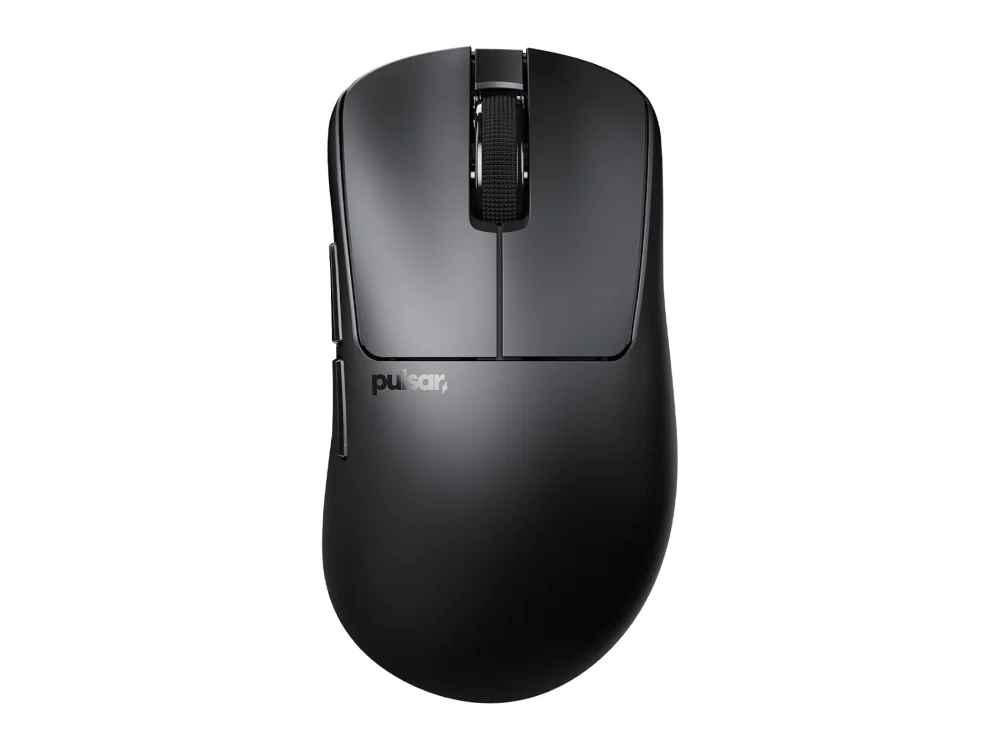 Pulsar Xlite CrazyLight
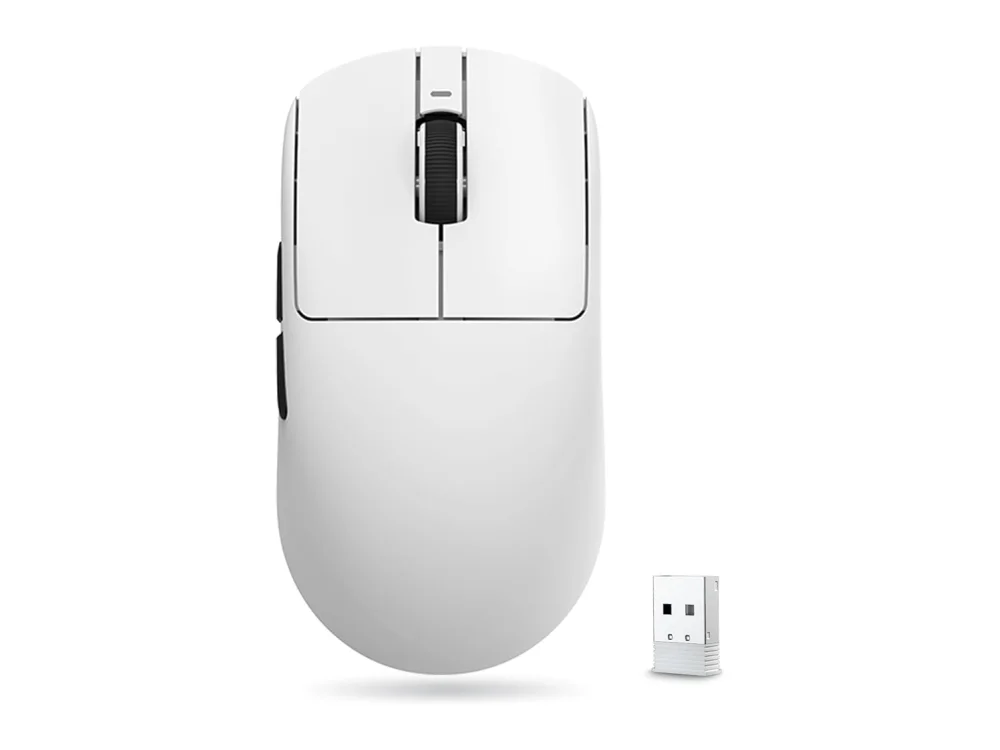 VXE R1 Pro
A dirty gaming mouse causes erratic cursor movement, reduced grip, and premature sensor failure. This guide shows you how to clean a gaming mouse thoroughly, restoring its performance without voiding the warranty. You will learn to safely remove dust from the optical sensor, polish the PTFE feet, and deep-clean the internal mechanics.
Regular maintenance is essential for high-end peripherals. Whether you use a lightweight option like the Logitech G PRO X Superlight 2 or a robust model like the Endgame Gear OP1 8K V2, dust accumulation inside the shell interferes with the sensor’s ability to read surface reflections. Keeping your gear clean ensures that your aim remains consistent during competitive matches.
What You Need
- Compressed air duster (canned air)
- Isopropyl alcohol (90% or higher)
- Lint-free microfiber cloths
- Cotton swabs (Q-tips)
- Soft-bristled toothbrush (optical, non-abrasive)
- Plastic spudger or flathead screwdriver (if disassembling)
- Blue tack or sticky putty (optional for sensor)
Step 1: Preparation and External Wipe-Down
Before touching the sensor, you must remove loose surface dust. Power off the mouse and unplug it if it is wired. For wireless mice, remove the batteries to prevent accidental activation. Take the mouse to a well-lit, stable surface. Use a dry, lint-free microfiber cloth to wipe down the body. Pay close attention to the sides where your palm rests and the scroll wheel area, where skin oils and dead skin cells accumulate. If the mouse has textured rubber grips, use a slightly damp cloth with a tiny drop of isopropyl alcohol to cut through the grease. Do not soak the cloth; excess liquid can seep into the seams. This initial step prevents you from pushing surface debris into the internal components during the deeper cleaning phases.
Common Mistake: Using a wet paper towel. Paper towels leave behind lint and fibers that stick to the sensor and feet, making the problem worse.
Step 2: Cleaning the PTFE Feet
The PTFE (Teflon) feet are critical for smooth gliding. Over time, they collect dust, hair, and skin flakes, creating friction. Flip the mouse over and inspect the feet. Use a soft-bristled toothbrush to gently sweep away any loose debris from the foot surface and the mating area on the mouse body. If the feet are particularly grimy, dip a cotton swab in isopropyl alcohol and rub them firmly. Let the alcohol evaporate completely before using the mouse again. This restores the low-friction surface that allows for precise micro-adjustments in fast-paced games.
If you own a mouse with removable feet, such as the Corsair M75 Wireless, you can pop them off for a more thorough wash under running water, provided you are certain the internal electronics are sealed. However, for most gaming mice, it is safer to clean them in place to avoid damaging the adhesive or the underlying sensor housing.
Want to buy a gaming mouse? Here are 3 similar picks:
- Logitech G PRO X2 SUPERSTRIKE: Best Competitive FPS / Premium
- Logitech G502 X PLUS: Best Work & Play / Feature-Rich
- MCHOSE A7: Best Value Lightweight
Open a product to see its full details, then use the Amazon button there.
Step 3: Removing Dust from the Sensor
This is the most delicate part of the process. Locate the optical sensor window on the bottom of the mouse. It is a small, dark, glass-like square or circle. Do not touch this window with your fingers, as oils will remain even after wiping. Take the can of compressed air and hold it upright. Use short, sharp bursts to blow dust out from the sensor opening and the surrounding vents. Hold the can at a 45-degree angle to the surface to avoid pushing dust deeper into the chassis.
After blowing out the loose dust, inspect the sensor window. If you see smudges or fine particles remaining, use a cotton swab lightly dampened with isopropyl alcohol. Gently rub the window in a circular motion. Be extremely gentle; the glass is fragile. Once clean, use a dry cotton swab to buff it until it is streak-free. A clean sensor ensures that the mouse tracks accurately on your mousepad, preventing the "jitter" or stuttering that plagues dirty sensors.
Tip: If you are nervous about using liquid on the sensor, you can use a piece of blue tack. Press it gently onto the sensor window and peel it off. This lifts out fine dust particles without any risk of liquid damage.
Step 4: Deep Cleaning Internal Vents
Dust often enters through the small ventilation holes on the sides or bottom of the mouse, near the buttons. This internal dust can interfere with the button switches and the sensor. Use the compressed air again, this time targeting these small holes. Insert the nozzle close to the opening and blast the dust out. Shake the mouse gently while doing this to help dislodge trapped particles. If you have a soft brush, you can also gently brush the outside of these vents to remove any clumps of dust that have caked on.
This step is particularly important for mice with 8K or higher polling rates, such as the Endgame Gear OP1 8K V2, where even minor internal obstructions can cause frame drops in tracking data. Ensure all vents are clear before proceeding.
Want to buy a gaming mouse? Here are 3 similar picks:
- MCHOSE L7 Ultra: Best Mid-Range
- Pulsar X2 CrazyLight Mini: Best Small Ultra-Light
- Pulsar X2F CrazyLight: Best Ultra-Light / Fingertip
Open a product to see its full details, then use the Amazon button there.
Step 5: Button and Scroll Wheel Maintenance
The left and right click buttons and the scroll wheel are high-contact areas. Dust and crumbs can get stuck under the buttons, causing double-clicks or a mushy feel. Use a cotton swab to clean the gaps around the buttons. For the scroll wheel, use a soft brush to sweep away hair and fibers that wrap around the mechanism. If the scroll wheel feels gritty, a small amount of isopropyl alcohol on a swab can help clean the rubber texture. Avoid pushing liquid directly into the scroll wheel mechanism, as this can damage the encoder. A clean scroll wheel ensures smooth navigation in menus and competitive overlays.
Step 6: Drying and Reassembly
Once you have finished all the cleaning steps, allow the mouse to air dry for at least 15-20 minutes. Ensure the sensor window is completely dry and free of alcohol residue. Reattach any feet you removed and insert the batteries if you took them out. Plug in the mouse or turn it on and test it on your mousepad. Move the cursor in large circles and straight lines to check for tracking consistency. If the cursor still stutters, the sensor may need a professional inspection, or the mousepad may be dirty.
Common Mistakes to Avoid
- Using water: Water conducts electricity and can short-circuit the internal PCB. Always use isopropyl alcohol, which evaporates quickly and leaves no residue.
- Pressing too hard on the sensor: The optical sensor glass is thin and can crack under pressure. Use light, circular motions.
- Ignoring the mousepad: A clean mouse on a dirty pad is useless. Clean your mousepad regularly with mild soap and water.
- Using abrasive materials: Never use paper towels, rough cloths, or solvent-based cleaners on the sensor or feet.
FAQ
How often should I clean my gaming mouse?
It is recommended to perform a basic wipe-down and sensor blow-out every two to four weeks, depending on how much dust is in your room and how often you use the mouse. A deep clean, including the feet and internal vents, should be done every two to three months. If you notice tracking issues or a change in glide, clean it immediately.
Can I use water to clean the sensor?
No, you should never use water on the sensor or any internal component. Water does not evaporate quickly and can leave mineral deposits or cause corrosion. Isopropyl alcohol is the safe choice because it evaporates rapidly and disinfects the surface without leaving residue.
What if the sensor is cracked?
If the sensor window is cracked, the mouse will likely not function correctly, as the optical lens can no longer focus the light properly. In this case, cleaning will not fix the issue. You may need to replace the sensor module if you are skilled in electronics repair, or replace the mouse entirely. Check if your mouse is still under warranty, as physical damage to the sensor is usually not covered, but manufacturing defects might be.
Conclusion
Maintaining your gaming mouse is a simple process that significantly extends its lifespan and ensures consistent performance. By regularly cleaning the sensor, feet, and internal vents, you prevent dust buildup that causes tracking errors and friction. Use the right tools, follow the steps carefully, and your mouse will feel like new. For more tips on maintaining your peripherals, explore our Gaming Mice section. If you are looking for a new mouse after cleaning your old one, check out the ASUS ROG Harpe Ace Mini for compact performance or the Cooler Master MM311 for a budget-friendly option. Ensure your PC can handle your new setup by using our PC requirements checker for over 2,400 games, or verify compatibility with specific titles using the Can I run it? game checker.
Keep reading
Gaming gear on Run On Console
 ROG Xbox Ally X
 Creative Pebble Pro
 GPD WIN 5
 Razer Naga V3 Pro
 HOMALL Gaming Chair
 Intel Arc B580
 Intel Core Ultra 7 270K Plus
 Lenovo Legion Go
Leave a comment
Questions, corrections or your own experience: it goes to our team at comments@runonconsole.com and you get a copy.