How to Use AMD EXPO: A Step‑by‑Step Guide for Faster RAM

Article Overview & Key Takeaways
Learn how to enable AMD EXPO in BIOS, pick the right DDR5 kit, and fine‑tune settings for stable, high‑performance memory.
Gaming gear to check
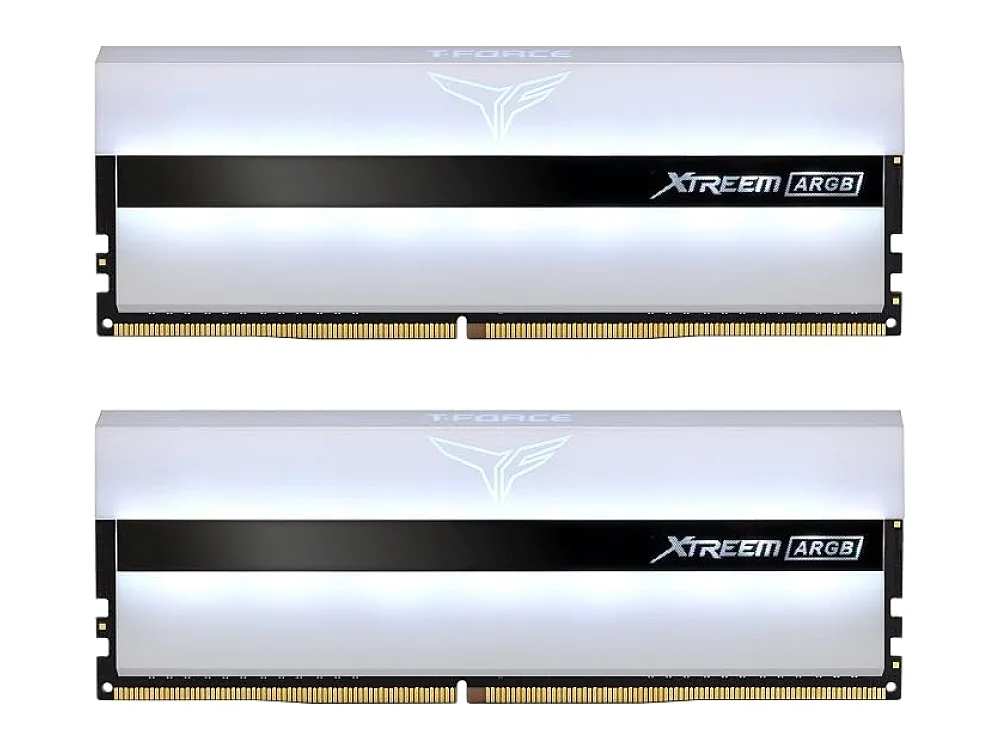 TeamGroup T-Force Xtreem ARGB DDR4-3600
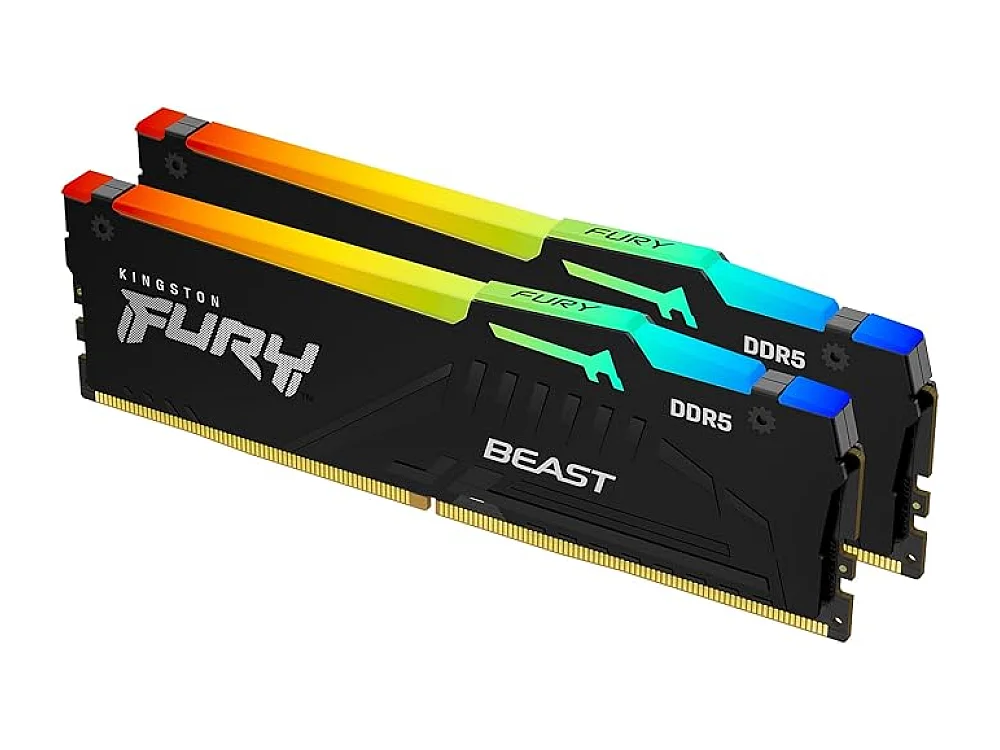 Kingston Fury Beast DDR5-6000
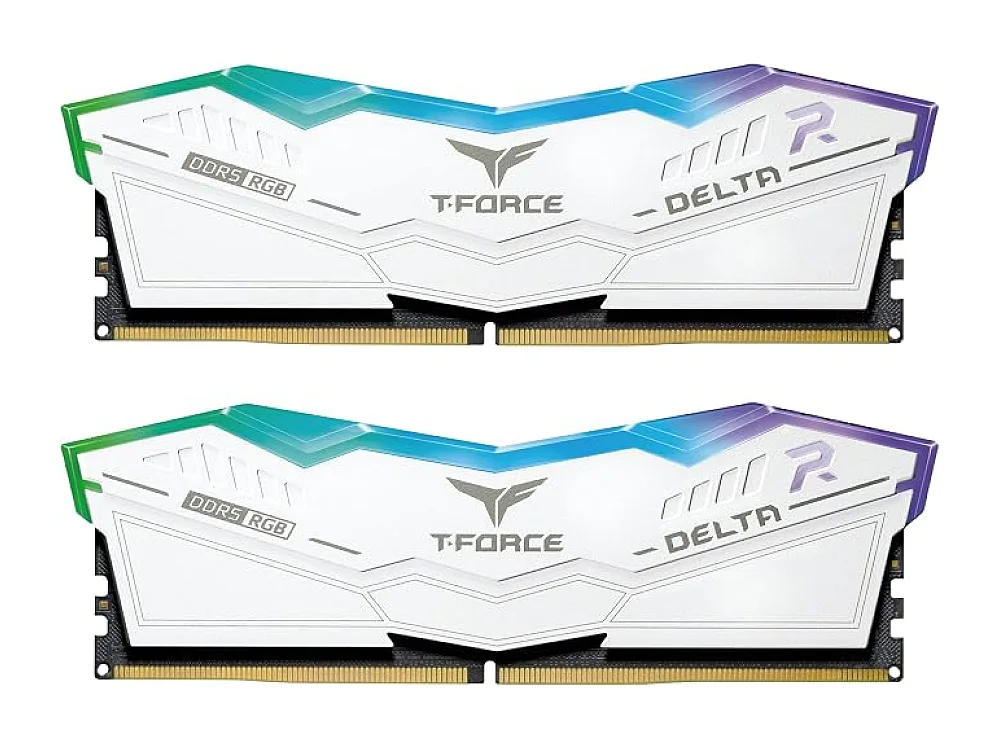 TeamGroup T-Force Delta RGB DDR5-6000
In this guide you’ll learn how to enable AMD EXPO on a compatible motherboard, choose the right DDR5 kit, and tweak settings for maximum stability and performance. By the end you’ll have a fully optimized memory subsystem that takes full advantage of the latest AMD technologies.
Before you begin, make sure you understand the basics of Memory (RAM) and how timing profiles work. AMD EXPO (Extended Profiles for Overclocking) is AMD’s answer to Intel XMP, allowing you to apply manufacturer‑tested timings with a single BIOS selection.
What you need
- A motherboard with an AMD chipset that supports EXPO (most B550, X570, B650, X670 and X670E boards).
- DDR5 memory that includes an EXPO profile – examples include Corsair Vengeance DDR5‑5200 192GB, Corsair Vengeance DDR5‑5200 64GB, Corsair Vengeance DDR5‑6000, Crucial Pro Overclocking DDR5‑6000 or G.Skill Ripjaws S5 DDR5‑6000.
- A USB flash drive with the latest BIOS for your board (optional but recommended for safety).
- Patience and a basic understanding of BIOS navigation.
Want to buy a RAM kit? Here are 3 similar picks:
- G.Skill Ripjaws V DDR4-3200: Budget gaming PCs
- G.Skill Trident Z5 Neo DDR5-6000 CL30: Performance-focused gamers
- G.Skill Trident Z5 RGB DDR5-6400 96GB: High-capacity enthusiast builds
Open a product to see its full details, then use the Amazon button there.
Step 1: Verify Compatibility
Not every DDR5 kit ships with an EXPO profile, and not every board can read it. Use the Can I run it? game checker to confirm your motherboard’s EXPO support. Then visit the PC requirements of 2,400+ games page to see if your overall system meets the performance targets you’re aiming for.
Tip: If your board lists “EXPO” under memory features in the spec sheet, you’re good to go. If you’re unsure, check the manufacturer’s support page for the exact BIOS version that adds EXPO.
Step 2: Update Your BIOS
Even if your board claims EXPO support, the feature is often added in a later BIOS update. Download the latest BIOS from the motherboard vendor, extract it to a FAT32‑formatted USB stick, and flash it following the vendor’s instructions (usually via a “EZ Flash” or “Q‑Flash” utility). Reboot after flashing and enter BIOS.
Common mistake: Skipping the BIOS update can leave you with a “Profile not found” error when you try to enable EXPO.
Step 3: Install the Memory Modules
Power down the system, unplug the power cord, and install the DDR5 sticks in the recommended slots (usually A2 and B2 for a dual‑channel kit). Press firmly until the latches click. Double‑check that the modules are seated correctly; a loose stick can cause the EXPO profile to be ignored.
Step 4: Enable the EXPO Profile in BIOS
- Enter BIOS (usually Delete or F2 during POST).
- Navigate to the Advanced or OC (Overclocking) tab – the exact name varies by vendor.
- Find the memory settings section. You should see an option labelled “AMD EXPO”, “Memory Profile”, or similar.
- Select the profile that matches your kit (e.g., “EXPO 1 – DDR5‑6000”). The BIOS will automatically fill in the frequency, timings, and voltage.
- Save and exit (usually F10).
After the reboot, your system should run at the advertised speed. Verify with a tool like CPU-Z or HWInfo – the “Memory” tab will show the EXPO frequency and timings.
Tip: Some boards let you view the applied profile before saving. Use this to confirm you selected the correct EXPO version.
Step 5: Fine‑Tune Voltage and Stability
EXPO profiles are tested for stability at stock settings, but silicon variance can require a small voltage bump. If you experience random reboots or memory errors, return to BIOS and increase the DRAM voltage by 0.05 V increments (e.g., from 1.35 V to 1.40 V). Run a memory stress test (MemTest86 or Prime95) for at least an hour after each change.
Common mistake: Raising the voltage too high can shorten module lifespan. Stay below the manufacturer’s maximum rating (usually 1.45 V for DDR5).
Step 6: Optimize Secondary Timings (Optional)
If you’re chasing the absolute highest bandwidth, you can manually tweak secondary timings after the primary EXPO profile is applied. This is an advanced step; most gamers will never need it. Adjust values like tRCD, tRP, and tRAS in small increments and test for stability each time.
Step 7: Save a Profile for Future Use
Most modern BIOSes let you save a custom profile. Name it “My EXPO” and store the settings you ended up with. This makes future BIOS updates painless – you can simply load the saved profile instead of re‑tweaking everything.
Step 8: Verify Real‑World Performance
Run a few game benchmarks or synthetic tests (e.g., 3DMark) to see the impact of the higher memory speed. You should notice smoother frame times in memory‑intensive titles and a modest FPS bump in CPU‑bound games.
FAQ
Can I use AMD EXPO with an Intel motherboard?
No. EXPO is an AMD‑specific profile format. Intel boards use XMP. If you have an Intel platform, look for XMP‑compatible DDR5 kits instead.
Do I need to enable XMP as well?
Never enable both. EXPO and XMP are mutually exclusive; enabling one will automatically disable the other.
What if my board shows the EXPO option but my memory doesn’t have a profile?
In that case the BIOS will list the option but you’ll see “No profile detected”. You’ll need to either buy a kit that ships with an EXPO profile or manually set the timings based on the module’s specifications.
Conclusion
AMD EXPO makes DDR5 overclocking almost as simple as clicking a button. By confirming compatibility, updating BIOS, installing a compatible kit, and enabling the profile, you can unlock the full performance potential of your memory without the trial‑and‑error of manual overclocking. Follow the steps above, keep an eye on voltage, and you’ll enjoy a faster, more responsive gaming experience.
Keep reading
Gaming gear on Run On Console
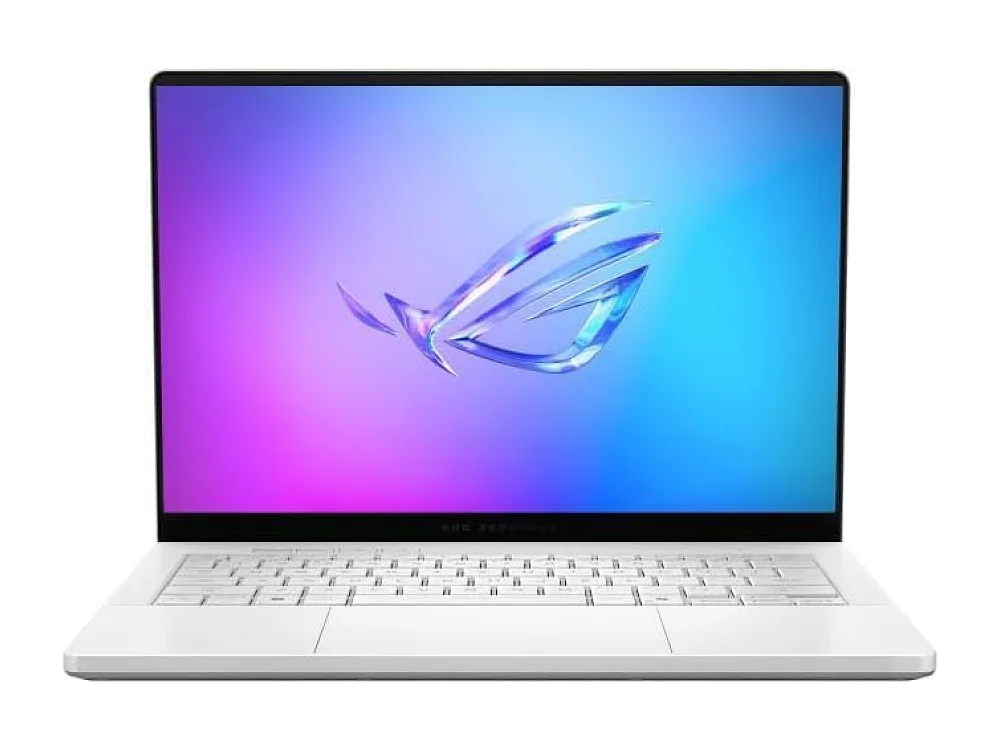 ASUS ROG Zephyrus G14 (2026)
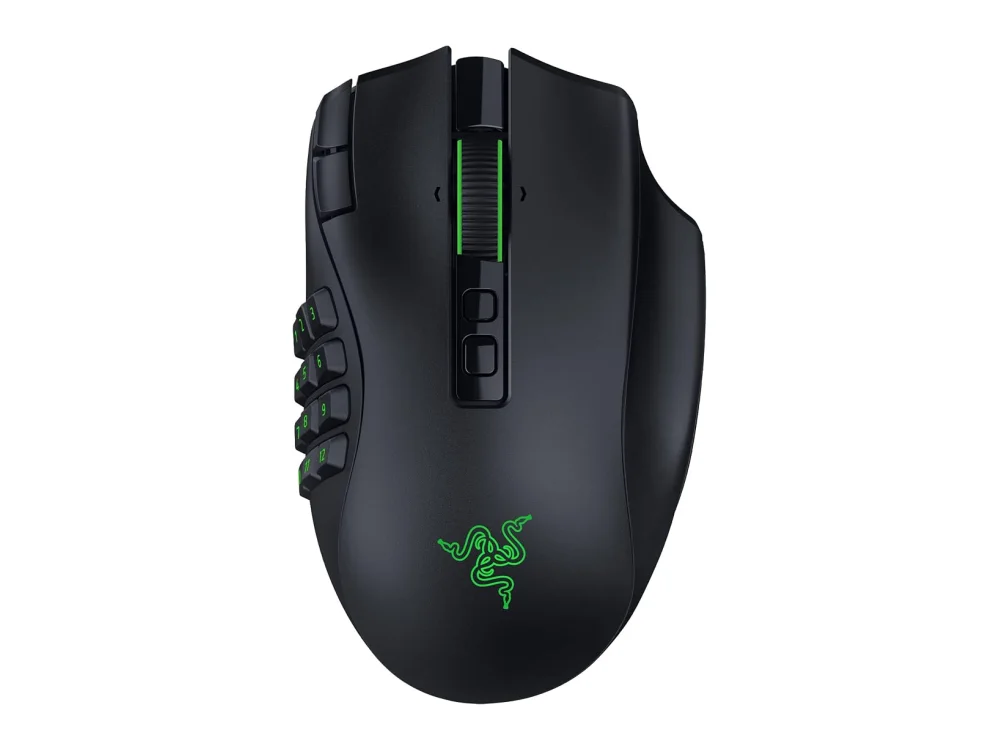 Razer Naga V3 Pro
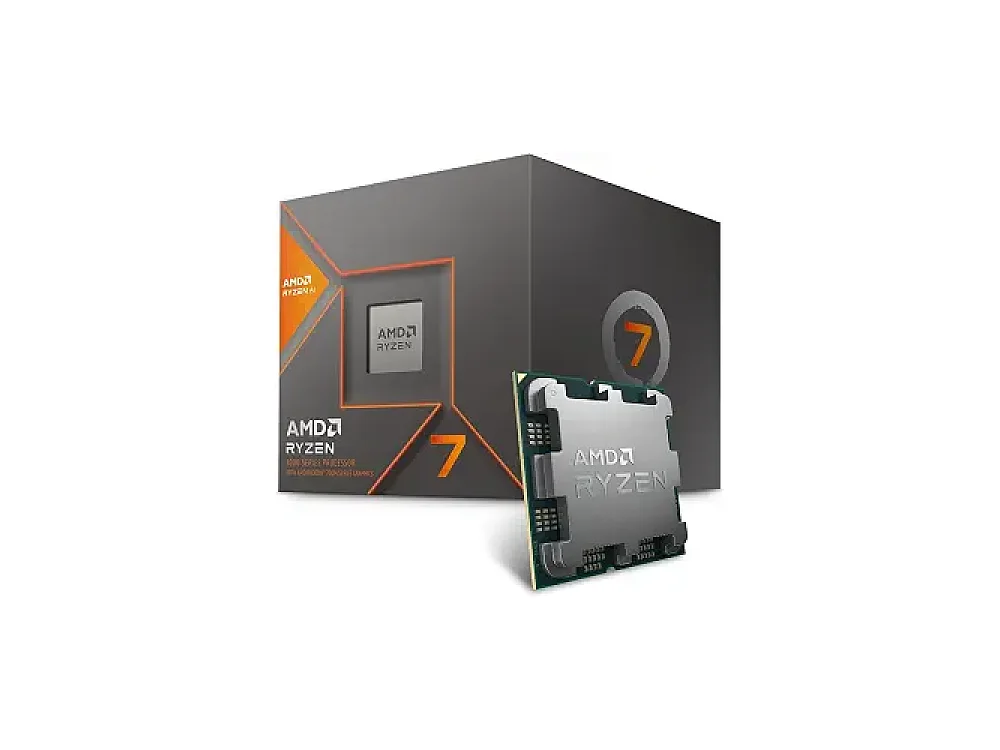 AMD Ryzen 7 8700G
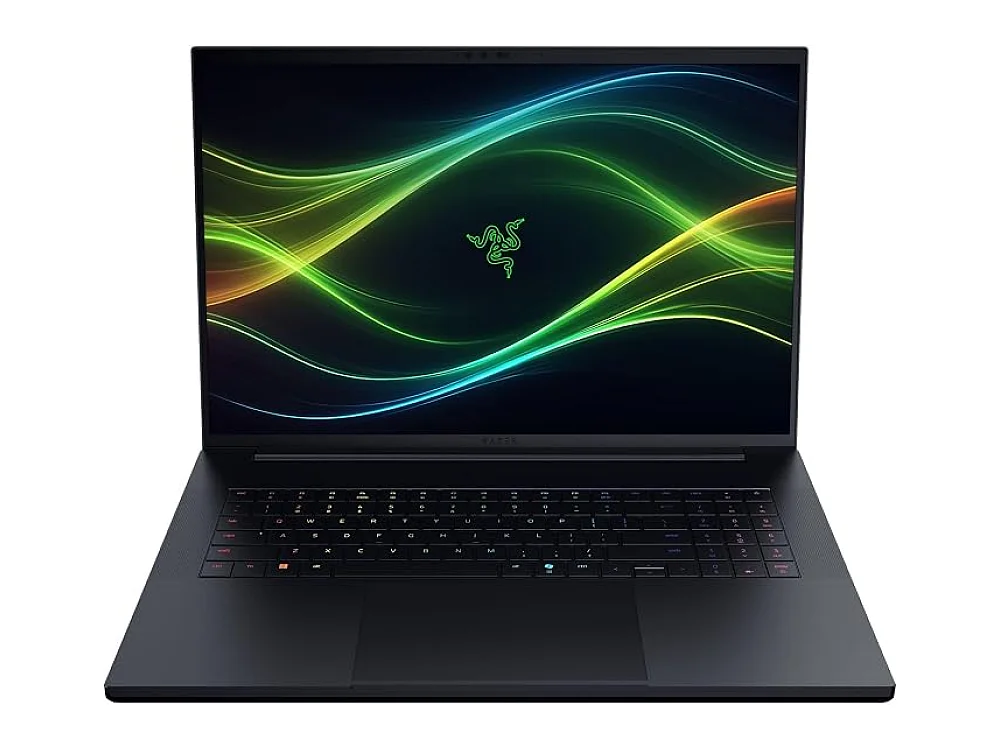 Razer Blade 18 (2026)
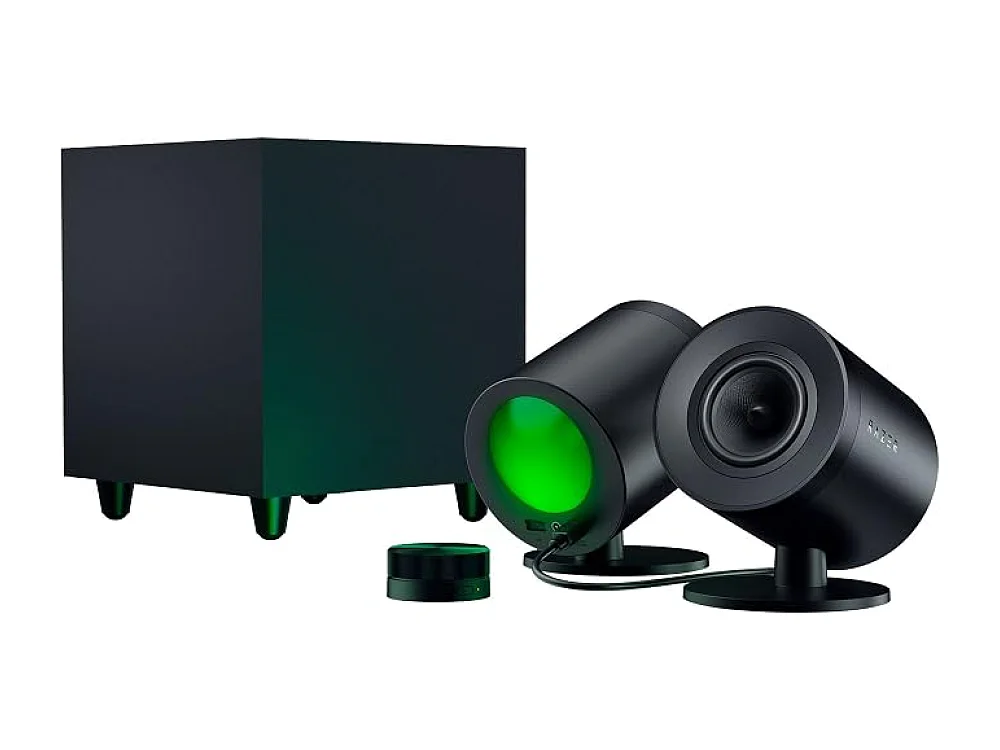 Razer Nommo V2 Pro
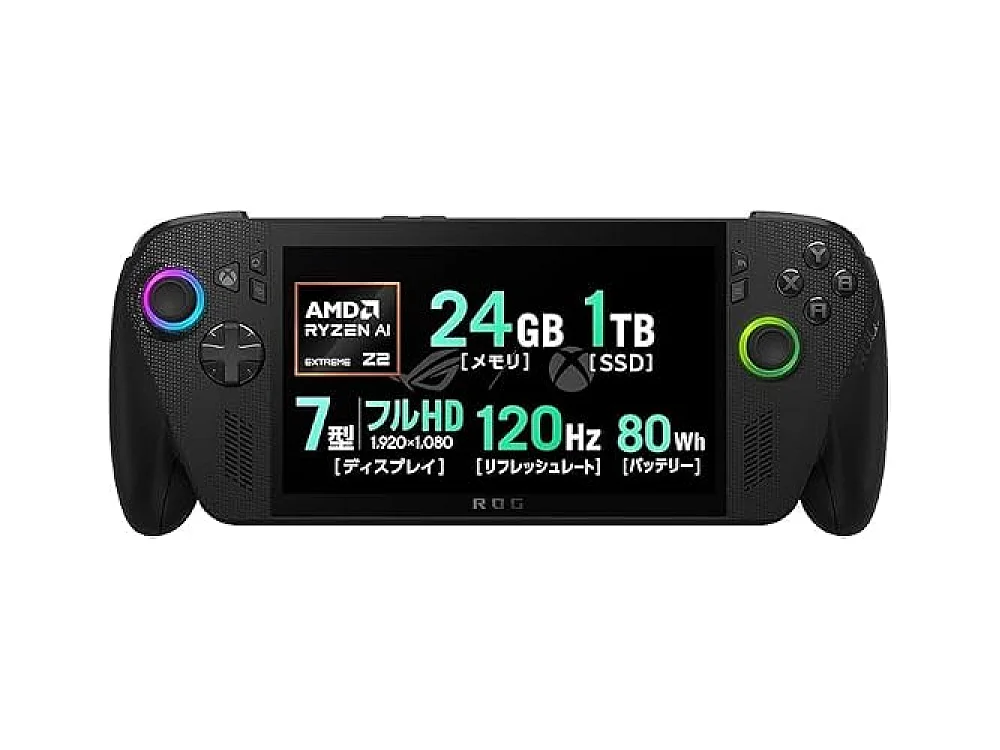 ROG Xbox Ally X
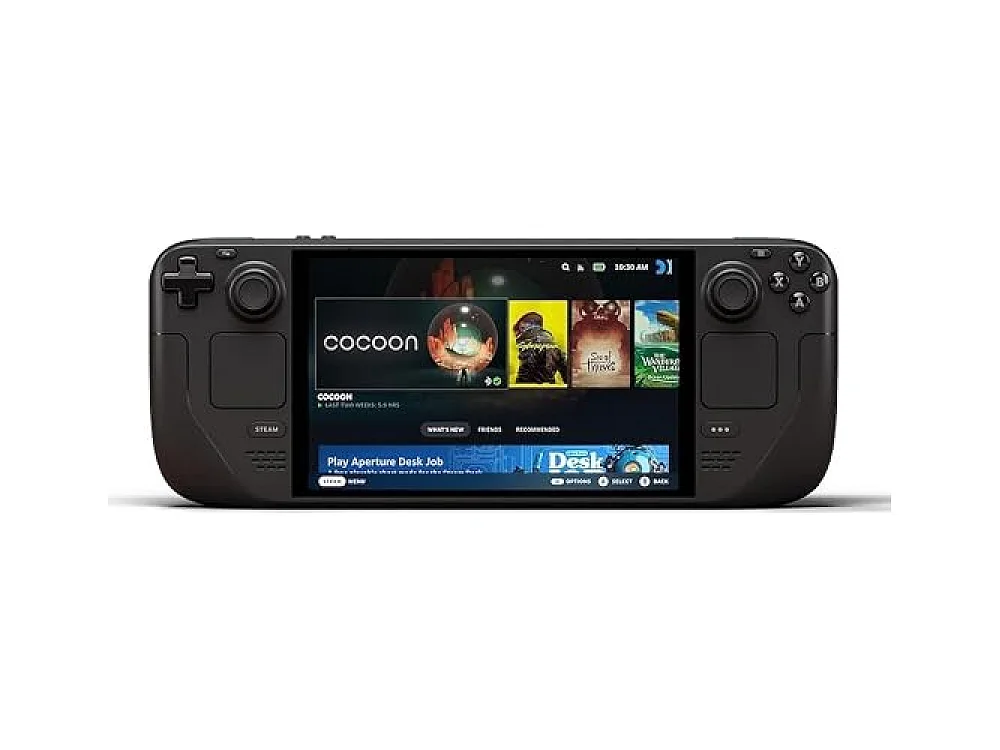 Steam Deck OLED 1TB
Leave a comment
Questions, corrections or your own experience: it goes to our team at comments@runonconsole.com and you get a copy.