How to Install RAM and Verify Dual‑Channel Performance

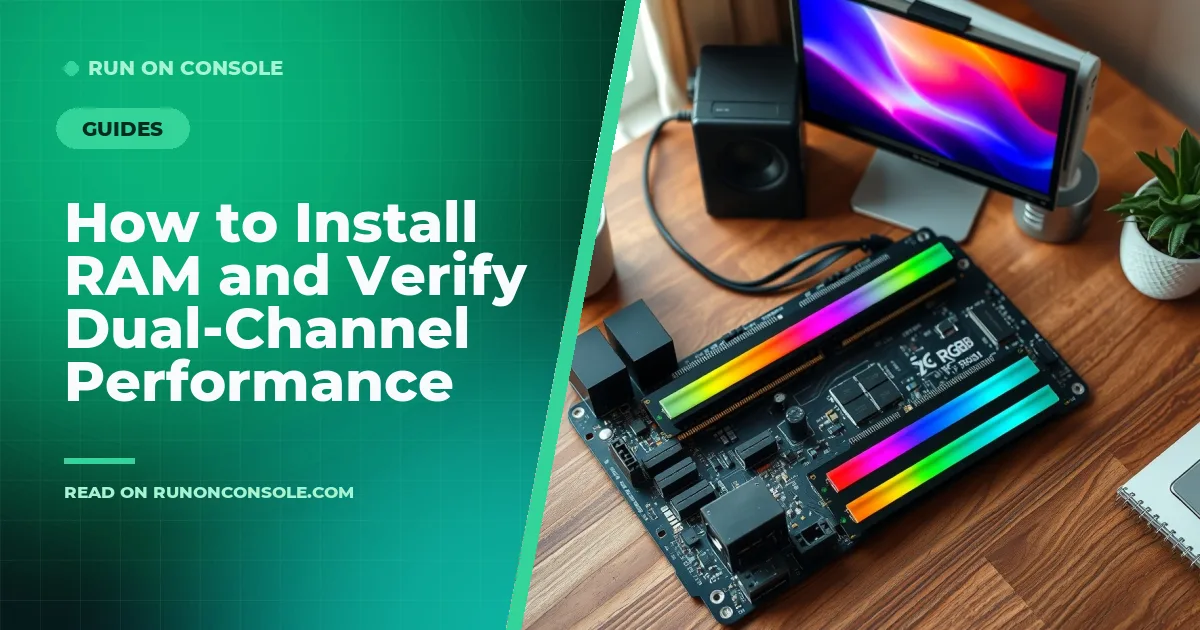
Article Overview & Key Takeaways
A step‑by‑step guide to physically install new memory modules and verify they’re running in dual‑channel mode for optimal performance.
Gaming gear to check
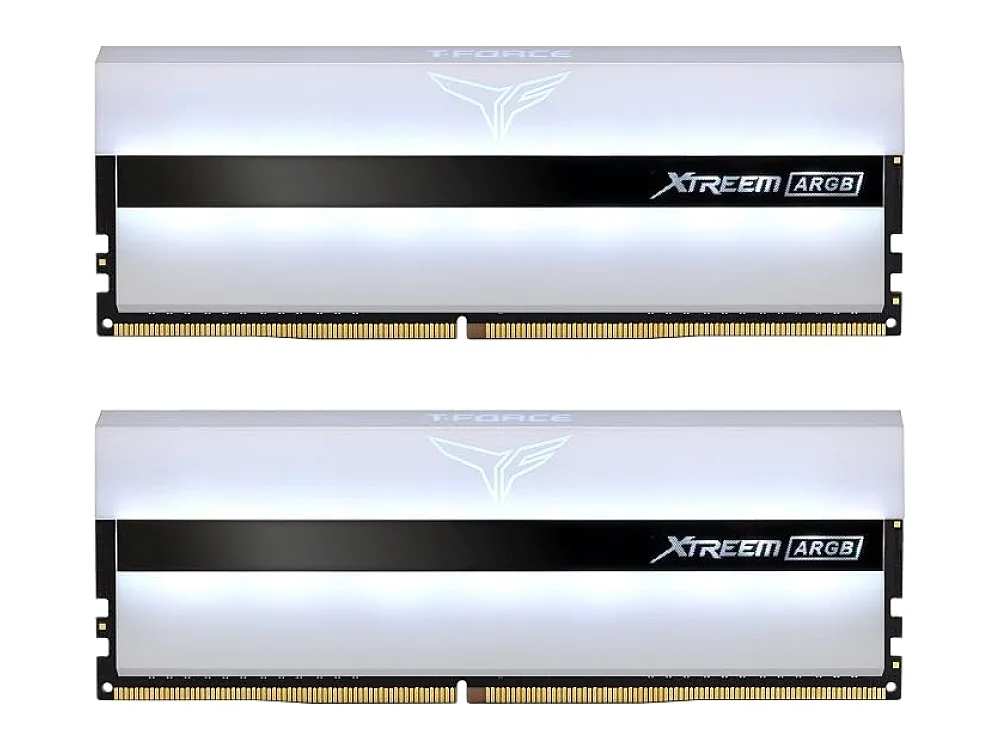 TeamGroup T-Force Xtreem ARGB DDR4-3600
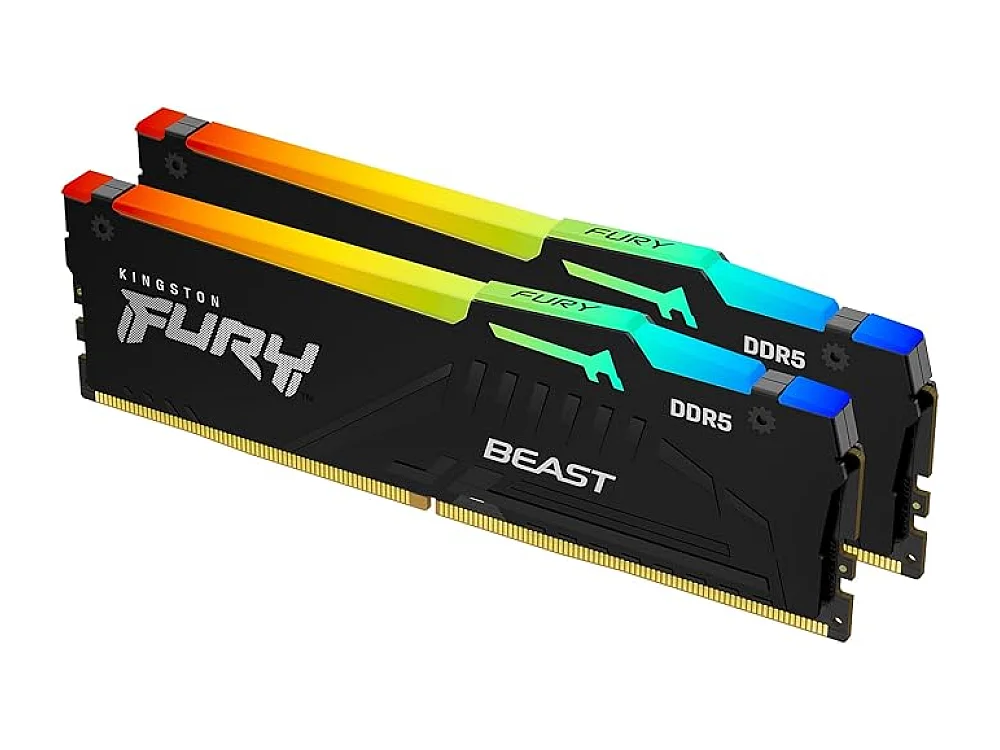 Kingston Fury Beast DDR5-6000
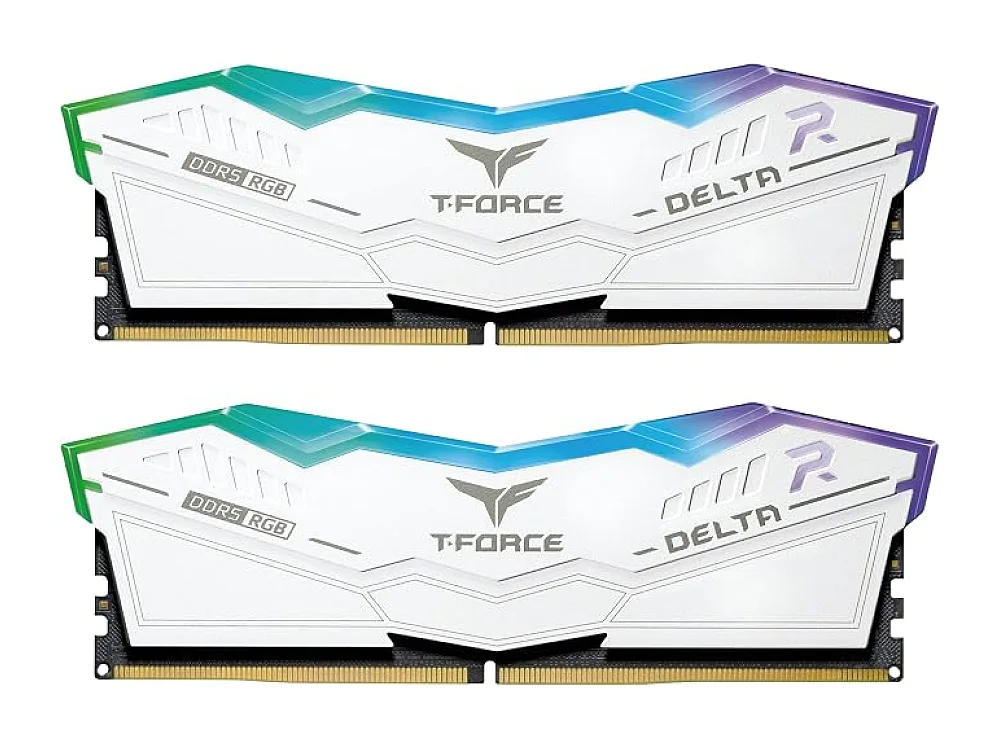 TeamGroup T-Force Delta RGB DDR5-6000
In this guide you’ll learn how to install RAM and check that it runs in dual‑channel mode, giving you the full speed boost your motherboard promises. Whether you’re upgrading a gaming rig, building a new PC, or simply replacing faulty sticks, the process is straightforward if you follow each step carefully.
Understanding Memory (RAM) basics and how dual‑channel works will help you avoid common pitfalls and get the most out of your investment.
What you need
- Phillips‑head screwdriver (usually #2)
- Anti‑static wrist strap or a grounded surface
- Compatible DDR5 memory modules (see the "Choosing the right RAM" section)
- Motherboard manual (or online PDF)
- Clean, well‑lit workspace
Choosing the right RAM
Before you open the case, make sure the sticks you bought match your motherboard’s specifications. If you have a DDR5‑compatible board, popular options include Corsair Vengeance DDR5‑5200 192GB for massive capacity, Corsair Vengeance DDR5‑5200 64GB for a balanced price‑to‑performance ratio, or the higher‑speed Corsair Vengeance DDR5‑6000. If you prefer other brands, the Crucial Pro Overclocking DDR5‑6000 and G.Skill Ripjaws S5 DDR5‑6000 are also solid choices. Check the Can I run it? game checker to see if the selected kit meets the memory requirements of the games you play, and browse the PC requirements of 2,400+ games for additional confidence.
Want to buy a RAM kit? Here are 3 similar picks:
- G.Skill Ripjaws V DDR4-3200: Budget gaming PCs
- G.Skill Trident Z5 Neo DDR5-6000 CL30: Performance-focused gamers
- G.Skill Trident Z5 RGB DDR5-6400 96GB: High-capacity enthusiast builds
Open a product to see its full details, then use the Amazon button there.
Step 1: Power down and protect yourself
Shut down Windows, unplug the power cord, and disconnect all peripherals. Press the power button for a few seconds to discharge any residual charge. Put on an anti‑static wrist strap or regularly touch the metal chassis while you work to avoid static discharge that can damage components.
Tip: Never work on a carpeted floor without a wrist strap; static buildup is much higher on synthetic fibers.
Step 2: Open the case and locate the DIMM slots
Remove the side panel (usually secured with two thumbscrews). Inside, you’ll see a series of long, thin slots near the CPU socket—these are the DIMM slots. Consult your motherboard manual to identify which slots should be populated for dual‑channel operation; most boards use a color‑coded scheme (e.g., alternating black and gray).
Common mistake: Installing both sticks in the same color pair (e.g., slots 1 and 2) will force single‑channel mode.
Step 3: Prepare the RAM modules
Take the new sticks out of their anti‑static bags. Hold each module by the edges; avoid touching the gold contacts. Align the notch on the module with the key in the slot – the module only fits one way.
Step 4: Insert the modules
Open the retaining clips on the chosen slots. Gently lower the module into the slot, ensuring the notch lines up perfectly. Press down evenly on both ends until the clips snap back into place. You should hear a subtle click indicating a secure connection.
Tip: Apply even pressure; forcing the stick can bend the contacts.
Step 5: Double‑check seating and close the case
Verify that each stick sits level and the clips are fully engaged. If a stick looks tilted, remove it and reseat it. Once satisfied, replace the side panel and screw it back in.
Step 6: Power on and enter BIOS/UEFI
Reconnect the power cable and turn the system on. Immediately press the BIOS access key (usually Delete or F2) to enter the firmware setup. Navigate to the “Memory” or “Advanced” section. If your kit supports XMP (Extreme Memory Profile), enable it to let the motherboard run the RAM at its advertised speed (e.g., 5200 MHz or 6000 MHz).
Common mistake: Leaving XMP disabled will often leave the RAM running at a default, lower frequency, negating the performance benefit.
Step 7: Verify dual‑channel operation
Within the BIOS you should see a line that reads “Channel Mode: Dual” or similar. If the BIOS only shows “Single”, re‑check the slot placement and ensure both sticks are identical in capacity and speed. After confirming in BIOS, you can also boot into Windows and use a free utility like CPU‑Z: open the “Memory” tab and look for “Channel #1” and “Channel #2” listed under “SPD”. Both should show the same size and speed.
Tip: CPU‑Z updates the channel information in real time, so you can see the effect of swapping sticks without rebooting.
Step 8: Test stability (optional but recommended)
Run a quick memory stress test such as MemTest86+ for a few passes, or use the built‑in Windows Memory Diagnostic. This ensures the modules are error‑free at the selected frequency. If errors appear, return to the BIOS and slightly lower the memory frequency or voltage, then retest.
FAQ
How can I tell if my RAM is running in dual‑channel?
Check the BIOS/UEFI memory summary for a “Dual‑Channel” label, or open CPU‑Z in Windows and look under the “Memory” tab. Both slots should report the same size and speed.
What if my PC only shows single‑channel after installation?
First, confirm you installed the sticks in the correct paired slots (usually the same colour). Next, make sure the modules are identical in capacity and speed. If they differ, the motherboard may fall back to single‑channel. Finally, verify that the BIOS has detected both sticks; if one is missing, reseat it.
Can I mix different capacities or speeds of RAM?
You can mix capacities (e.g., 8 GB + 16 GB) but the system will run the pair at the speed of the slower module, and dual‑channel may be limited to the smallest common capacity. Mixing speeds is possible, but again the motherboard will default to the lowest common speed. For best performance, use identical kits.
Conclusion
Installing RAM and confirming dual‑channel operation is a simple upgrade that can noticeably improve game loading times and overall system responsiveness. By following the steps above, using the right tools, and double‑checking slot placement, you’ll enjoy the full bandwidth your motherboard and memory kit were designed to deliver.
Keep reading
Gaming gear on Run On Console
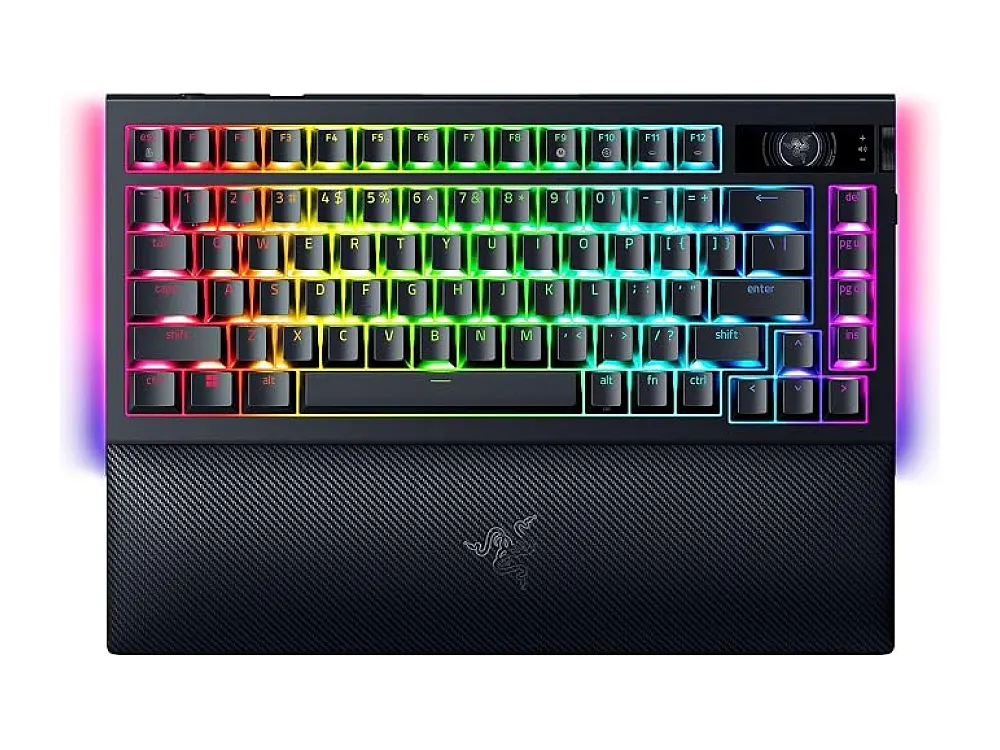 Razer BlackWidow V4 Pro 75%TOPGaming Hardware
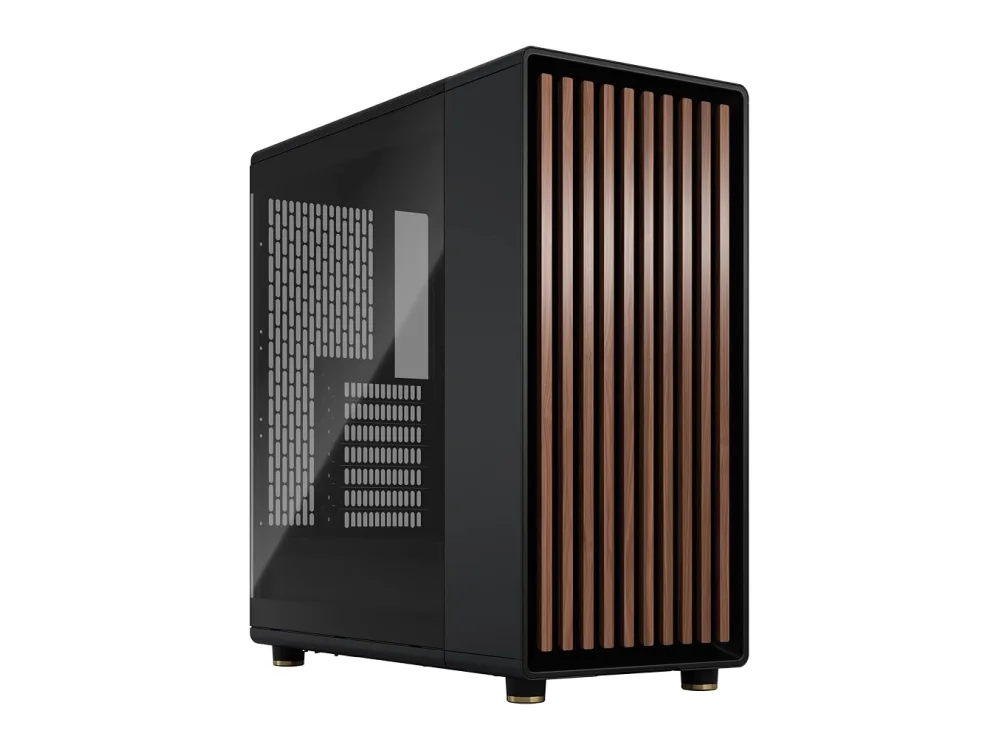 Fractal Design North
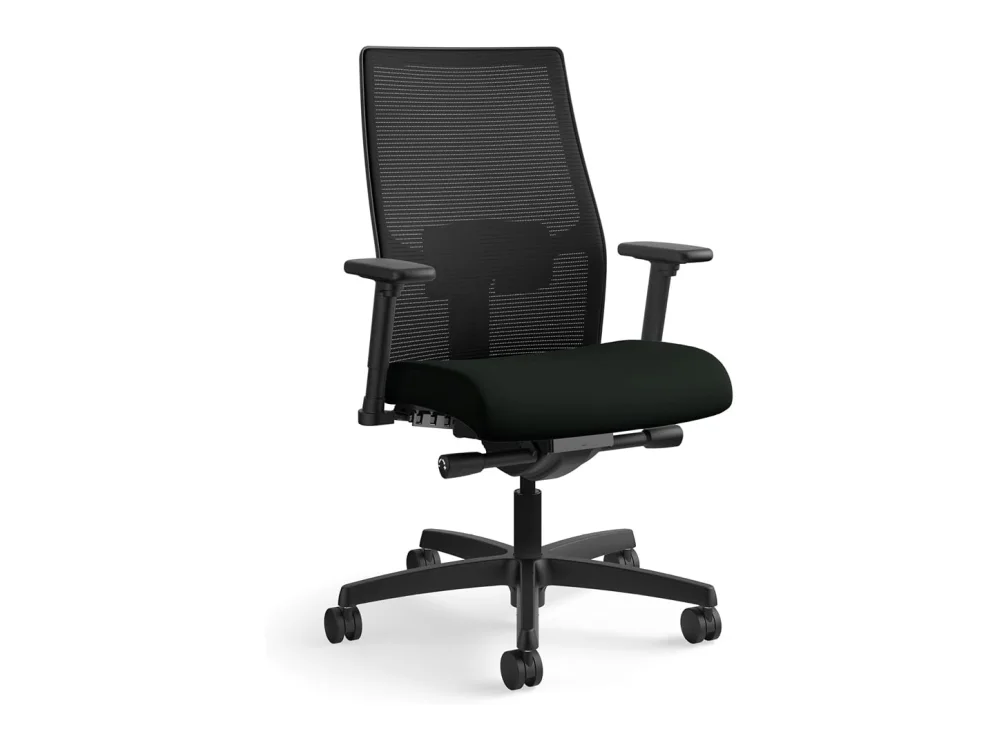 HON Ignition 2.0
 Creative Pebble Pro
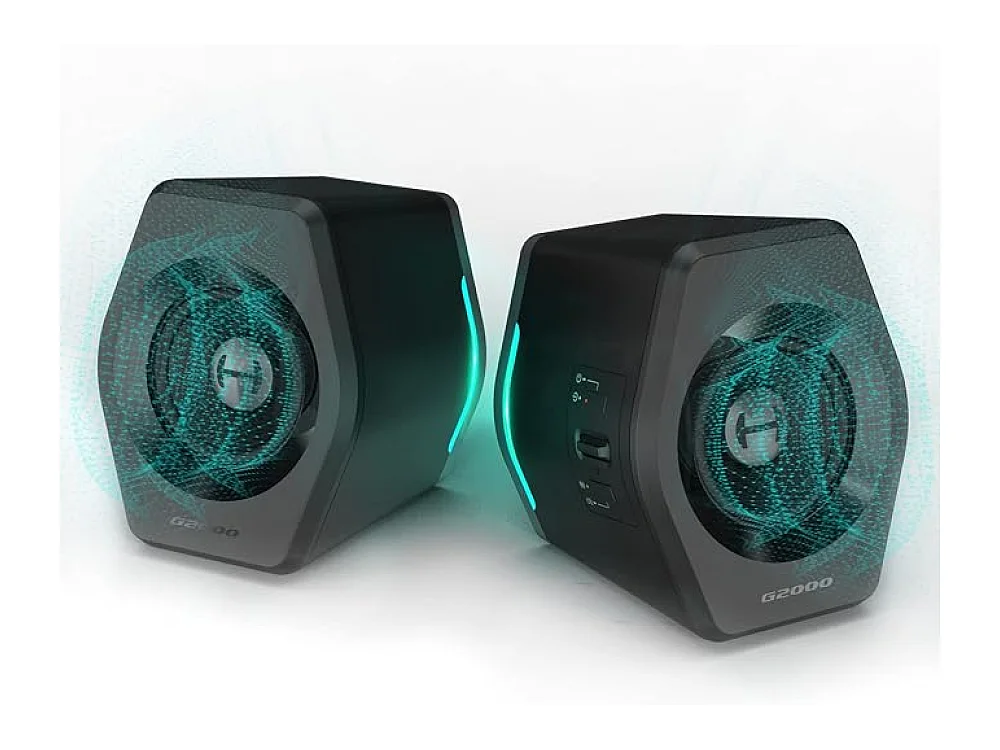 Edifier G2000
 Epomaker Glyph
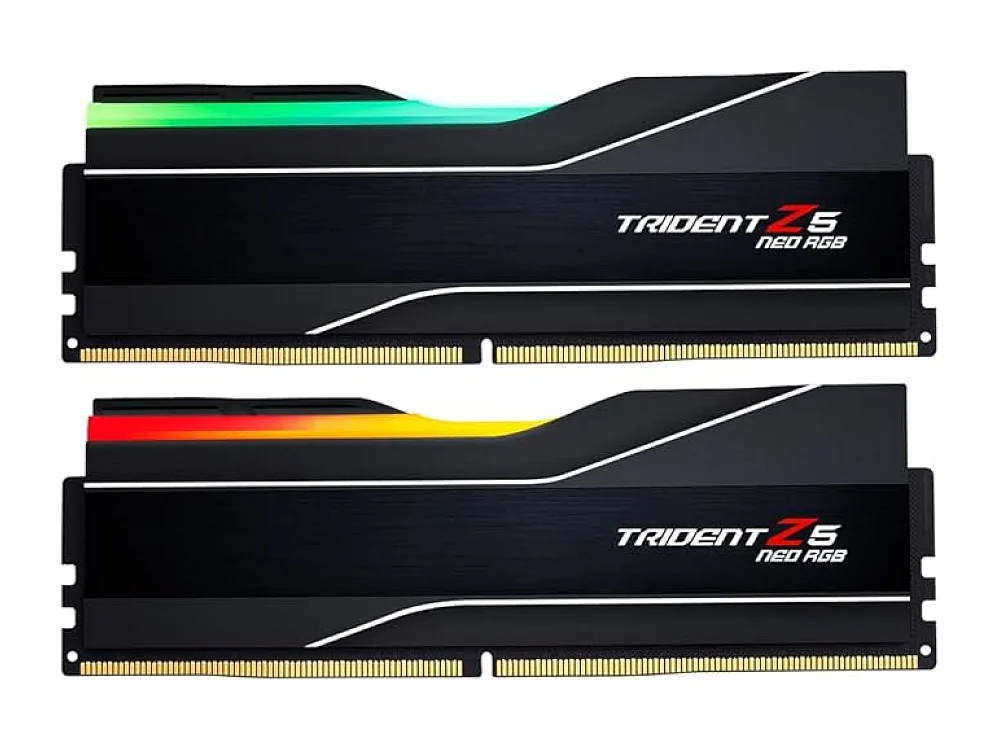 G.Skill Trident Z5 Neo DDR5-6000 CL30
Leave a comment
Questions, corrections or your own experience: it goes to our team at comments@runonconsole.com and you get a copy.