How to Choose a PC Case: Size, Airflow & Clearance

Article Overview & Key Takeaways
Avoid bottlenecks and overheating by matching your case size to your components and airflow needs.
Gaming gear to check
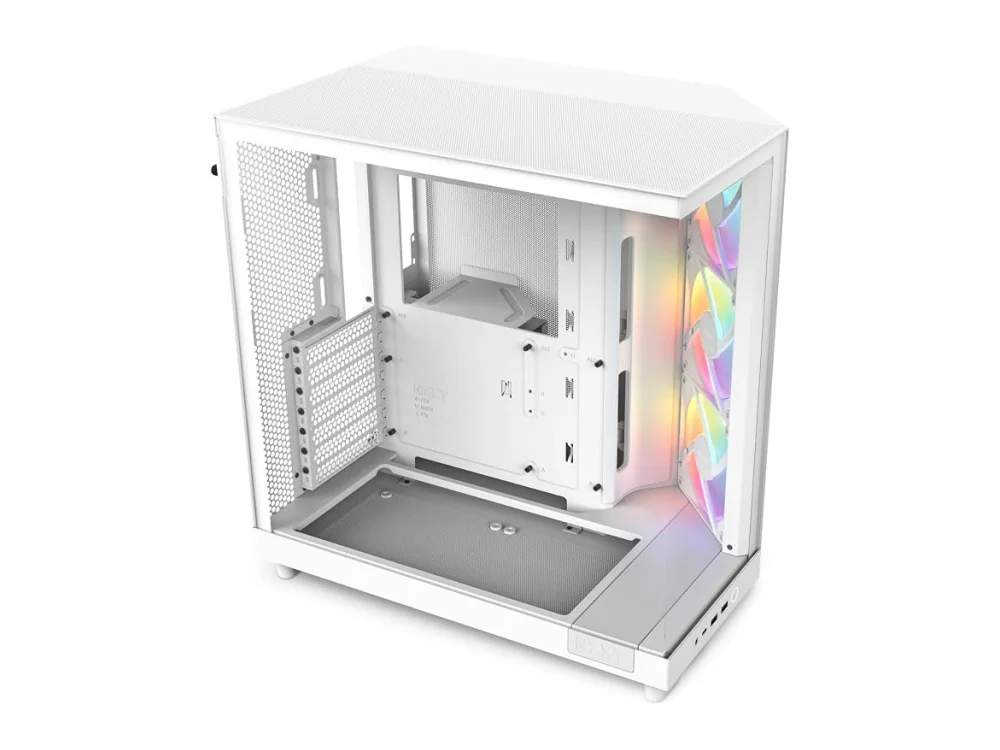 NZXT H6 Flow
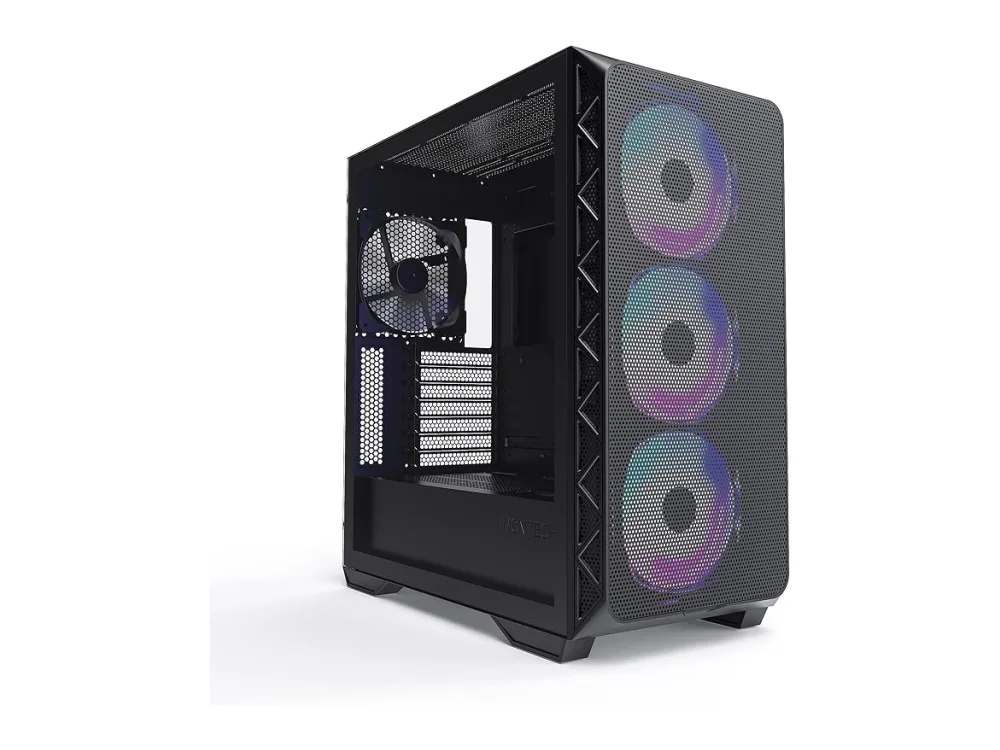 Phanteks XT Pro Ultra
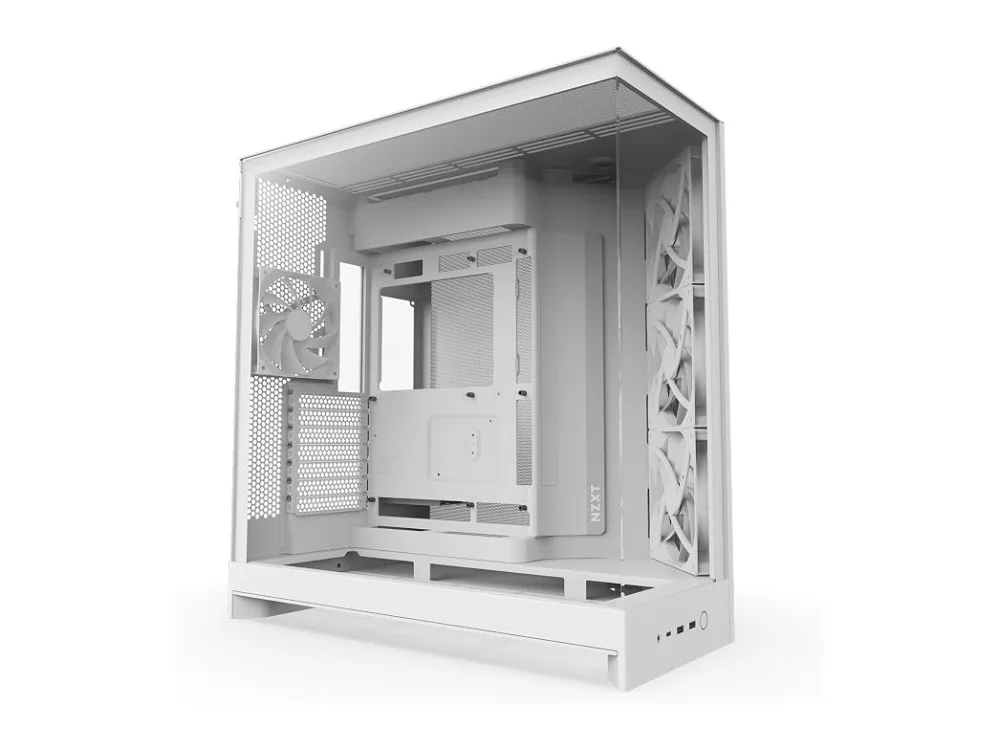 NZXT H9 Flow (2025)
Choosing the right chassis is often the most overlooked step in building a PC, yet it dictates how your system performs, sounds, and looks. By the end of this guide, you will know exactly how to measure your components, understand airflow dynamics, and select a case that fits your specific hardware without any compatibility headaches.
This is not just about aesthetics; the right enclosure protects your investment from dust and thermal throttling. Whether you are building a compact mini-ITX rig or a massive workstation, understanding the fundamentals of PC Cases is essential. We will break down the critical dimensions and features you must check before you spend a single dollar, ensuring your build is both functional and efficient.
What you need
- A list of your chosen components (Motherboard, GPU, CPU Cooler, PSU).
- A tape measure or ruler.
- The product specifications from your component manufacturers.
- Access to the case specifications on the retailer or manufacturer website.
Step 1: Determine your motherboard form factor
The first and most basic constraint is the motherboard. Cases are designed to support specific form factors, and while most mid-tower cases support both ATX and Micro-ATX boards, you must verify compatibility. The standard ATX board is 305mm x 244mm, while Micro-ATX is 244mm x 244mm. Mini-ITX boards are 170mm x 170mm.
If you are buying a full-sized ATX motherboard, you need a Mid-Tower or Full-Tower case. A Mini-ITX case will not fit an ATX board. Conversely, a Micro-ATX board will fit in a Mid-Tower, but it will leave empty space. This empty space is not wasted; it provides extra room for cable management and improved airflow. If you want a smaller footprint, look for a be quiet! Pure Base 501 Airflow style mid-tower that offers excellent support for standard ATX boards while maintaining a manageable size.
Want to buy a PC case? Here are 3 similar picks:
- Corsair 3500X: Mid-range gaming builds
- Corsair Air 5400: Mid-range gaming builds
- Fractal Design North: Minimalist gaming builds
Open a product to see its full details, then use the Amazon button there.
Step 2: Measure your GPU clearance
Graphics cards have grown significantly longer over the last decade. Many modern high-end GPUs exceed 300mm in length, and some dual-fan or triple-fan models can reach 330mm or more. You must check the maximum GPU length allowed by the case. This measurement is usually taken from the PCIe slot on the motherboard to the rear I/O shield or the back panel of the case.
A common mistake is ignoring the GPU's width. Some cards are very tall and can interfere with the front drive bays or the front panel mesh. Always check the maximum GPU width as well. If you are planning to install a large, high-performance graphics card, cases like the Cooler Master HAF 700 offer generous internal dimensions that accommodate even the largest water-cooled GPUs without issue.
Want to buy a PC case? Here are 3 similar picks:
- Fractal Design North XL: Enthusiast builds with ample space
- Fractal Design Terra: Straightforward mid-tower builds
- Havn BF 360: Budget-friendly gaming builds
Open a product to see its full details, then use the Amazon button there.
Step 3: Check CPU cooler height
This is a critical step that trips up many first-time builders. The height of your CPU air cooler must not exceed the maximum CPU cooler clearance specified by the case. If your cooler is taller than the case allows, it will physically touch the side panel or the top mesh, potentially damaging the heatsink or preventing the side panel from closing.
Check the exact height of your chosen cooler in millimeters. If you are using a large tower cooler, ensure the case has at least 20mm of extra headroom to allow for airflow and easy installation. If you are using a small Mini-ITX case, you may need to stick to low-profile coolers or liquid cooling. The Cooler Master Cosmos Alpha is an excellent example of a case that supports extremely tall air coolers, making it ideal for enthusiasts who prefer air over liquid cooling.
Want to buy a PC case? Here are 3 similar picks:
- HYTE Y70: Standard gaming builds
- HYTE Y70 Touch: Clean-look gaming builds
- Lian Li Lancool 216: Standard ATX gaming builds
Open a product to see its full details, then use the Amazon button there.
Step 4: Understand airflow direction and mesh panels
Modern PC cases are designed with specific airflow patterns in mind. The general rule is to create a front-to-back or front-to-top flow. Intake fans pull cool air from the front and bottom, while exhaust fans push hot air out the back and top. Mesh panels on the front and top are superior to solid glass or metal panels because they allow significantly more air to pass through.
If you are building a system with high-end components that generate a lot of heat, prioritize cases with large mesh areas. A case with a solid front panel will restrict intake, leading to higher internal temperatures. For a balanced build that prioritizes cooling without excessive noise, the Corsair 3200D Airflow is a popular choice due to its efficient mesh design and spacious interior.
Step 5: Evaluate cable management space
Cable management is not just for looks; it is crucial for airflow. Tangled cables block air paths and can even vibrate against components under load. Look for cases that offer dedicated cable channels behind the motherboard tray. The wider the gap between the motherboard and the side panel, the easier it is to route cables cleanly.
Modern cases often feature routing holes, grommets, and Velcro straps to help you organize power and data cables. If you are a beginner, choose a case with a deep motherboard tray to give yourself more room to work. This reduces the stress during assembly and ensures that your cables do not obstruct the fans. The be quiet! Shadow Base 800 provides ample space for cable routing, making it a forgiving option for those who want a clean build without spending hours on intricate cable tying.
Step 6: Check PSU length and mounting
Power supplies come in different lengths, ranging from 140mm for compact units to 200mm or more for high-wattage models. The case must have a PSU shroud or cage that is deep enough to hold your power supply. If the PSU is too long, it may prevent the drive bays from closing or interfere with the case feet.
Also, check the PSU mounting orientation. Most modern cases are designed for bottom-mounted PSUs, which helps with airflow as the PSU acts as an exhaust fan. If you have an older modular PSU, ensure the case supports standard ATX mounting. This is a subtle detail that can save you from having to return the case or the power supply.
Step 7: Verify drive bay compatibility
SSDs are becoming the standard, but many users still keep one or two SATA SSDs or HDDs for storage. Check how many 3.5-inch and 2.5-inch drive bays the case offers. Some cases have fixed bays, while others have removable cages. If you plan to install multiple drives, ensure the case has enough space and mounting points.
If you do not need many drives, a case with fewer bays might offer better internal airflow. However, if you are building a media server or a storage-heavy gaming rig, prioritize cases with multiple drive cages. You can also use 2.5-inch to 3.5-inch adapters to mount SSDs in larger bays if necessary.
Step 8: Consider the case material and build quality
The material of the case affects both durability and noise levels. Steel cases are generally more rigid and dampen vibrations better than plastic or aluminum cases. A well-built case will have sturdy handles, reinforced feet, and a smooth sliding mechanism for the side panels. Cheap cases may creak, rattle, or have panels that do not close flush.
Investing in a quality case is an investment in the longevity of your components. A rigid chassis reduces vibration, which can help with the lifespan of mechanical hard drives and fans. Look for cases with reinforced corners and high-quality hinges. This is especially important if you plan to move your PC frequently, such as for LAN parties or gaming events.
Step 9: Check for tool-less installation features
Modern cases often feature tool-less installation for drives, fans, and even the PSU. This makes the build process significantly faster and easier. Tool-less drive cages often use a simple latch mechanism, while fans may have integrated screw holders that allow you to push the fan in without a screwdriver.
These features are particularly helpful if you plan to upgrade your system frequently. Being able to swap out a GPU or add a new drive without digging out a screwdriver is a small convenience that adds up over time. Many mid-range and high-end cases now include these features as standard.
Step 10: Final compatibility check
Before you buy, double-check all your measurements against the case specifications. Create a simple table with your component dimensions and the case's maximum limits. If any of your components exceed the maximum size, you must choose a different case or a different component. This step is non-negotiable. A mismatch in dimensions can render your build incomplete or unstable.
If you are unsure about the compatibility of your specific combination of parts, you can use online tools to verify. For example, if you are building a system to run specific games, you can check PC requirements of 2,400+ games to ensure your hardware is sufficient, and then use the Can I run it? game checker to validate your configuration. While these tools focus on performance, they often provide context for the hardware tier you are building, which helps in selecting the appropriate case class.
FAQ
Is a mesh front panel necessary for good airflow?
While not strictly necessary, a mesh front panel is highly recommended for optimal thermal performance. It allows for unrestricted intake of cool air. Solid front panels, especially those with tempered glass, can restrict airflow and lead to higher internal temperatures, especially in high-end builds with powerful GPUs and CPUs.
Can I use a Mini-ITX case for an ATX motherboard?
No, a Mini-ITX case is designed specifically for Mini-ITX motherboards, which are much smaller. An ATX motherboard will physically not fit inside a Mini-ITX case due to its larger dimensions and different mounting hole patterns. You must choose a case that supports your specific motherboard form factor.
How important is cable management for performance?
Cable management is crucial for performance because disorganized cables can block airflow paths. If cables are tangled around fans or blocking intake/exhaust vents, they can reduce the efficiency of your cooling system. Clean cable management ensures that air flows freely, helping to keep your components cool and quiet.
Conclusion
Choosing the right PC case is about balancing size, airflow, and compatibility. By carefully measuring your components and understanding the internal layout of the case, you can avoid common pitfalls and ensure a successful build. Take your time with the measurements, prioritize mesh panels for airflow, and don't forget to check the clearance for your CPU cooler and GPU. A well-chosen case will serve as the foundation for a stable, efficient, and long-lasting gaming machine.
Keep reading
Gaming gear on Run On Console
 Samsung Odyssey OLED G73SH S32HG732S
 Intel Core Ultra 9 285K
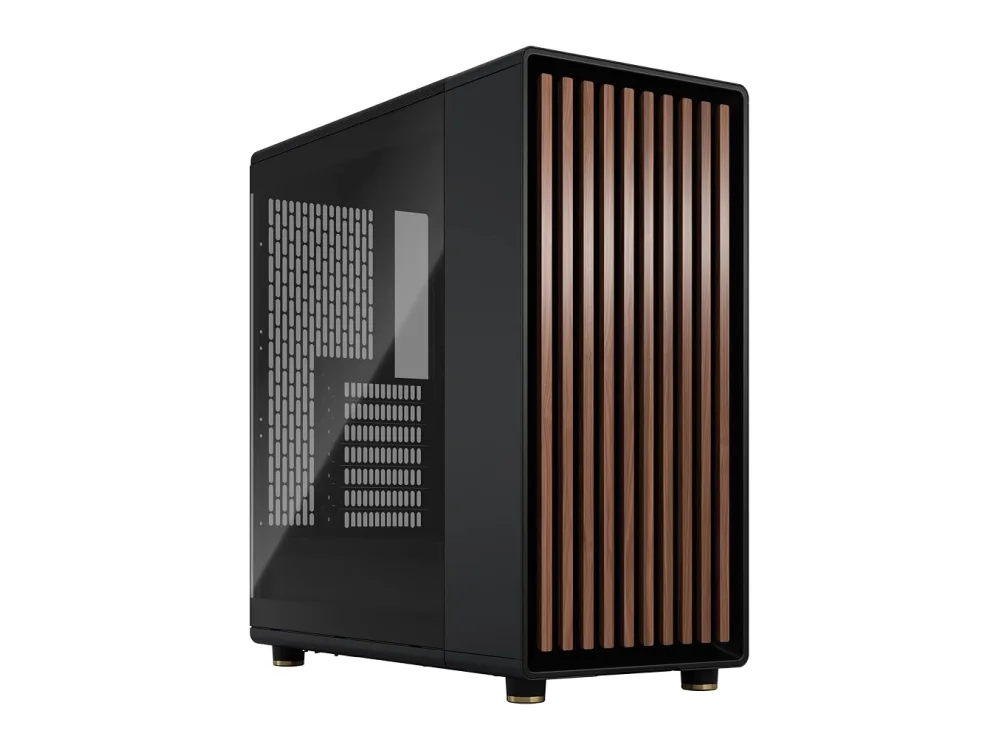 Fractal Design North
 HON Ignition 2.0
 Gigabyte AORUS Master 16
 HOMALL Gaming Chair
 Intel Arc B580
 Intel Core Ultra 7 270K Plus
Leave a comment
Questions, corrections or your own experience: it goes to our team at comments@runonconsole.com and you get a copy.