How to Check PC Specs: GPU, CPU, RAM & Storage Guide

Article Overview & Key Takeaways
Learn how to instantly view your PC’s graphics card, CPU, memory and drive information using built‑in Windows tools and free utilities.
Gaming gear to check
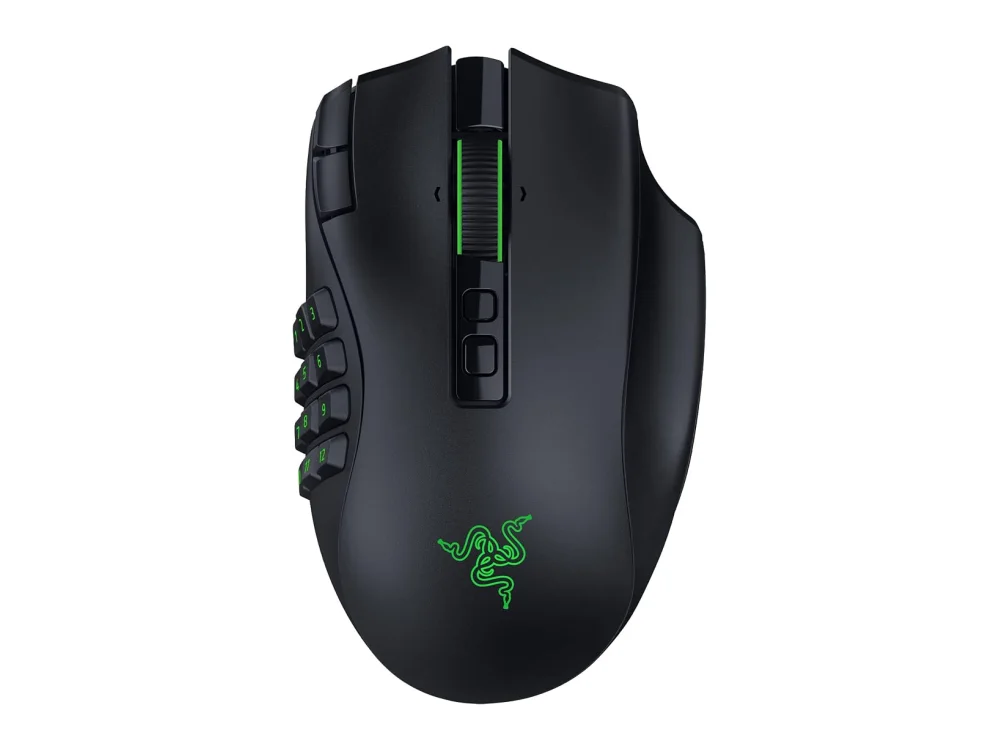 Razer Naga V3 Pro
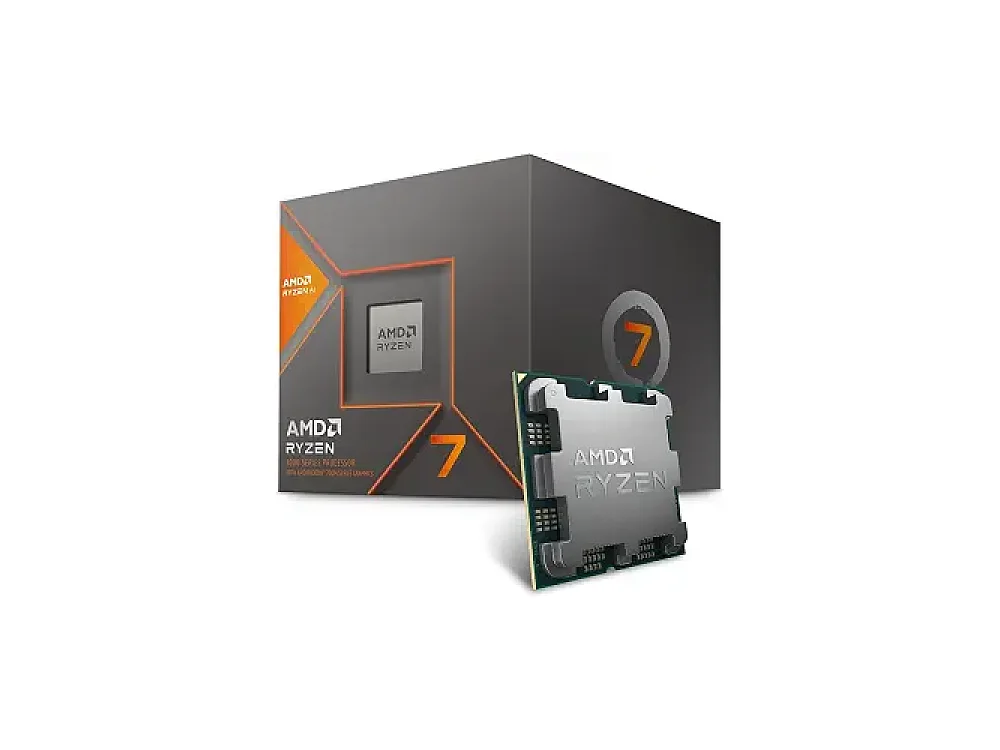 AMD Ryzen 7 8700G
In this guide you’ll learn exactly how to check your PC specs—including graphics card, processor, RAM and storage—so you can verify game compatibility, plan upgrades, or simply satisfy your curiosity. By the end you’ll be able to pull up detailed hardware information in seconds without installing any pricey software.
Whether you’re hunting for the right Graphics Cards (GPU) to boost frame rates or confirming that your CPU meets a new game’s demands, the steps below cover every built‑in Windows method and a few trusted free tools. You’ll also see how popular AMD models like the AMD Radeon RX 9060 XT 16GB compare in the spec read‑outs, making it easier to decide if an upgrade is worth it.
What you need
- A Windows PC (Windows 10 or 11 recommended)
- Keyboard and mouse for navigation
- Administrator access (most tools require it)
- An internet connection if you want to cross‑check game requirements
- Optional: free utilities like CPU‑Z or GPU‑Z for deeper detail
Step 1: Use Windows Settings to see basic specs
Open Settings (Win + I) → System → About. Here you’ll find the processor name, installed RAM, and system type (64‑bit). The “Device specifications” box also lists the Windows edition and build number, which can be useful when troubleshooting driver issues.
Tip: If you see “Intel(R) Core(TM) i7‑10700K @ 3.80GHz” or “AMD Ryzen 5 5600X” under “Processor”, you’ve identified your CPU model. For RAM, Windows rounds to the nearest GB, e.g., “16 GB RAM”.
Common mistake: Relying on the Settings page alone can miss details about the graphics card, especially if you have a dual‑GPU setup.
Step 2: Check the GPU with Task Manager
Press Ctrl + Shift + Esc** to open Task Manager**. Switch to the Performance tab. On the left you’ll see entries for CPU, Memory, Disk, and each graphics adapter. Clicking a GPU entry displays its name, dedicated memory, driver version, and utilization.
For example, you might see AMD Radeon RX 9070 listed with 8 GB of VRAM. This method works even if you have an integrated GPU; both will appear as separate entries.
Tip: The “Driver” row shows the exact driver version, which is handy when checking compatibility on the Can I run it? game checker site.
Want to buy a graphics card? Here are 3 similar picks:
- NVIDIA GeForce RTX 5080: High-end / 4K
- Intel Arc B580: Budget / 1080p-1440p
- NVIDIA GeForce RTX 5060: Mainstream / 1080p
Open a product to see its full details, then use the Amazon button there.
Step 3: Use DirectX Diagnostic Tool (dxdiag) for a full snapshot
Press Win + R**, type **dxdiag**, and hit Enter. The tool gathers system info in three tabs: System, Display, and Sound. The Display tab lists the graphics card name, manufacturer, chip type, DAC type, and total memory.
If you own an AMD Radeon RX 9060 XT 8GB, you’ll see it under “Name”. The “Driver Version” field helps you verify you’re running the latest driver from AMD’s website.
Tip: Click “Save All Information” to export a text file you can attach to forum posts when asking for help.
Want to buy a graphics card? Here are 2 similar picks:
- NVIDIA GeForce RTX 5060 Ti 16GB: Mid-range / 1440p
- NVIDIA GeForce RTX 5070 Ti: High-end / 1440p-4K
Open a product to see its full details, then use the Amazon button there.
Step 4: Dive deeper with System Information (msinfo32)
Open the Run dialog (Win + R), type msinfo32, and press Enter. The System Summary page lists the processor, BIOS version, total physical memory, and more. Expand the “Components” tree and click “Display” for detailed GPU specs, including PCIe lane width and driver date.
When you have an AMD Radeon RX 9070 GRE, you’ll notice the “Adapter Compatibility” field reads “AMD”. This can be useful for troubleshooting driver conflicts with older Nvidia cards.
Step 5: Verify storage devices and capacity
Within System Information, expand “Components” → “Storage” → “Disks”. Each drive entry shows the model number, size, firmware version, and partition layout. For a quick glance, open File Explorer**, right‑click the drive, and choose **Properties** to see total and free space.
If you’re planning to install a new game that recommends an SSD, note the drive’s interface (SATA vs. NVMe). The PC requirements of over 2,400 games database often flags SSD recommendations for faster load times.
Step 6: Optional – Use free third‑party utilities for extra detail
Tools like CPU‑Z and GPU‑Z provide real‑time clocks, voltage, and temperature data. Download from the official sites, run the program, and you’ll see exact core frequencies (e.g., “3.60 GHz base, 4.90 GHz boost”) and GPU memory bandwidth.
These utilities also list the exact model number of your graphics card, which can be handy when comparing the AMD Radeon RX 9070 XT against other options in the market.
Tips & Common Mistakes
- Don’t rely on a single source. Cross‑check the GPU name in Task Manager, dxdiag, and System Information to ensure you’re seeing the correct card, especially on laptops with hybrid graphics.
- Watch out for integrated graphics. Windows may show “Microsoft Basic Display Adapter” if the dedicated driver isn’t installed. Update the driver from the manufacturer’s website.
- Remember units. RAM and VRAM are shown in GB, but storage can appear in GB or TB. Convert if needed (1 TB = 1,024 GB).
- Check the driver date. An outdated driver can cause games to misread your specs, leading to false “incompatible” messages on the Can I run it? game checker.
- Avoid third‑party “system info” apps that require payment. Free tools like CPU‑Z and GPU‑Z give you everything you need without hidden fees.
FAQ
How can I find out if my GPU meets a game’s minimum requirements?
Use the Can I run it? game checker to enter the game title. The tool compares your GPU model (as shown in Task Manager or dxdiag) against the game’s listed requirements and tells you if you’re good to go.
What if Windows shows “Microsoft Basic Display Adapter” instead of my graphics card?
This usually means the proper driver isn’t installed. Visit the GPU manufacturer’s website—AMD for Radeon cards or NVIDIA for GeForce cards—and download the latest driver. After installing, re‑run dxdiag to verify the correct name appears.
Do I need to restart my PC after checking specs?
No. All built‑in Windows tools provide live data. However, after updating drivers or BIOS, a restart ensures the new information is reflected across all utilities.
Conclusion
Checking your PC specs is a straightforward process once you know which Windows tools to use. By following the steps above you’ll quickly identify your graphics card, CPU, RAM, and storage details, allowing you to verify game compatibility, plan upgrades, or simply stay informed about your system’s performance. Keep this guide bookmarked for future reference, and enjoy gaming with confidence.
Keep reading
Gaming gear on Run On Console
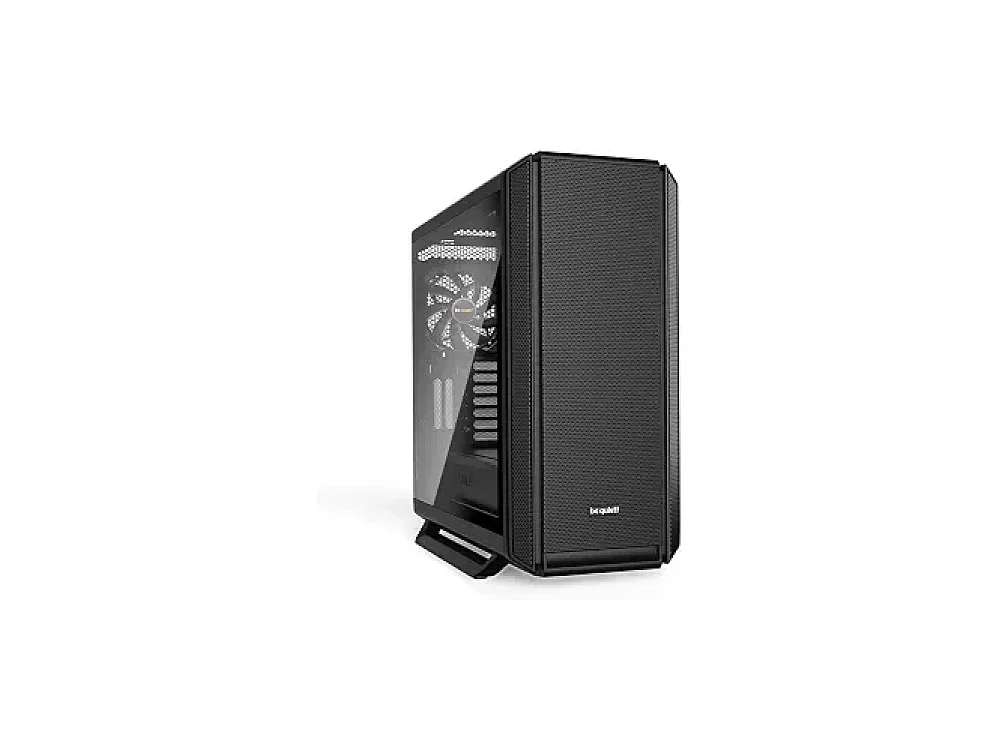 be quiet! Shadow Base 800
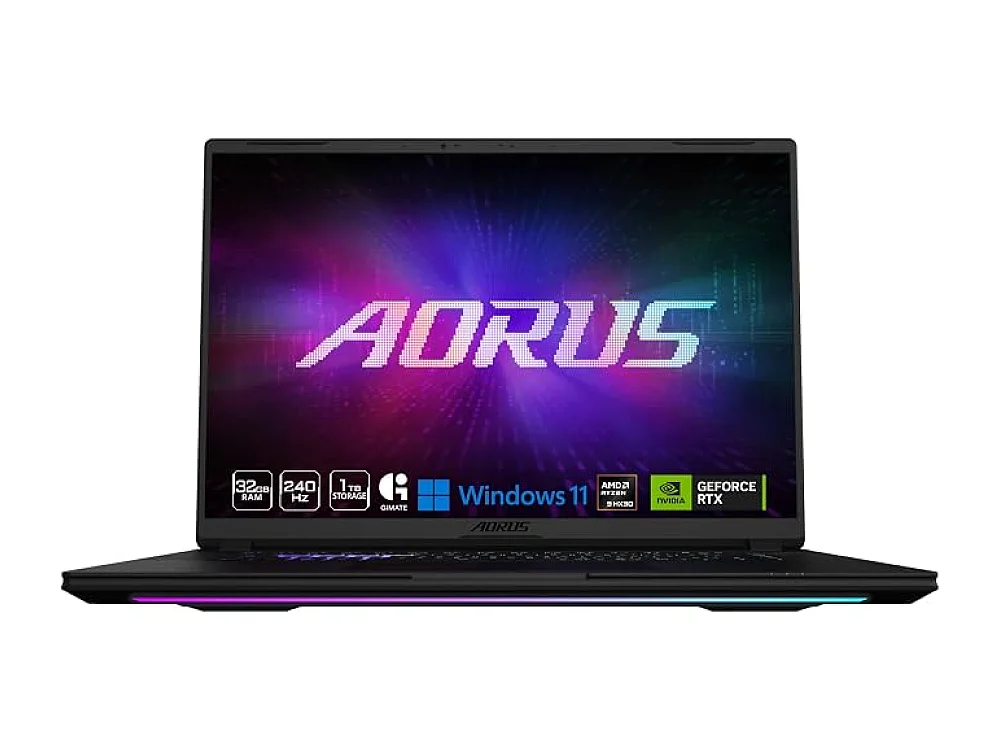 Gigabyte AORUS Master 16
 GPD WIN 5
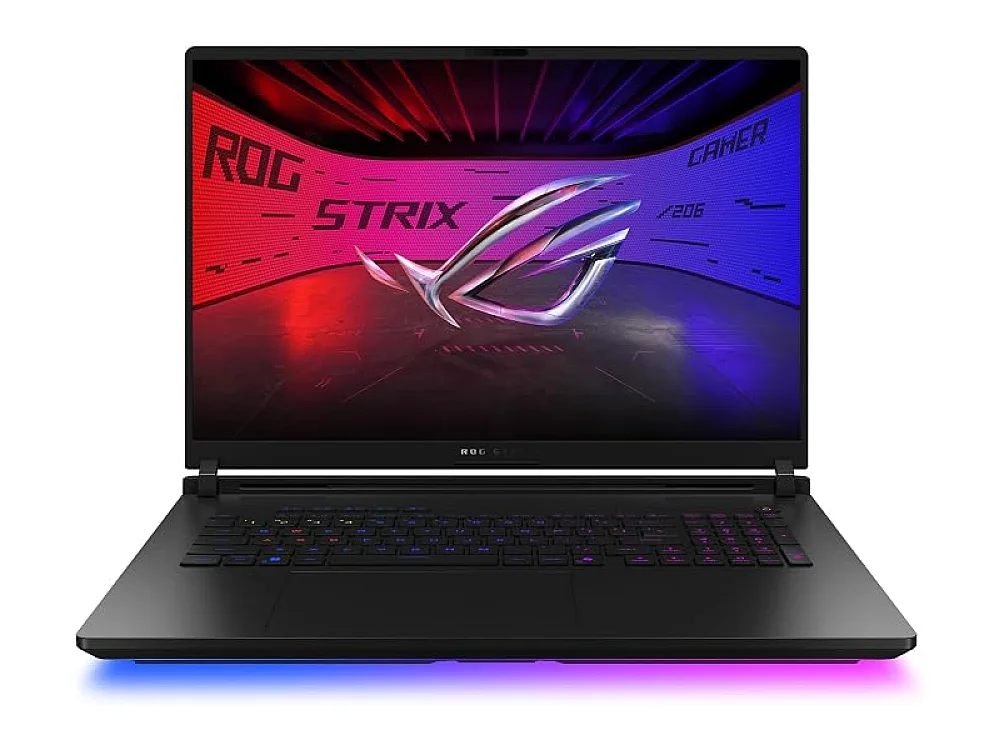 ASUS ROG Strix SCAR 18 (2026)
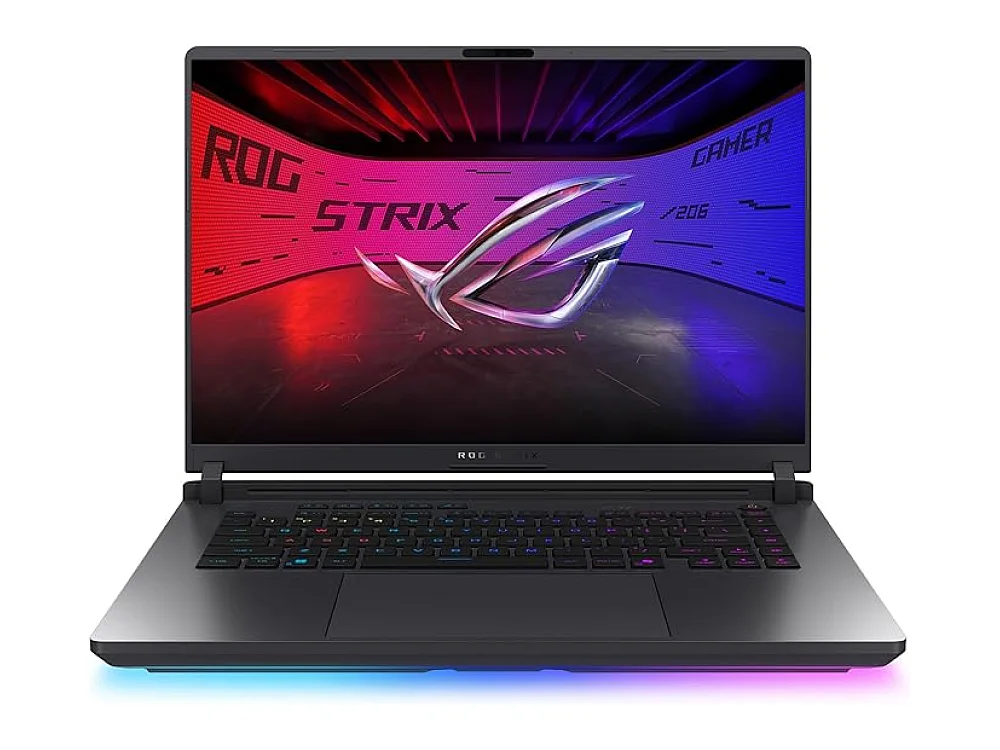 ASUS ROG Zephyrus G16 (2026)
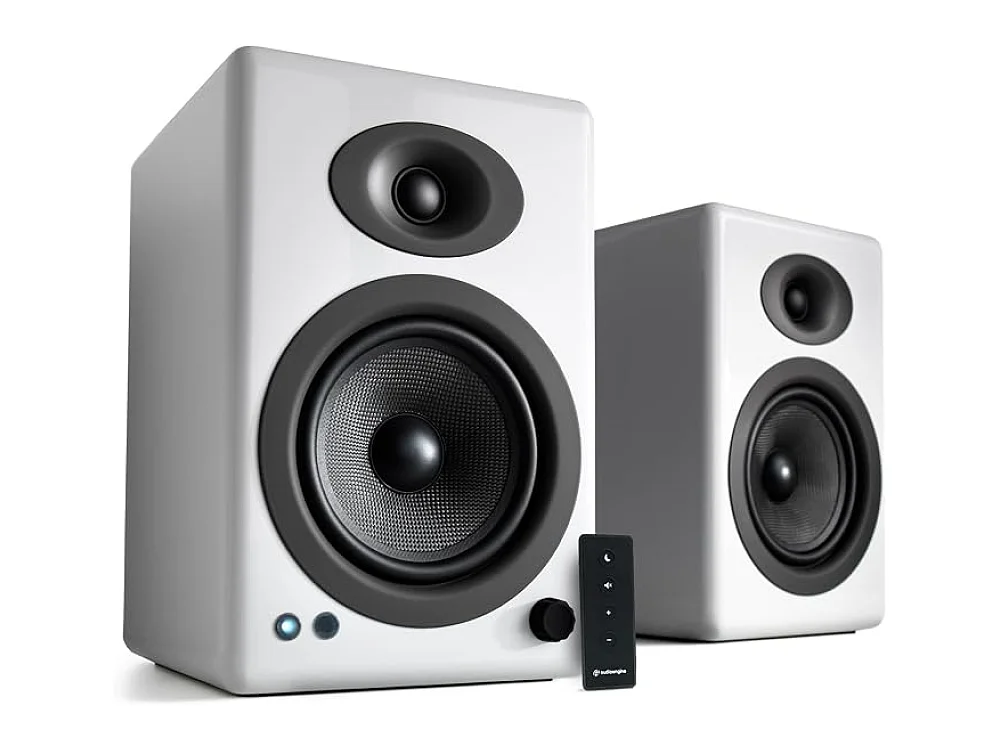 Audioengine A5+ Wireless
 CAPOT Gaming Chair
Leave a comment
Questions, corrections or your own experience: it goes to our team at comments@runonconsole.com and you get a copy.